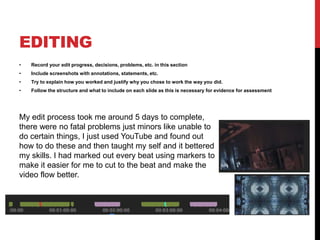
The document provides guidance for tracking the music video production process through documentation. It outlines sections for filming and editing. For filming, it prompts the user to describe technical, logistical, personnel, and planning aspects, as well as any necessary reshoots. For editing, it prompts describing the edit progress, decisions, problems, and justifying creative choices. The user is to explain their file management, assembly edit matching audio to video, refinement process, color correction/effects, and export settings and file saving location.

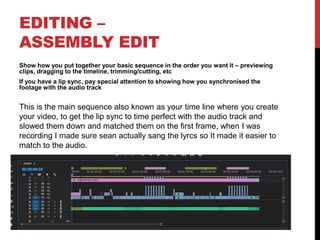
![EDITING –
SETTING UP PREMIERE
Screenshot and annotate how you have set up a new
Premiere Pro project – indicate what you called it, where
you saved it
You should also show how you set up your timeline,
indicating the video settings used [e.g. DSLR 1080p 25]
To set up premire I used the standard settings
hat came up when I opened a new project
besides I called it 'music video' and saved it to
my desktop and to my memory stick, this
made sure I had 2 coppies in case one got
corrupted or deleted i had a back up.](https://image.slidesharecdn.com/mvprocesslogform20191-191113152033/85/Mv-process-log-form-2019-1-6-320.jpg)
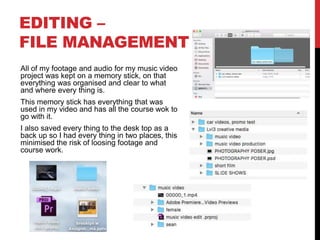
![EDITING –
IMPORTING FOOTAGE
Show how you imported your footage, your file set up in Premiere and how you have organised
your different docs [video, audio, etc]
All my footage was
separated and put in to
folders clearly stating what
they are, these where two
main ones ‘Sean’ and
‘female’ , these are the
singer and the girl.
I only had one audio track
which didn’t go in a folder
then had some texts that I
left out too, besides these
every thing was organized
well.](https://image.slidesharecdn.com/mvprocesslogform20191-191113152033/85/Mv-process-log-form-2019-1-7-320.jpg)