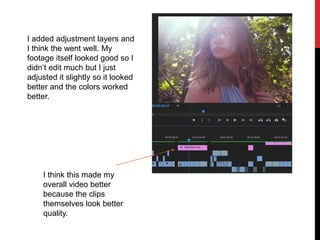
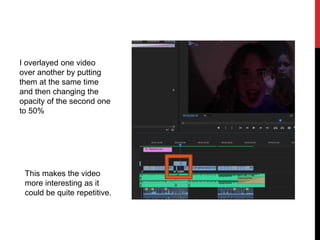
The document provides guidance for tracking the music video production process. It outlines sections for filming and editing. For filming, the student explains technical difficulties keeping the camera focused but that it worked for the fast-paced song. Locations worked well with good lighting. The only cast member was the student's sister, allowing flexibility. Planning was adequate but could have included more shots. For editing, techniques that went well included timing a clip to the music and using adjustment layers. Problems included difficulty editing to the beat and cutting the long song. Main lessons learned were the importance of planning, using visual planning aids, audio effects, and organization.


![WHAT WENT WELL
[3 EXAMPLES]
Before the first chorus, I cut the
song and timed it with a clip of
my actress blowing out the
candle. So when she blows out
the candle the music goes out
with the flame. I think this went
well because it looks good and
it fits with the chorus fading in.
I did this to make the audio
itself different to the
original because I think it
makes the video more
interesting visually and to
listen to.](https://image.slidesharecdn.com/processlogform-201111120040/85/Process-log-form-9-320.jpg)
![WHAT PROBLEMS DID
YOU HAVE? [3
EXAMPLES]
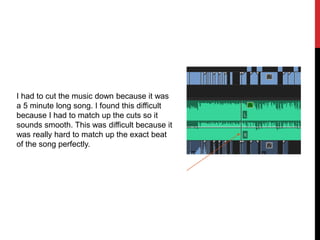
For my video I tried to edit to the beat
of the song, but because the song was
really loud you couldn’t clearly see the
beat of the song using the audio, so I
struggled to edit to the beat.
I also wanted to edit the video so it
sounded muffled when the female
sings. I found this really difficult to do
because I had to mess around with
key frames and watch YouTube
tutorials.](https://image.slidesharecdn.com/processlogform-201111120040/85/Process-log-form-12-320.jpg)