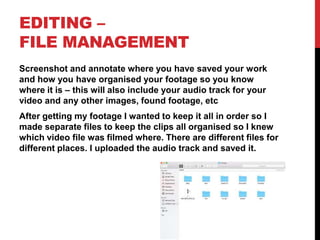
The document is a production log for a music video created by Joe Cole. It provides guidance on using the log to track filming, editing, and post-production details. The log then documents the filming process, including some technical issues encountered and how locations and personnel worked out. It also covers the editing process, including organizing footage, setting up the Premiere Pro project, assembling the initial sequence, refining it with color correction and effects, and exporting the final video.
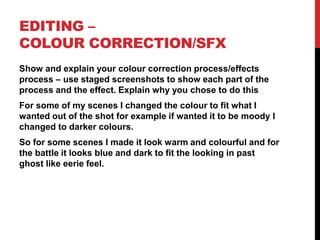
![EDITING –
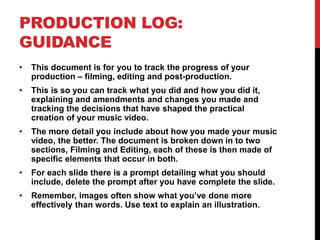
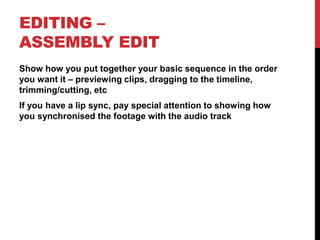
SETTING UP PREMIERE
Screenshot and annotate how you have set up a new
Premiere Pro project – indicate what you called it, where you
saved it
You should also show how you set up your timeline,
indicating the video settings used [e.g. DSLR 1080p 25]
I called my project the same name as my song ‘Everybody
wants to rule the world’ for filing and organisational reasons.
I also saved it to a memory stick to keep it safe and ensure I
had a back up copy should my original file corrupt.](https://image.slidesharecdn.com/mvproductionlogtemplate-170504202020/85/Mv-production-log-template-6-320.jpg)
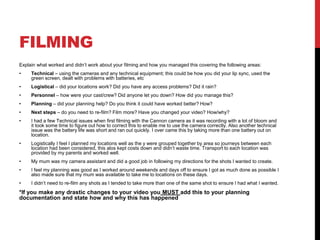
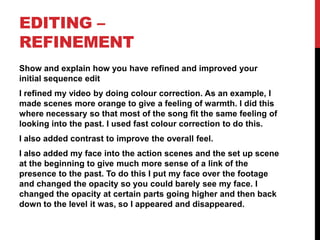
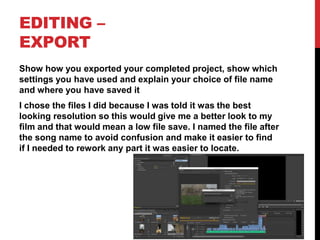
![EDITING –
IMPORTING FOOTAGE
Show how you imported your footage, your file set up in
Premiere and how you have organised your different docs
[video, audio, etc]
I just dragged my footage directly into Premier Pro for editing
this is how I imported my footage. I did have all my clips
organised before I imported them to help make this process
easier. I organized my clips into the places where I filmed
them at eg Helmsley this helped me understand where I was
in the process.](https://image.slidesharecdn.com/mvproductionlogtemplate-170504202020/85/Mv-production-log-template-7-320.jpg)


![Mv process log form 2020[1484]](https://cdn.slidesharecdn.com/ss_thumbnails/mvprocesslogform20201484-201123130453-thumbnail.jpg?width=640&height=640&fit=bounds)


