Downloaded 138 times


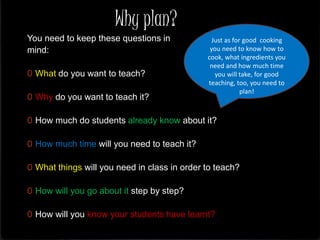
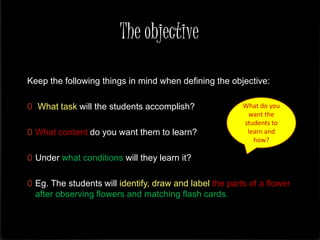
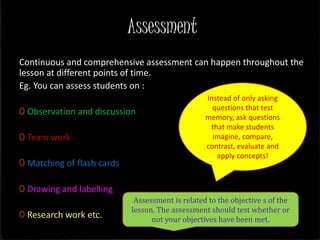

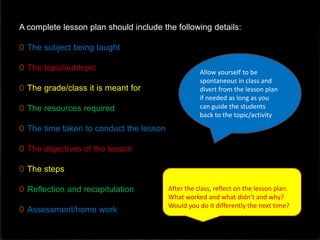

This document provides guidance on creating effective lesson plans. It emphasizes that teachers should carefully plan what they want students to learn, how it will be taught, and how learning will be assessed. The key components of a good lesson plan are outlined, including setting objectives, introducing the topic, breaking the lesson into timed steps, addressing different learning styles, allowing time for student questions and reflection, and providing appropriate assessment and homework. Continuous assessment and adapting plans based on student needs are also encouraged. Overall, the document stresses the importance of thorough preparation and a variety of teaching methods to create engaging and effective lessons.