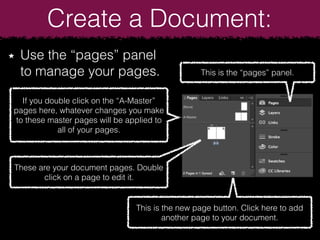
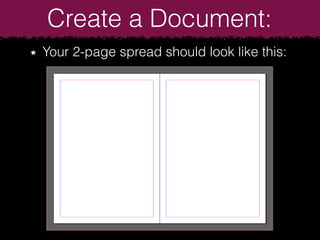
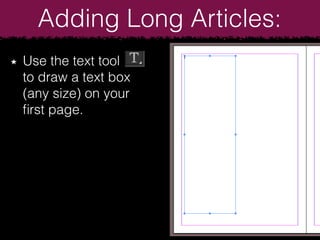
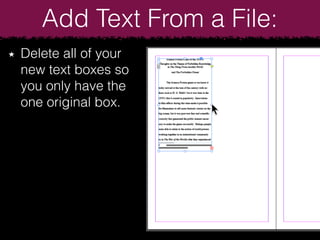
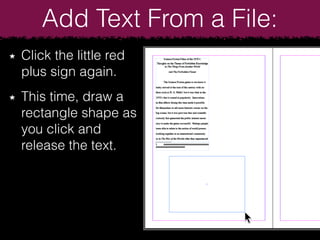
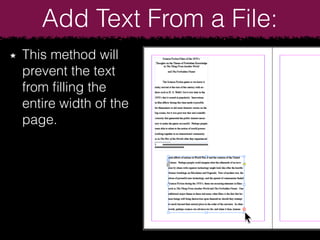
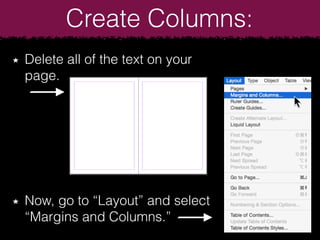
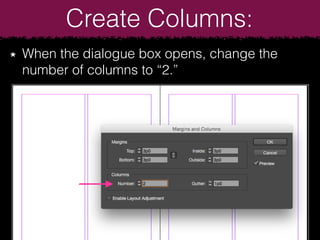
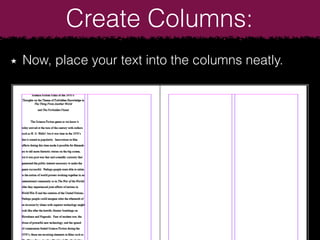
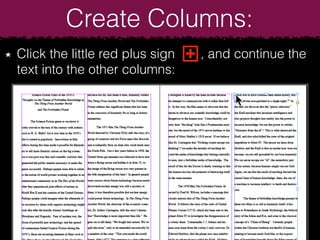
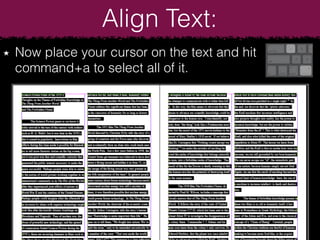
1) The document provides instructions for using InDesign to layout a multi-page document with columns of text and images. It describes how to create a 2-page document, add and format text using boxes, create columns, and align text.
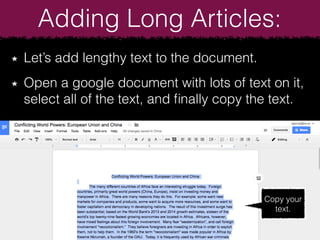
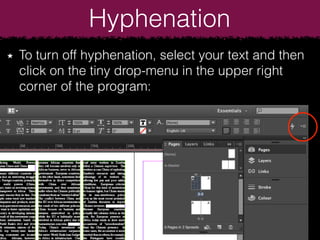
2) It also covers adding "overflow" text into new boxes, importing text from files, setting margins and columns, and adjusting text hyphenation.
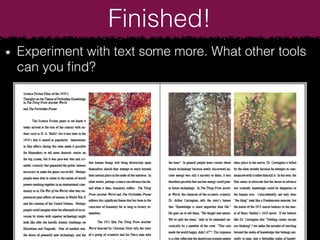
3) The goal is to practice basic page layout and text formatting skills in InDesign such as fitting long-form content across a multi-column, multi-page spread.