Downloaded 163 times

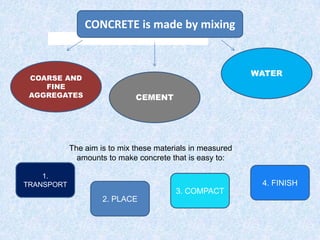
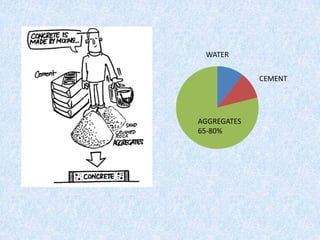
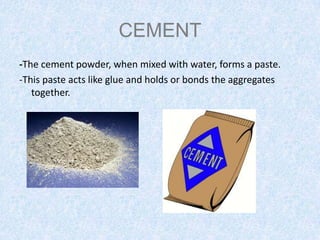
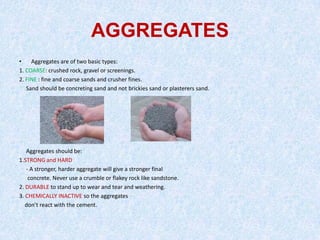

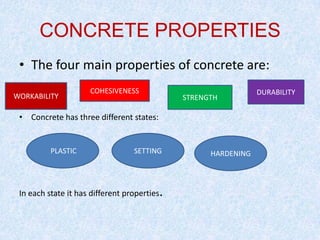
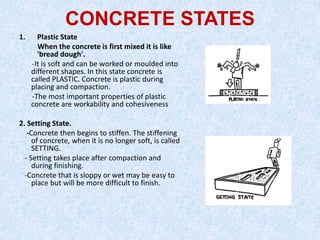

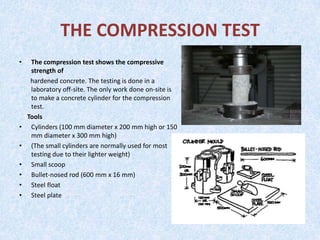
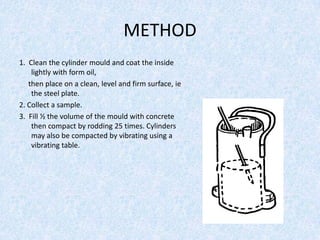

This document discusses the key materials and process for making concrete. Concrete is made by mixing water, cement, and aggregates (coarse and fine materials like sand and gravel). The cement acts as a glue to bind the materials together when mixed with water. Proper mixing and curing of the concrete allows it to gain strength and durability over time. Tests of the plastic and hardened concrete include slump tests to check workability and compression tests to determine strength.


