Downloaded 223 times
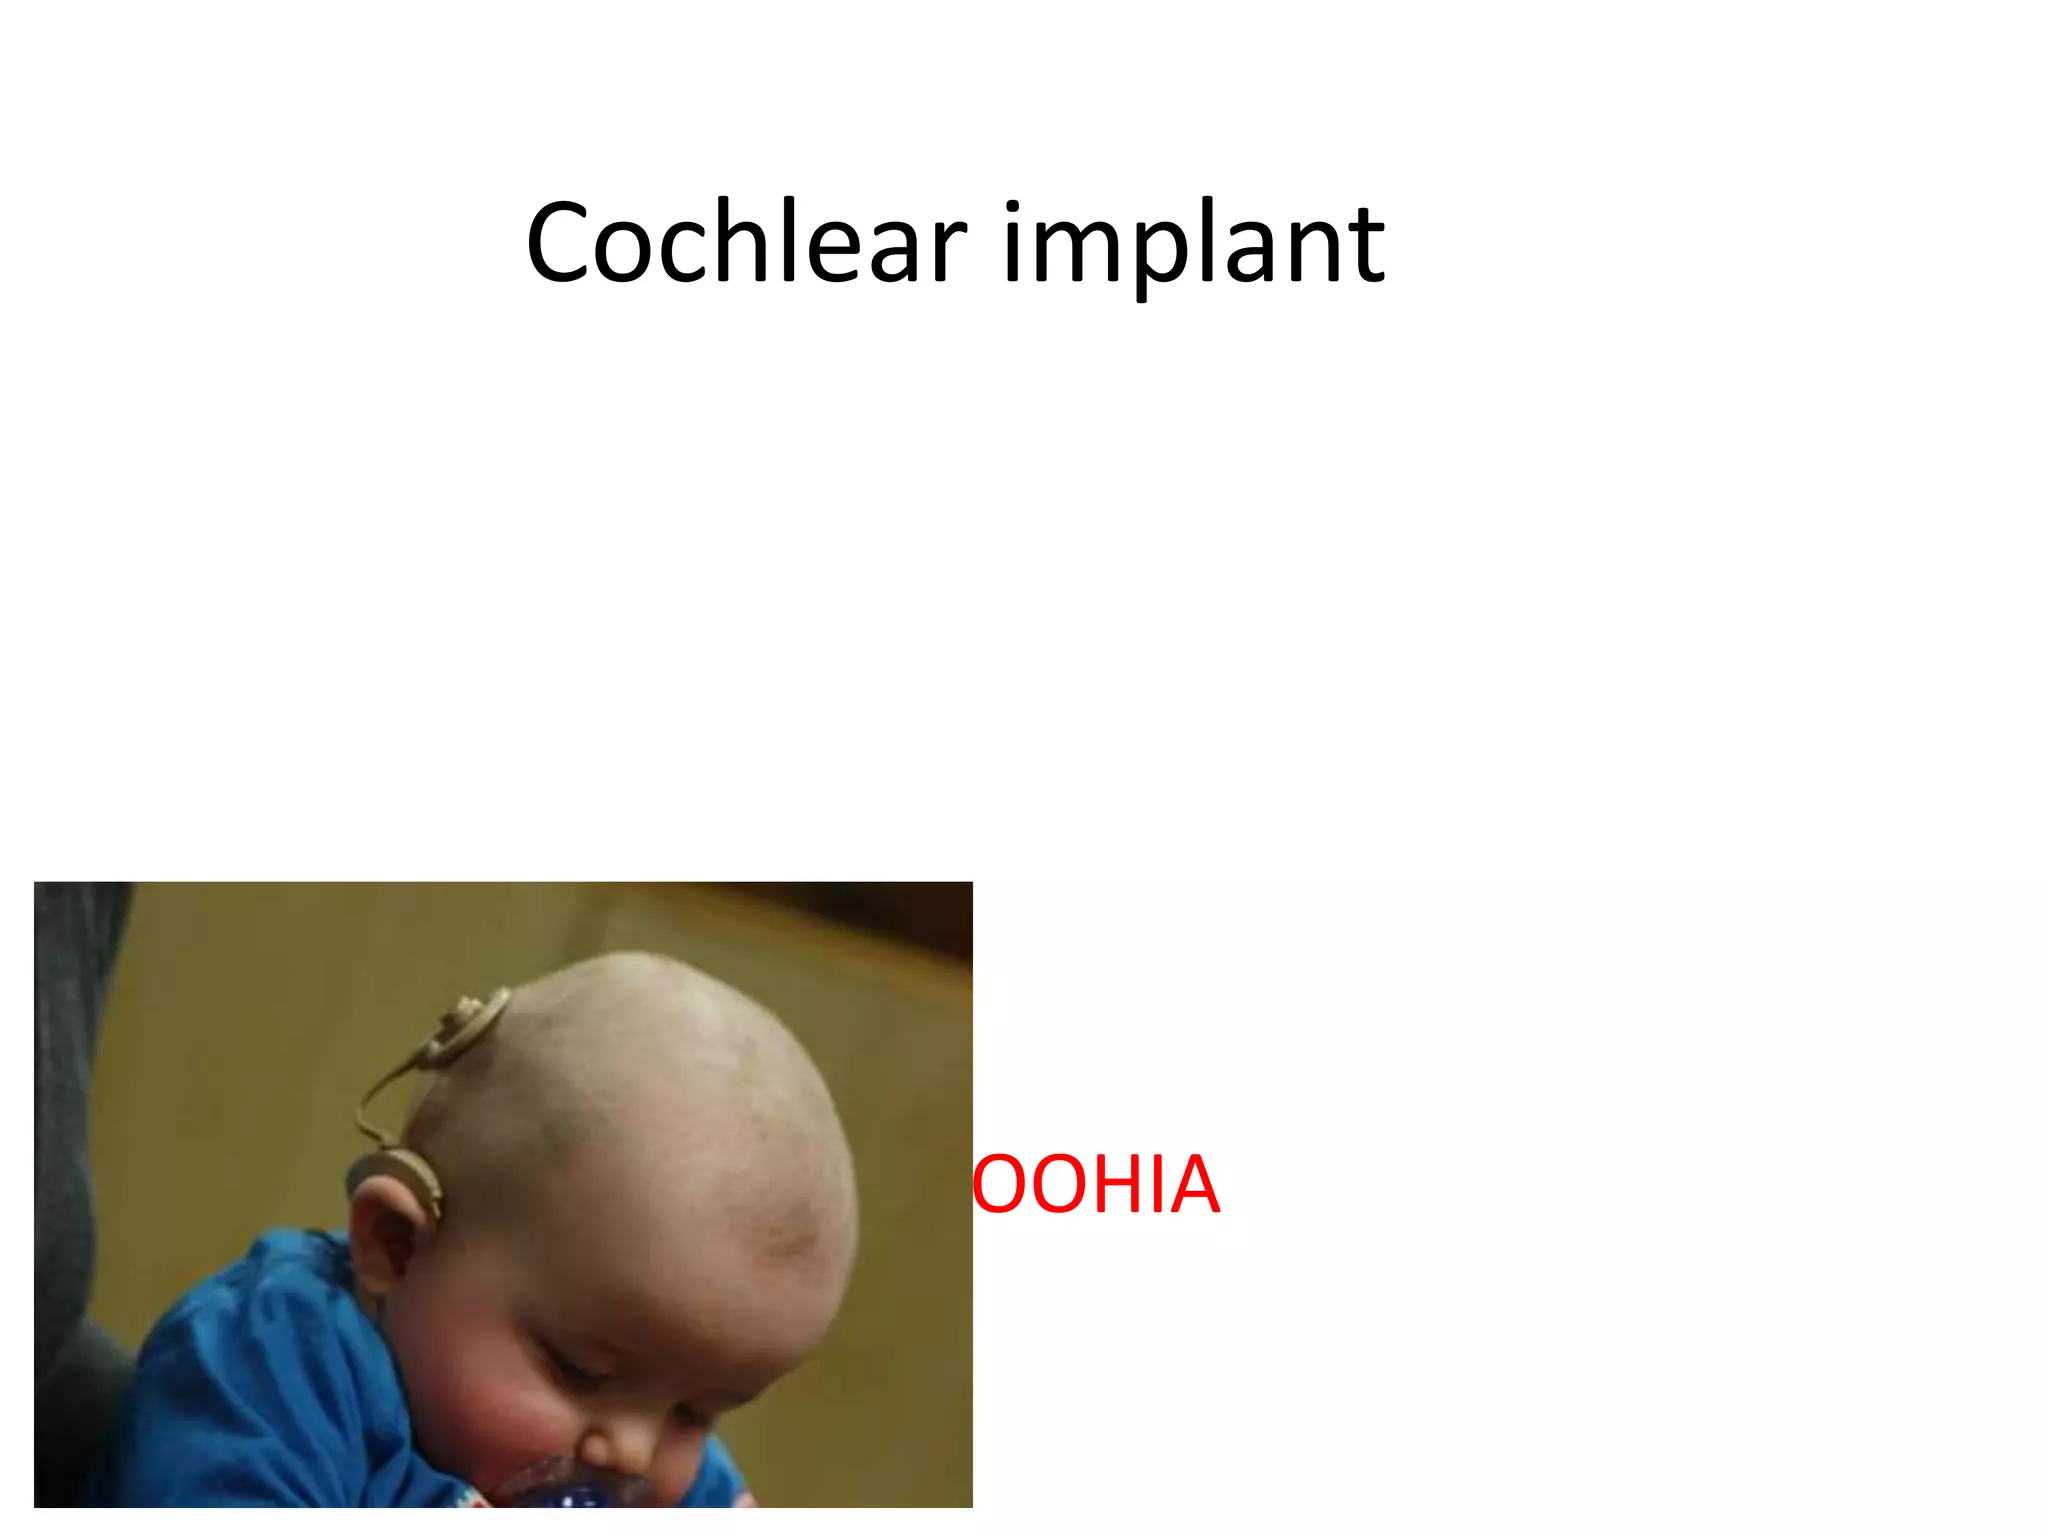


Cochlear implants are surgically implanted devices that provide a sense of sound to those who are profoundly deaf or severely hard of hearing. They consist of internal and external parts. The internal parts include a receiver and electrodes that are surgically placed inside the cochlea. The external parts include a microphone, speech processor, and transmitter. Sound is picked up by the microphone, processed by the speech processor, and transmitted to the internal receiver which sends electrical signals to the electrodes, bypassing damaged hair cells to stimulate the auditory nerve. Candidates undergo testing, surgery, activation and mapping sessions, and rehabilitation to learn to understand speech with their implant. Potential complications include infection, device failure or migration that may require reoperation.


![cochlear implant [Autosaved].pptx](https://cdn.slidesharecdn.com/ss_thumbnails/cochlearimplantautosaved-230807191245-e9fc2957-thumbnail.jpg?width=640&height=640&fit=bounds)


