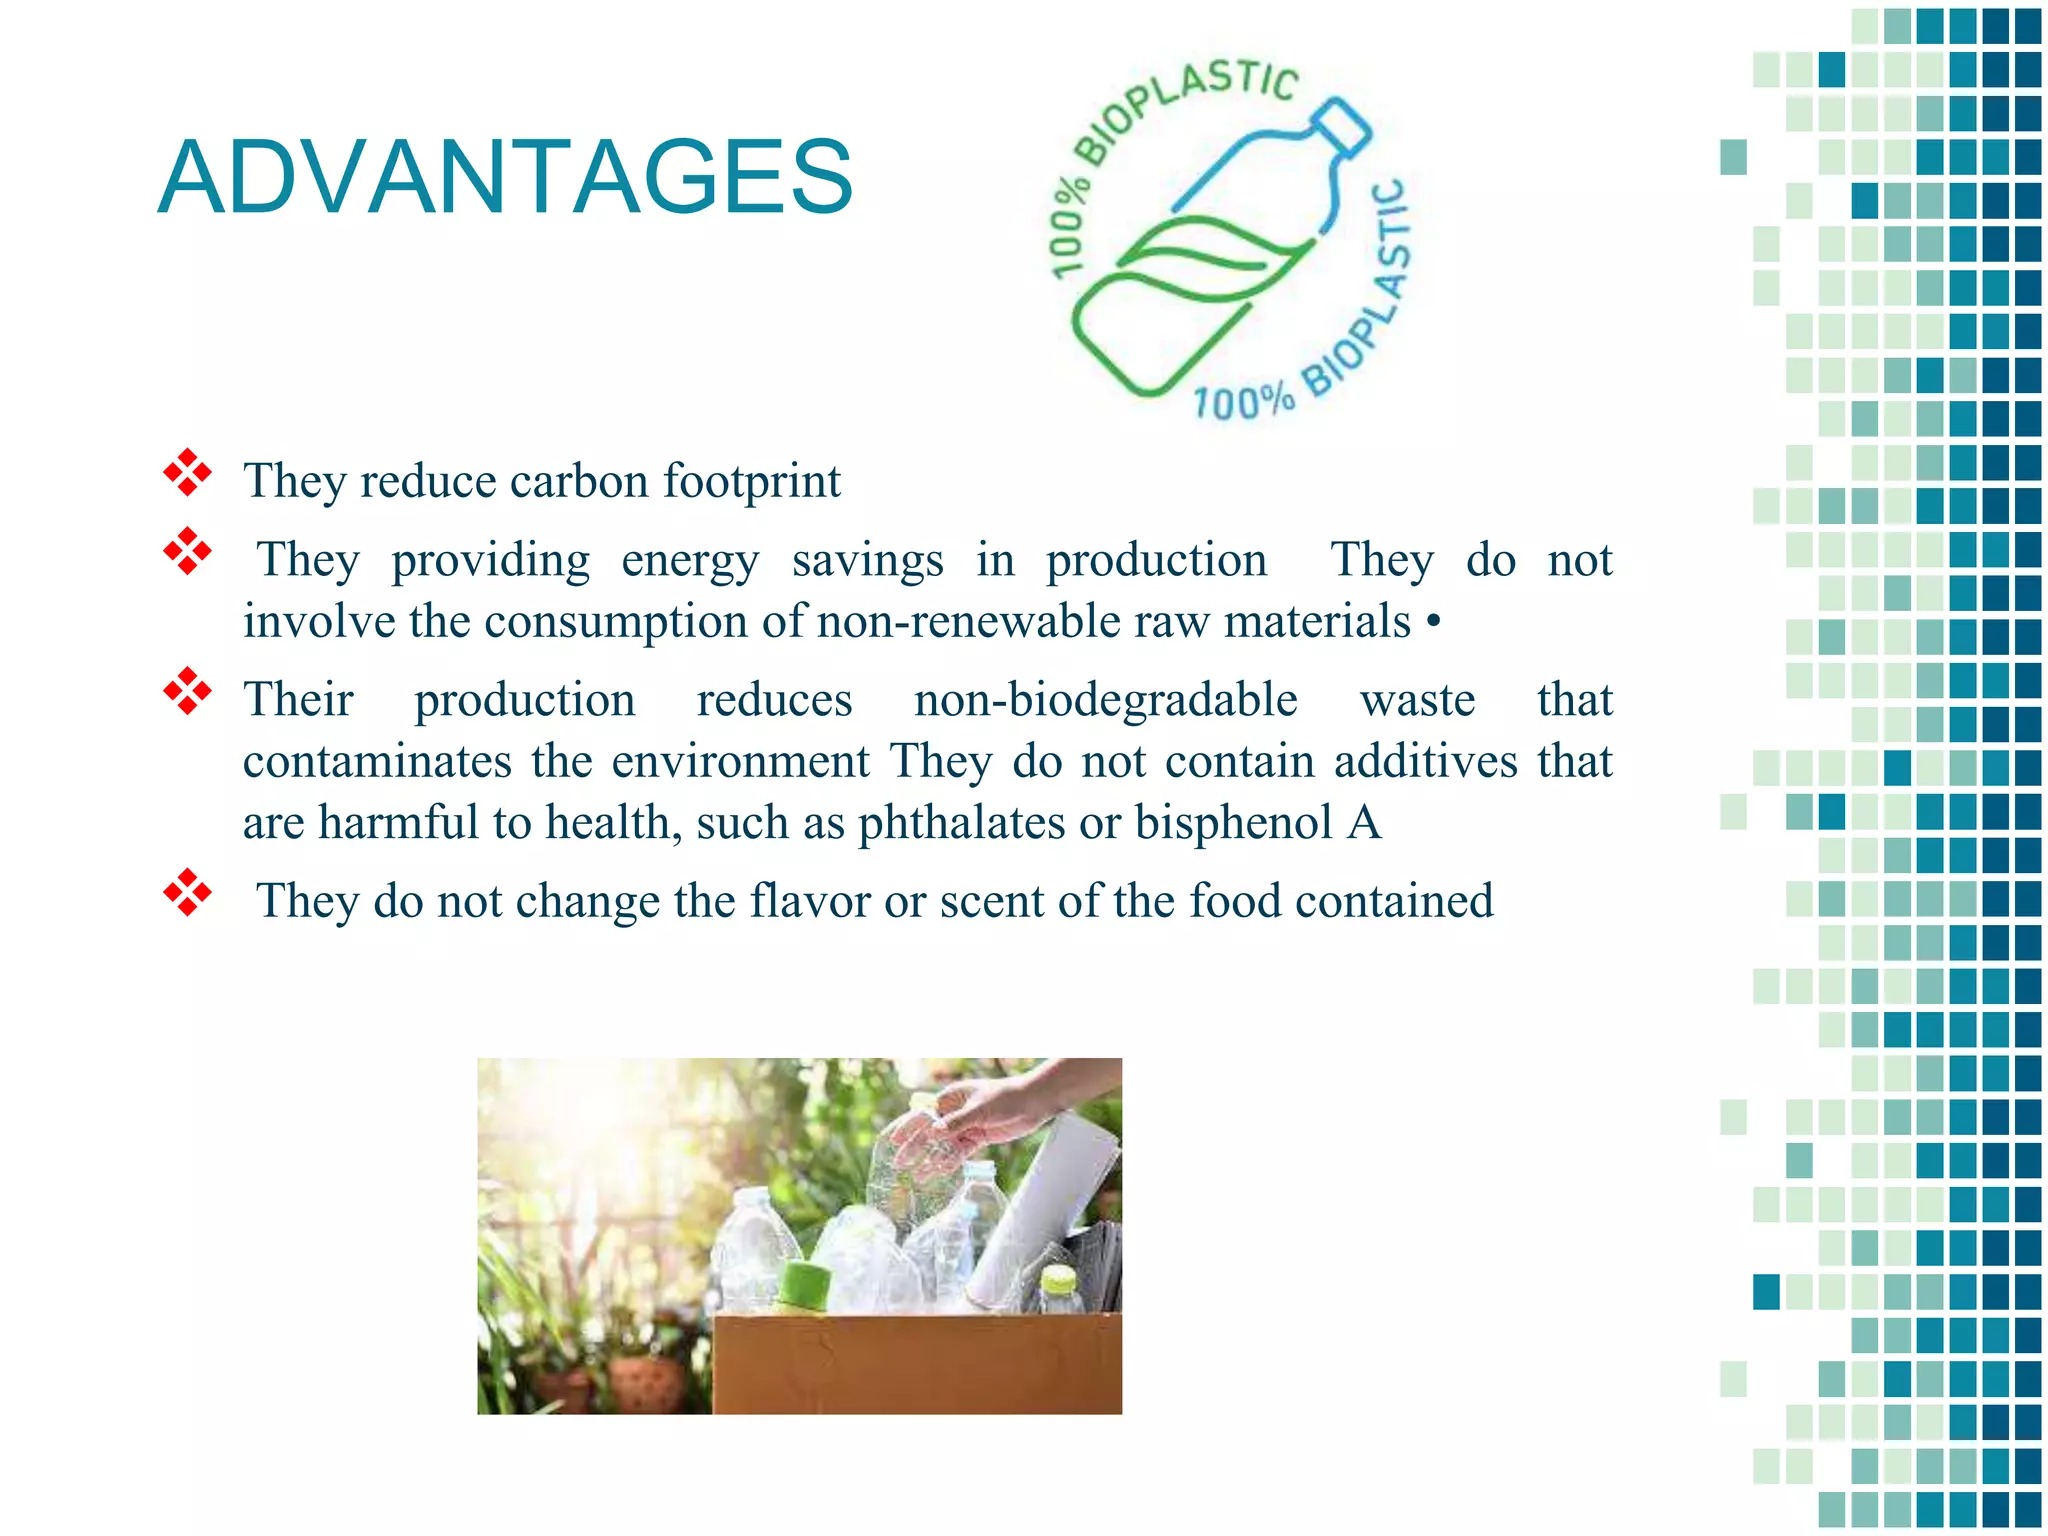
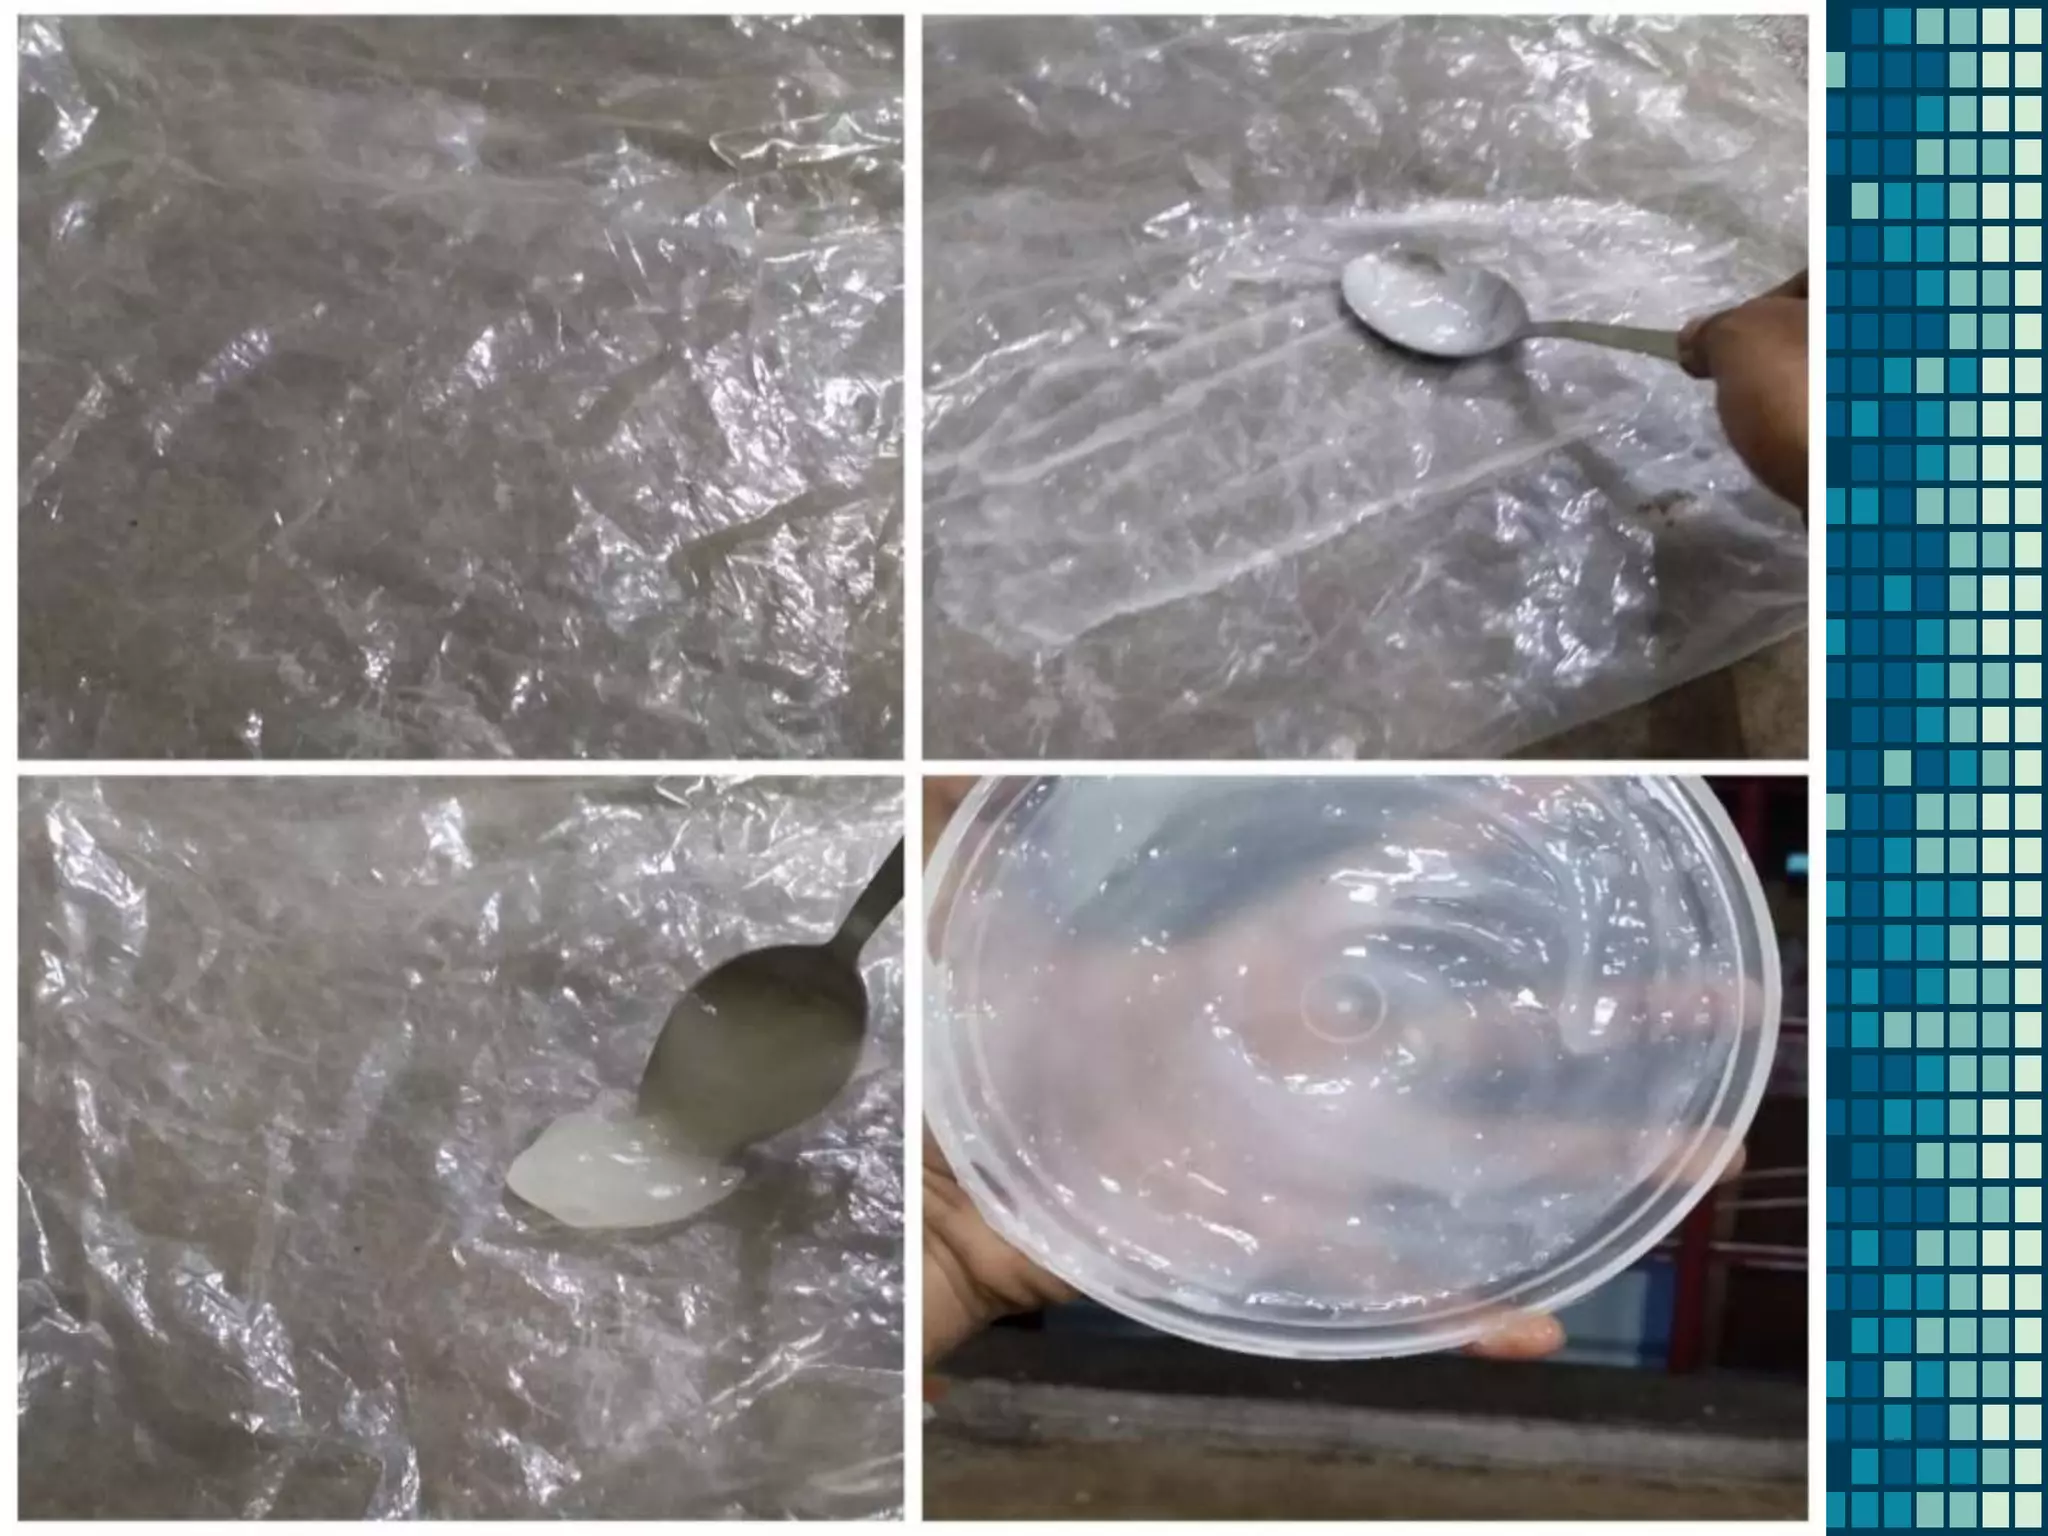
BIOPLASTIC
Presented by G.Vijayalakshmi BSc., MSc.,
Ayya Nadar Janaki Ammal College,Sivakasi
Presented to Dr.M. Vijayasanthi
Bioplastic
▪ A bioplastic is a type of plastic that can be made from plant
starches or gelatins/agars. They are better for the environment
because they are not derived from petroleum. They can also be
easily made at home with a few simple ingredients and a stove
Types of bioplastic
 Starch based-they are made from natural starch and are mainly
used for making wrappers for goods packaging,biodegradable
polyesters etc
 Cellulose based-mainly made of cellulose esters and used for
making thermoplastics and for packaging.
 Protein based-made from proteins and mainly used for making
body panels of automobiles. •
 Some aliphatic polyesters-from other chemical sources.
AN ALTERNATIVE TO
TRADITIONAL PLASTICS
▪ BIOPLASTICS
 Bioplastics are 100% degradable, equally resistant and versatile.
 They are made from materials such as corn starch ,PLA etc..
 Bioplastics can be broken down in a controlled environment of
microbes.
ADVANTAGES
 They reduce carbon footprint
 They providing energy savings in production They do not
involve the consumption of non-renewable raw materials •
 Their production reduces non-biodegradable waste that
contaminates the environment They do not contain additives that
are harmful to health, such as phthalates or bisphenol A
 They do not change the flavor or scent of the food contained
1.Gather the necessary materials.
 To make this type of bioplastic, you will need cornstarch, distilled
water, glycerol, white vinegar, a stove, a saucepan, a silicone
spatula, and food coloring (if desired).
 These items should be readily available at the grocery store or
online.
 Glycerol is also called glycerine, so try searching for that if you’re
having trouble finding glycerol.
 The following amounts of each ingredient are needed to make the
bioplastic:
 10ml distilled water
 0.5-1.5g glycerol
 1.5g cornstarch
 1ml of white vinegar
 1-2 drops food coloring
2.Combine all of the
ingredients and stir together
 Add all of the ingredients to the saucepan and stir to combine
with the spatula.
 Stir until you get rid of most of the lumps in the mixture.
 At this stage, the mixture will be a milky white color and quite
watery.
 If you add the wrong amounts of ingredients, just dispose of the
mixture and start again.
3.Heat on medium-low
 Place the saucepan on the stove and set the heat to medium-low.
Stir continuously as the mixture heats.
 Bring it to a gentle boil.
 As the mixture heats, it will become more translucent and begin to
thicken.
 Remove the mixture from the heat when it becomes clear and
thick.
 Total heating time will be around 10-15 minutes.
 Lumps may begin to form if the mixture gets overheated.
 Add one-two drops of food coloring at this stage, if you would
like to color the plastic.
4. Pour the mixture onto foil
or parchment paper.
 Spread the heated mixture onto a piece of foil or parchment paper
to let it cool.
 If you would like to mold the plastic into a shape, it must be done
while it is still warm.
 See the last method for details on molding the plastic
 .Remove any bubbles that you see by poking them with a
toothpick.
5.Allow the plastic to dry for at
least two days
 It will take time for the plastic to dry and harden.
 As it cools, it will begin to dry out.
 Depending on the thickness of the plastic, it can take longer for it
to dry.
 If you make one small thick piece it will take longer to dry than a
thinner larger piece.
 Leave the plastic in a cool, dry place for this process.
 Check the plastic after two days to see if it has fully hardened.
Bioplastic preparation at home

Bioplastic preparation at home

  • 1.
    BIOPLASTIC Presented by G.VijayalakshmiBSc., MSc., Ayya Nadar Janaki Ammal College,Sivakasi Presented to Dr.M. Vijayasanthi
  • 2.
    Bioplastic ▪ A bioplasticis a type of plastic that can be made from plant starches or gelatins/agars. They are better for the environment because they are not derived from petroleum. They can also be easily made at home with a few simple ingredients and a stove
  • 3.
    Types of bioplastic Starch based-they are made from natural starch and are mainly used for making wrappers for goods packaging,biodegradable polyesters etc  Cellulose based-mainly made of cellulose esters and used for making thermoplastics and for packaging.  Protein based-made from proteins and mainly used for making body panels of automobiles. •  Some aliphatic polyesters-from other chemical sources.
  • 4.
    AN ALTERNATIVE TO TRADITIONALPLASTICS ▪ BIOPLASTICS  Bioplastics are 100% degradable, equally resistant and versatile.  They are made from materials such as corn starch ,PLA etc..  Bioplastics can be broken down in a controlled environment of microbes.
  • 5.
    ADVANTAGES  They reducecarbon footprint  They providing energy savings in production They do not involve the consumption of non-renewable raw materials •  Their production reduces non-biodegradable waste that contaminates the environment They do not contain additives that are harmful to health, such as phthalates or bisphenol A  They do not change the flavor or scent of the food contained
  • 7.
    1.Gather the necessarymaterials.  To make this type of bioplastic, you will need cornstarch, distilled water, glycerol, white vinegar, a stove, a saucepan, a silicone spatula, and food coloring (if desired).  These items should be readily available at the grocery store or online.  Glycerol is also called glycerine, so try searching for that if you’re having trouble finding glycerol.  The following amounts of each ingredient are needed to make the bioplastic:  10ml distilled water  0.5-1.5g glycerol  1.5g cornstarch  1ml of white vinegar  1-2 drops food coloring
  • 9.
    2.Combine all ofthe ingredients and stir together  Add all of the ingredients to the saucepan and stir to combine with the spatula.  Stir until you get rid of most of the lumps in the mixture.  At this stage, the mixture will be a milky white color and quite watery.  If you add the wrong amounts of ingredients, just dispose of the mixture and start again.
  • 11.
    3.Heat on medium-low Place the saucepan on the stove and set the heat to medium-low. Stir continuously as the mixture heats.  Bring it to a gentle boil.  As the mixture heats, it will become more translucent and begin to thicken.  Remove the mixture from the heat when it becomes clear and thick.  Total heating time will be around 10-15 minutes.  Lumps may begin to form if the mixture gets overheated.  Add one-two drops of food coloring at this stage, if you would like to color the plastic.
  • 13.
    4. Pour themixture onto foil or parchment paper.  Spread the heated mixture onto a piece of foil or parchment paper to let it cool.  If you would like to mold the plastic into a shape, it must be done while it is still warm.  See the last method for details on molding the plastic  .Remove any bubbles that you see by poking them with a toothpick.
  • 14.
    5.Allow the plasticto dry for at least two days  It will take time for the plastic to dry and harden.  As it cools, it will begin to dry out.  Depending on the thickness of the plastic, it can take longer for it to dry.  If you make one small thick piece it will take longer to dry than a thinner larger piece.  Leave the plastic in a cool, dry place for this process.  Check the plastic after two days to see if it has fully hardened.