Downloaded 549 times
![TECH3008 Introduction to Educational Technology Dr. Alaa Sadik Department of Instructional & Learning Technologies www.alaasadik.net [email_address]](https://image.slidesharecdn.com/tech30083-1219037211815875-9/85/Audio-Visual-Media-1-320.jpg)
![TECH3008 Introduction to Educational Technology Dr. Alaa Sadik Department of Instructional & Learning Technologies www.alaasadik.net [email_address]](https://image.slidesharecdn.com/tech30083-1219037211815875-9/75/Audio-Visual-Media-1-2048.jpg)
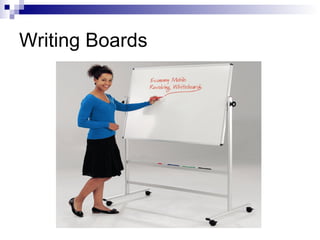
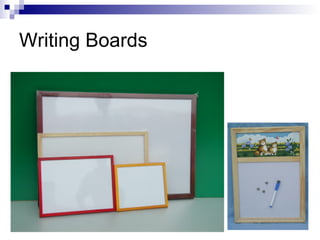

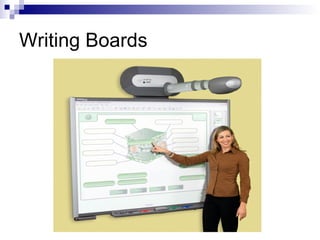
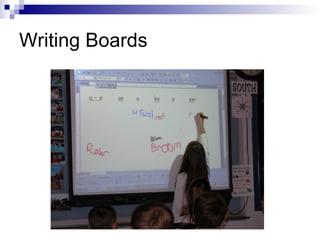
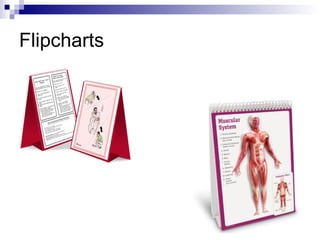
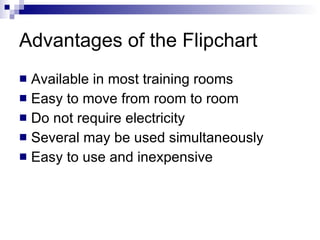
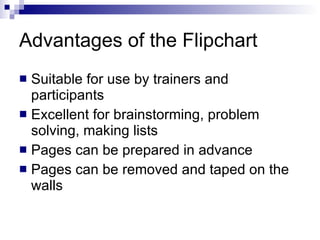
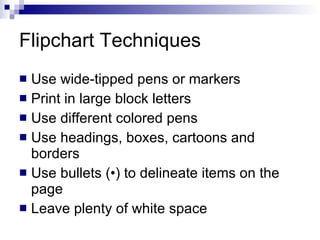
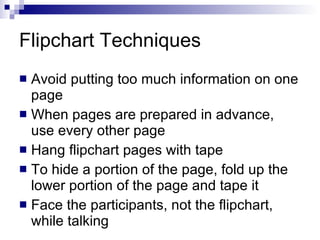
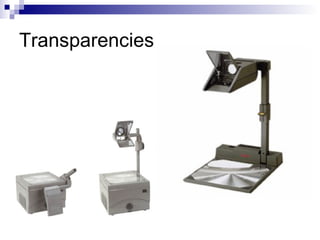
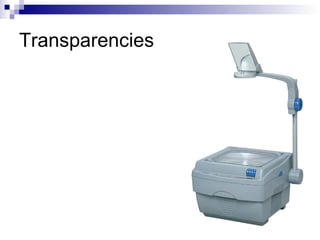
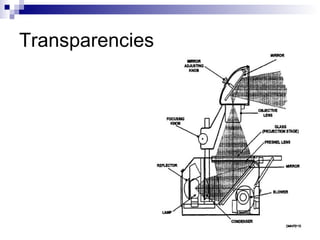
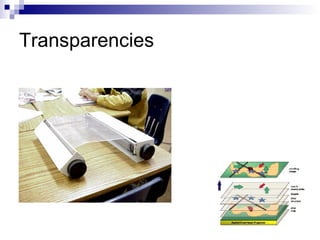

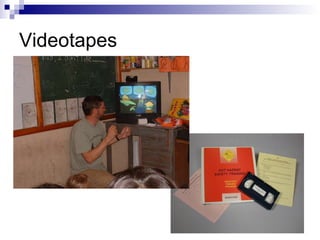
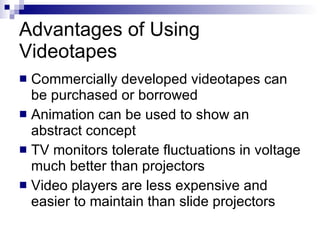
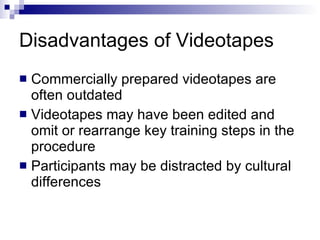
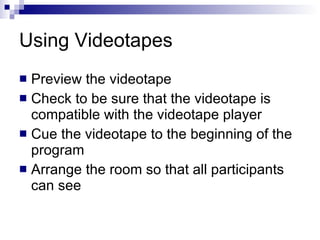
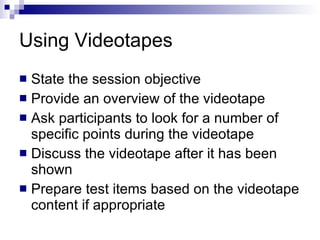

The document discusses various audio-visual media that can be used for educational purposes, including writing boards, flipcharts, overhead projector transparencies, 35mm slides, videotapes, and digital projectors. For each medium, the document outlines advantages, disadvantages, and tips or guidelines for effective classroom use. It provides detailed instructions for preparing, using, and incorporating each medium into lessons.


![[EDUCATIONAL TECHNOLOGY 2] Audio media](https://cdn.slidesharecdn.com/ss_thumbnails/audiomedia-150130044555-conversion-gate01-thumbnail.jpg?width=640&height=640&fit=bounds)


