Download to read offline
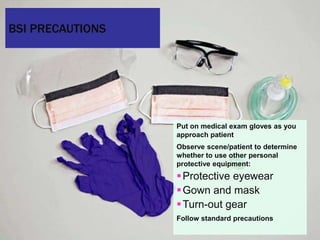


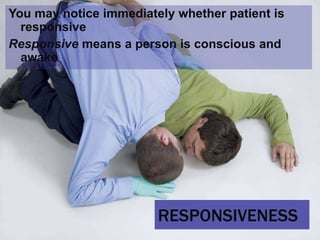


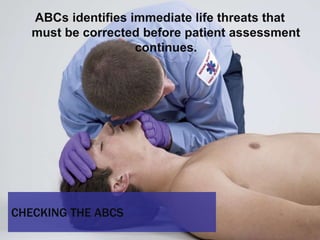
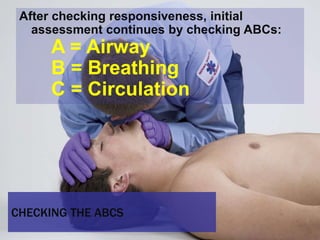


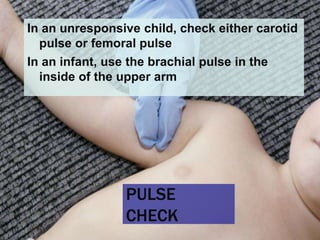
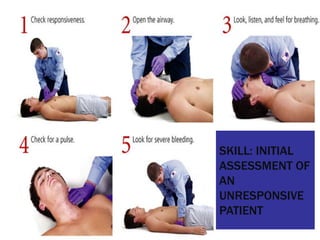


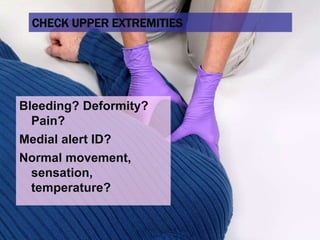
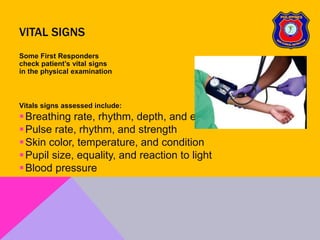


This document provides an overview of patient assessment for first responders. It discusses conducting a scene size-up to identify potential hazards, using body substance isolation precautions, and ensuring scene safety. The initial assessment involves checking the patient's responsiveness, airway, breathing, and circulation to identify any immediate life threats. Additional steps covered include considering the mechanism of injury, nature of illness, and need for additional resources.


![Hypothalamus short notes on location, function and disorders by Dr. Neha [PT]...](https://cdn.slidesharecdn.com/ss_thumbnails/hypothalamusbydr-260124142231-2b48143d-thumbnail.jpg?width=640&height=640&fit=bounds)


