Downloaded 19,325 times
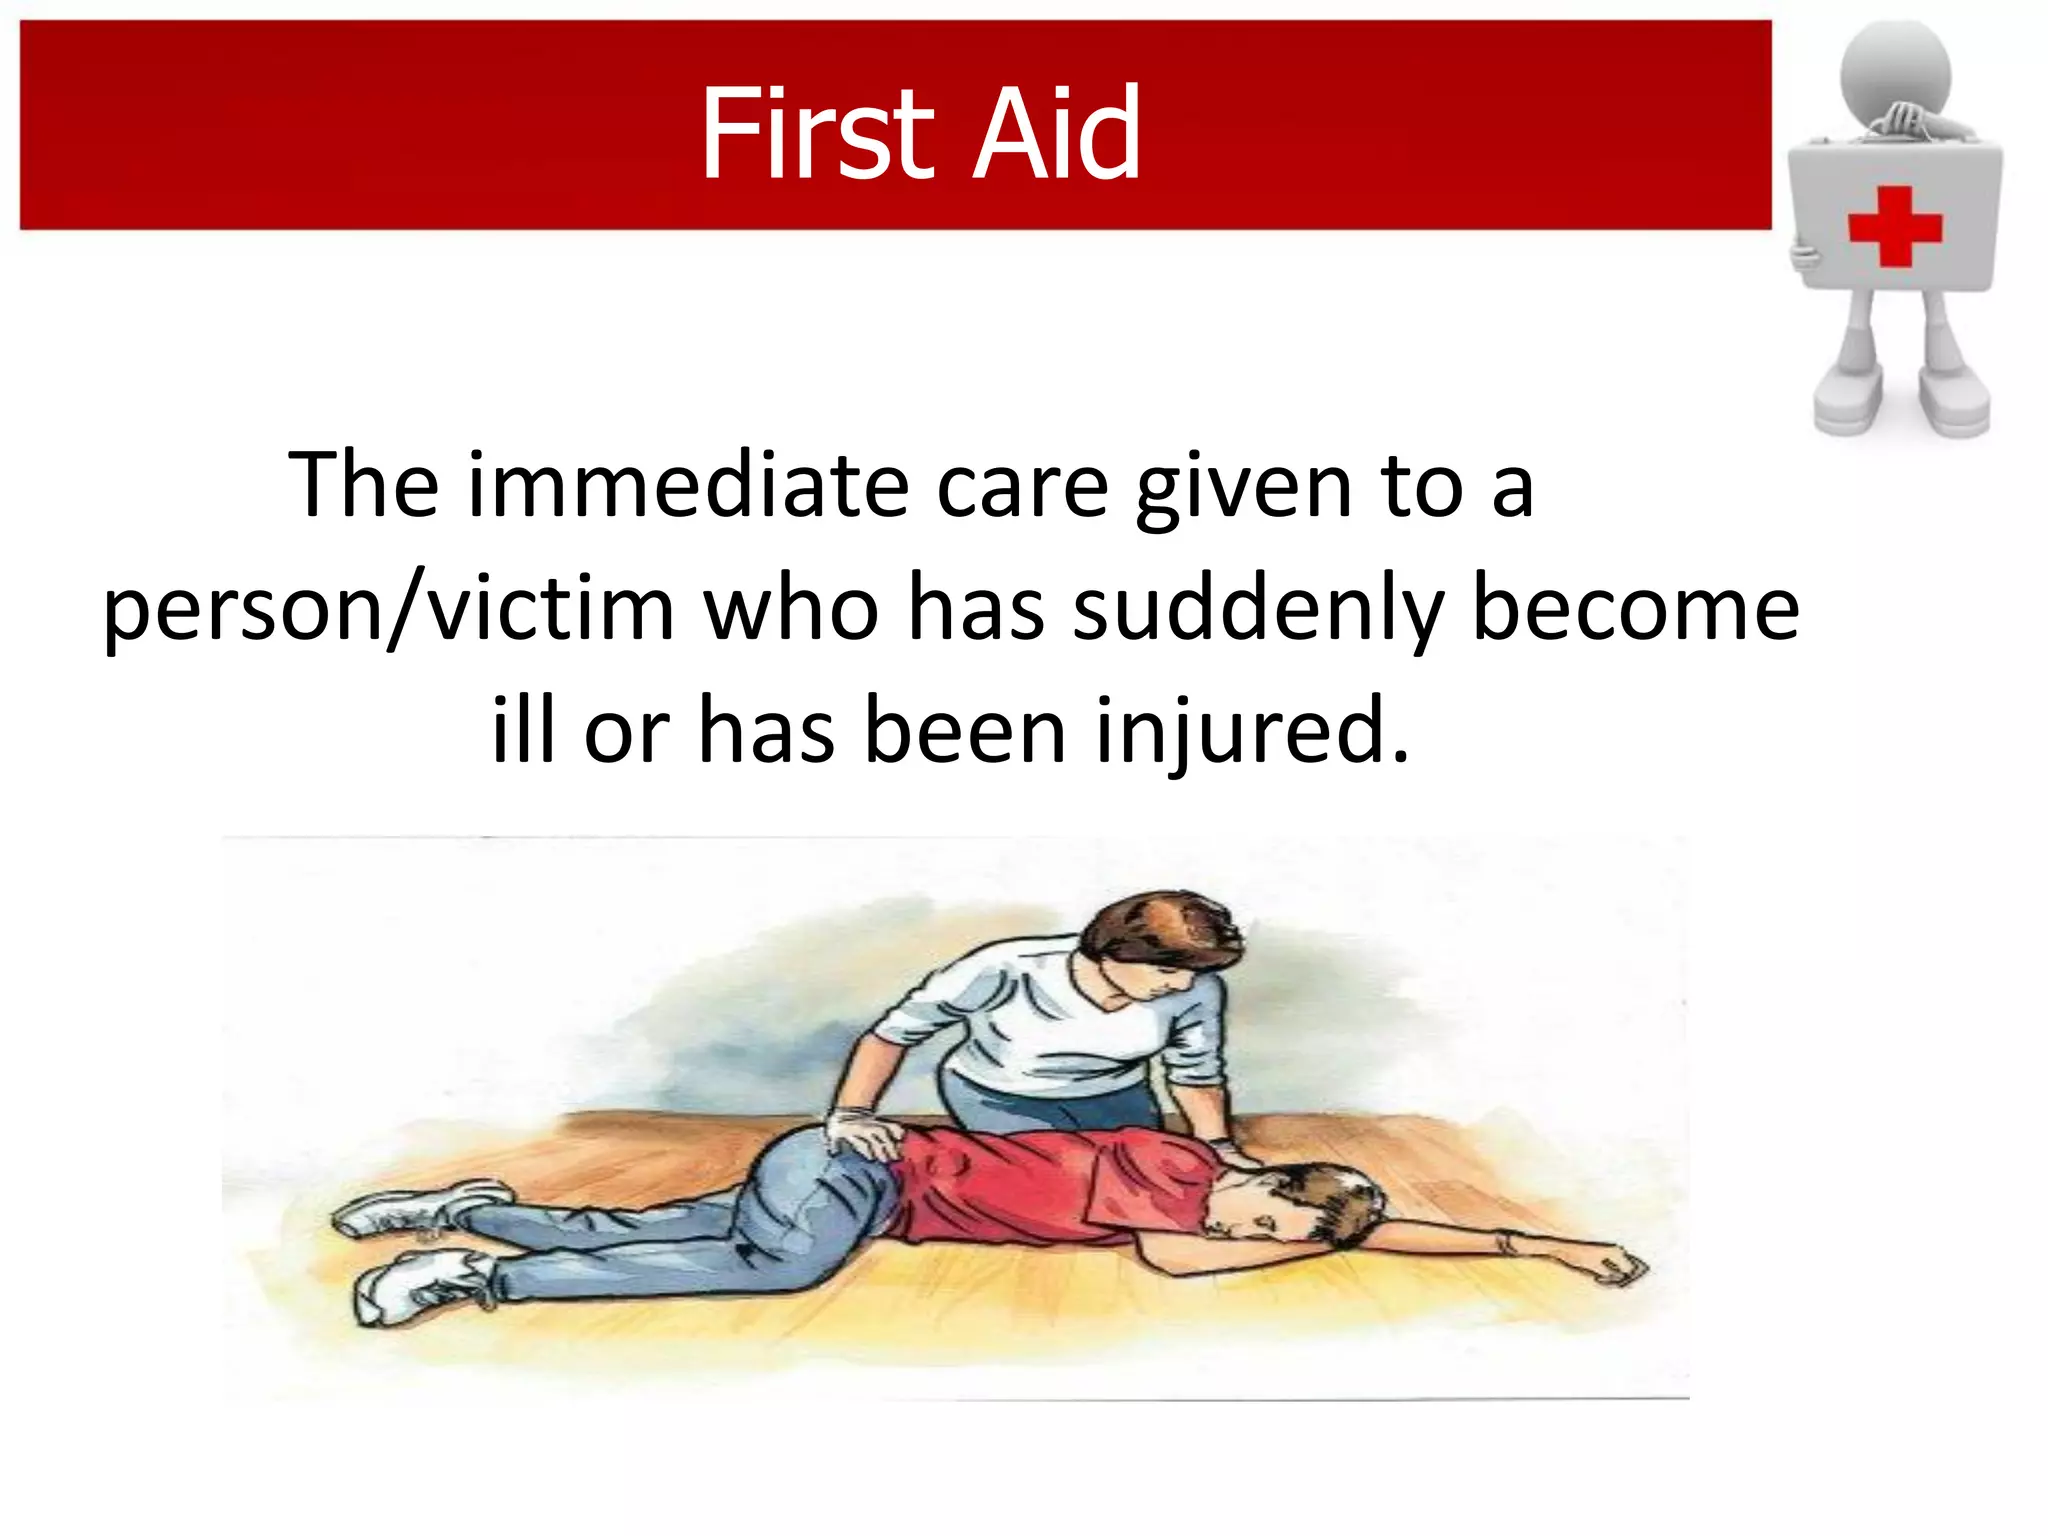

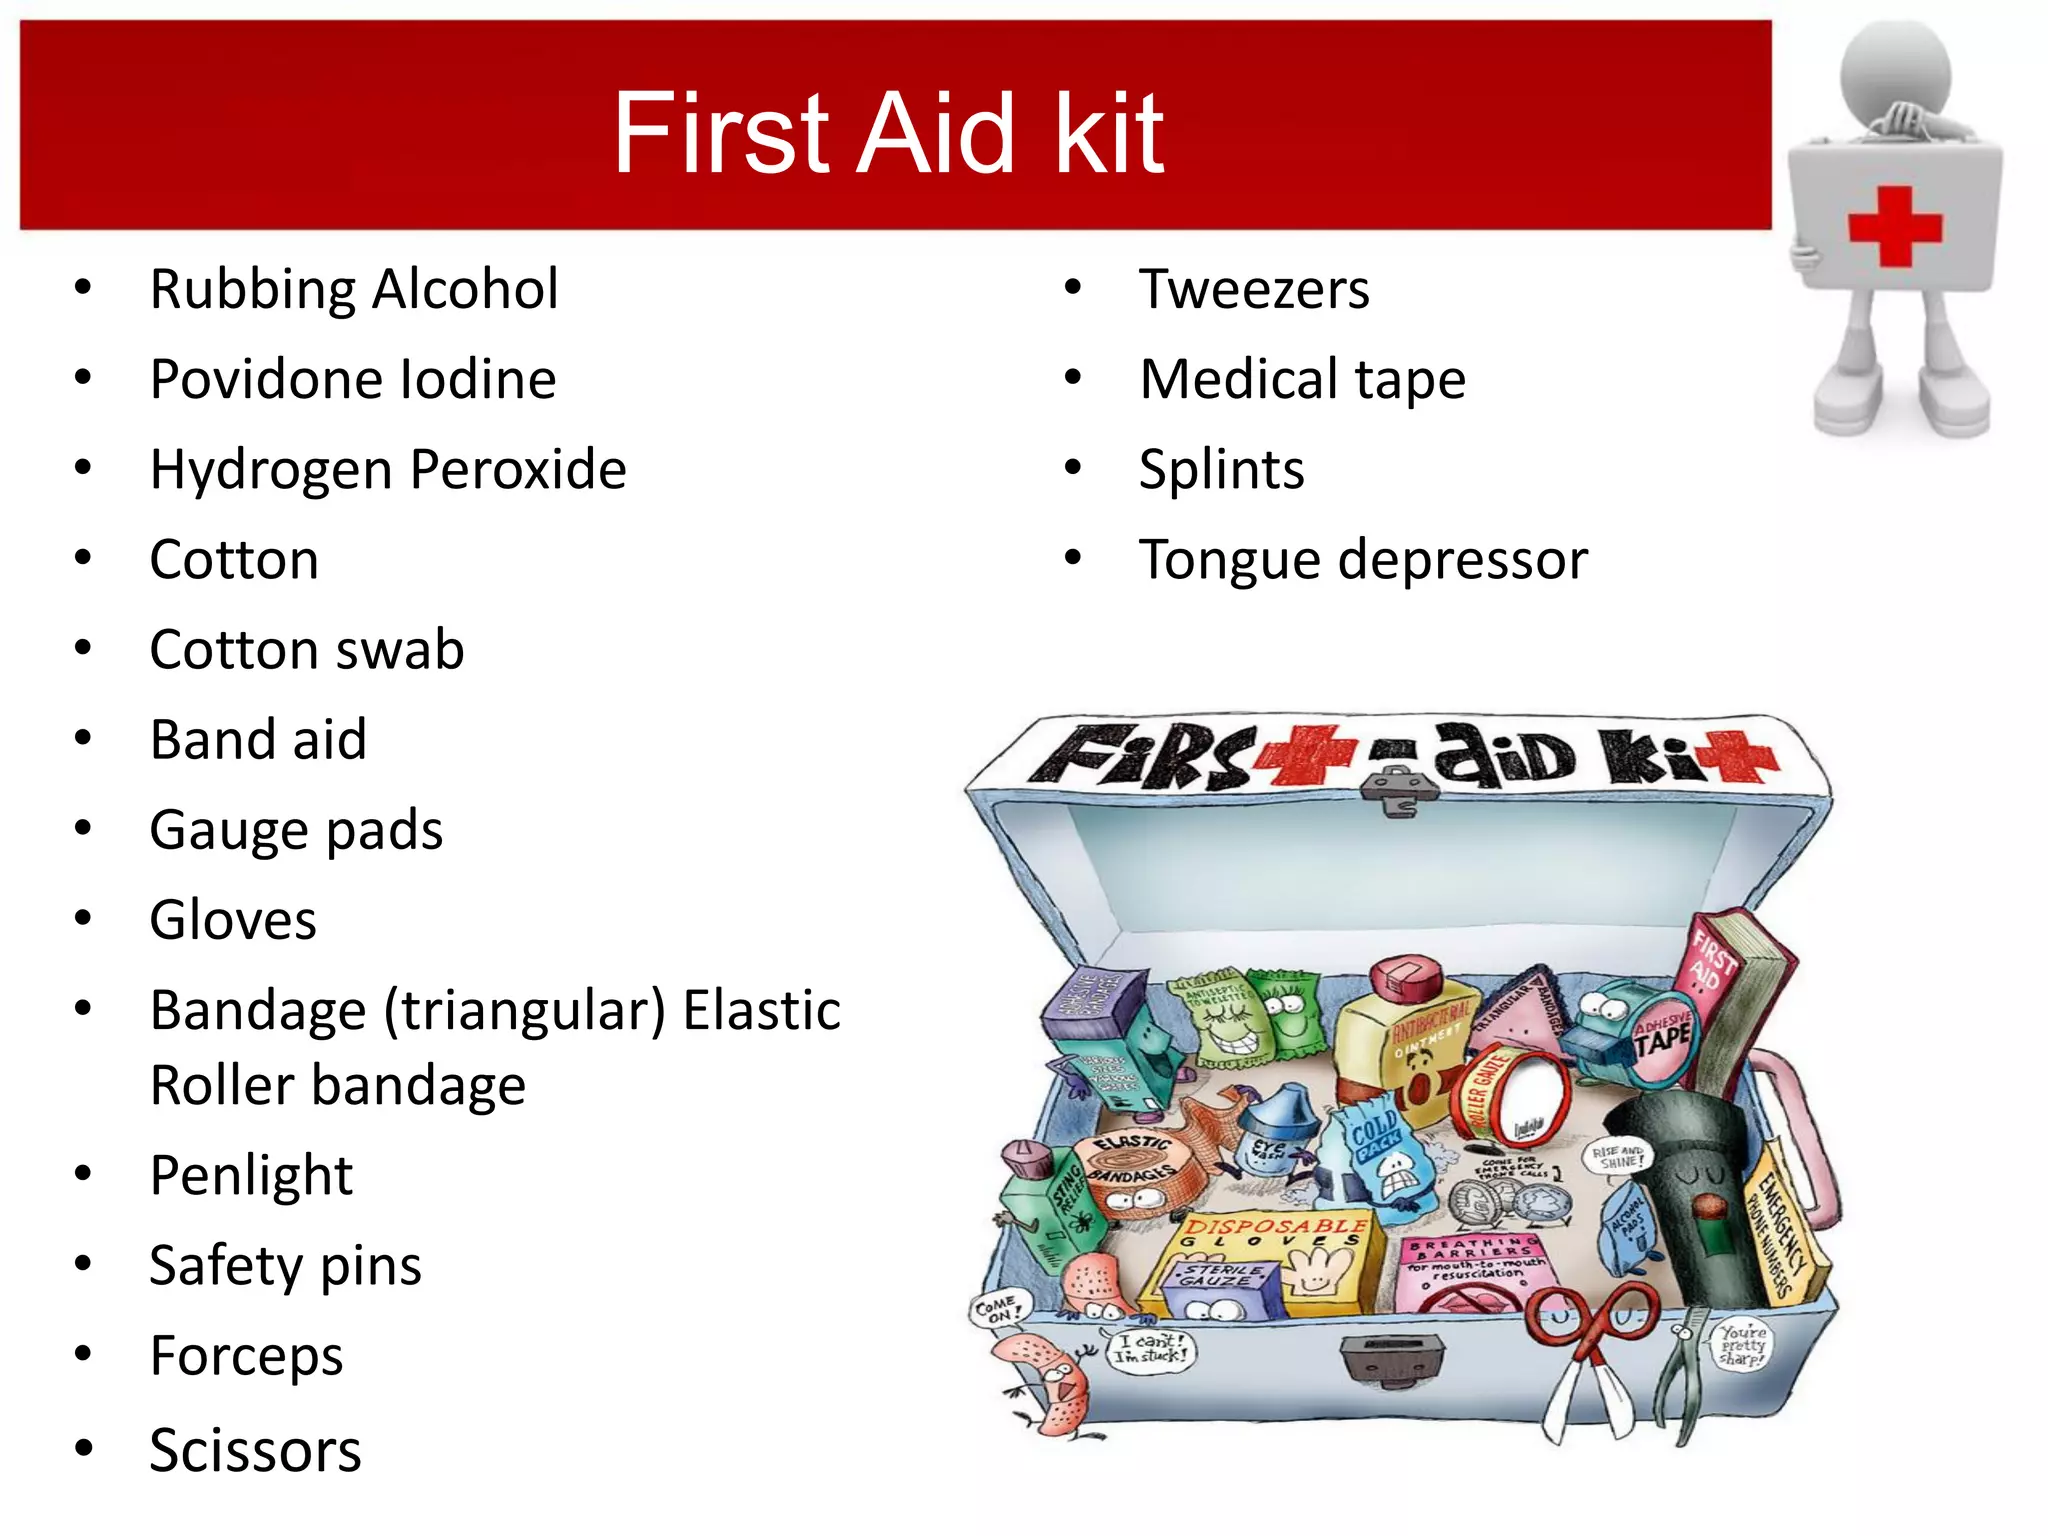
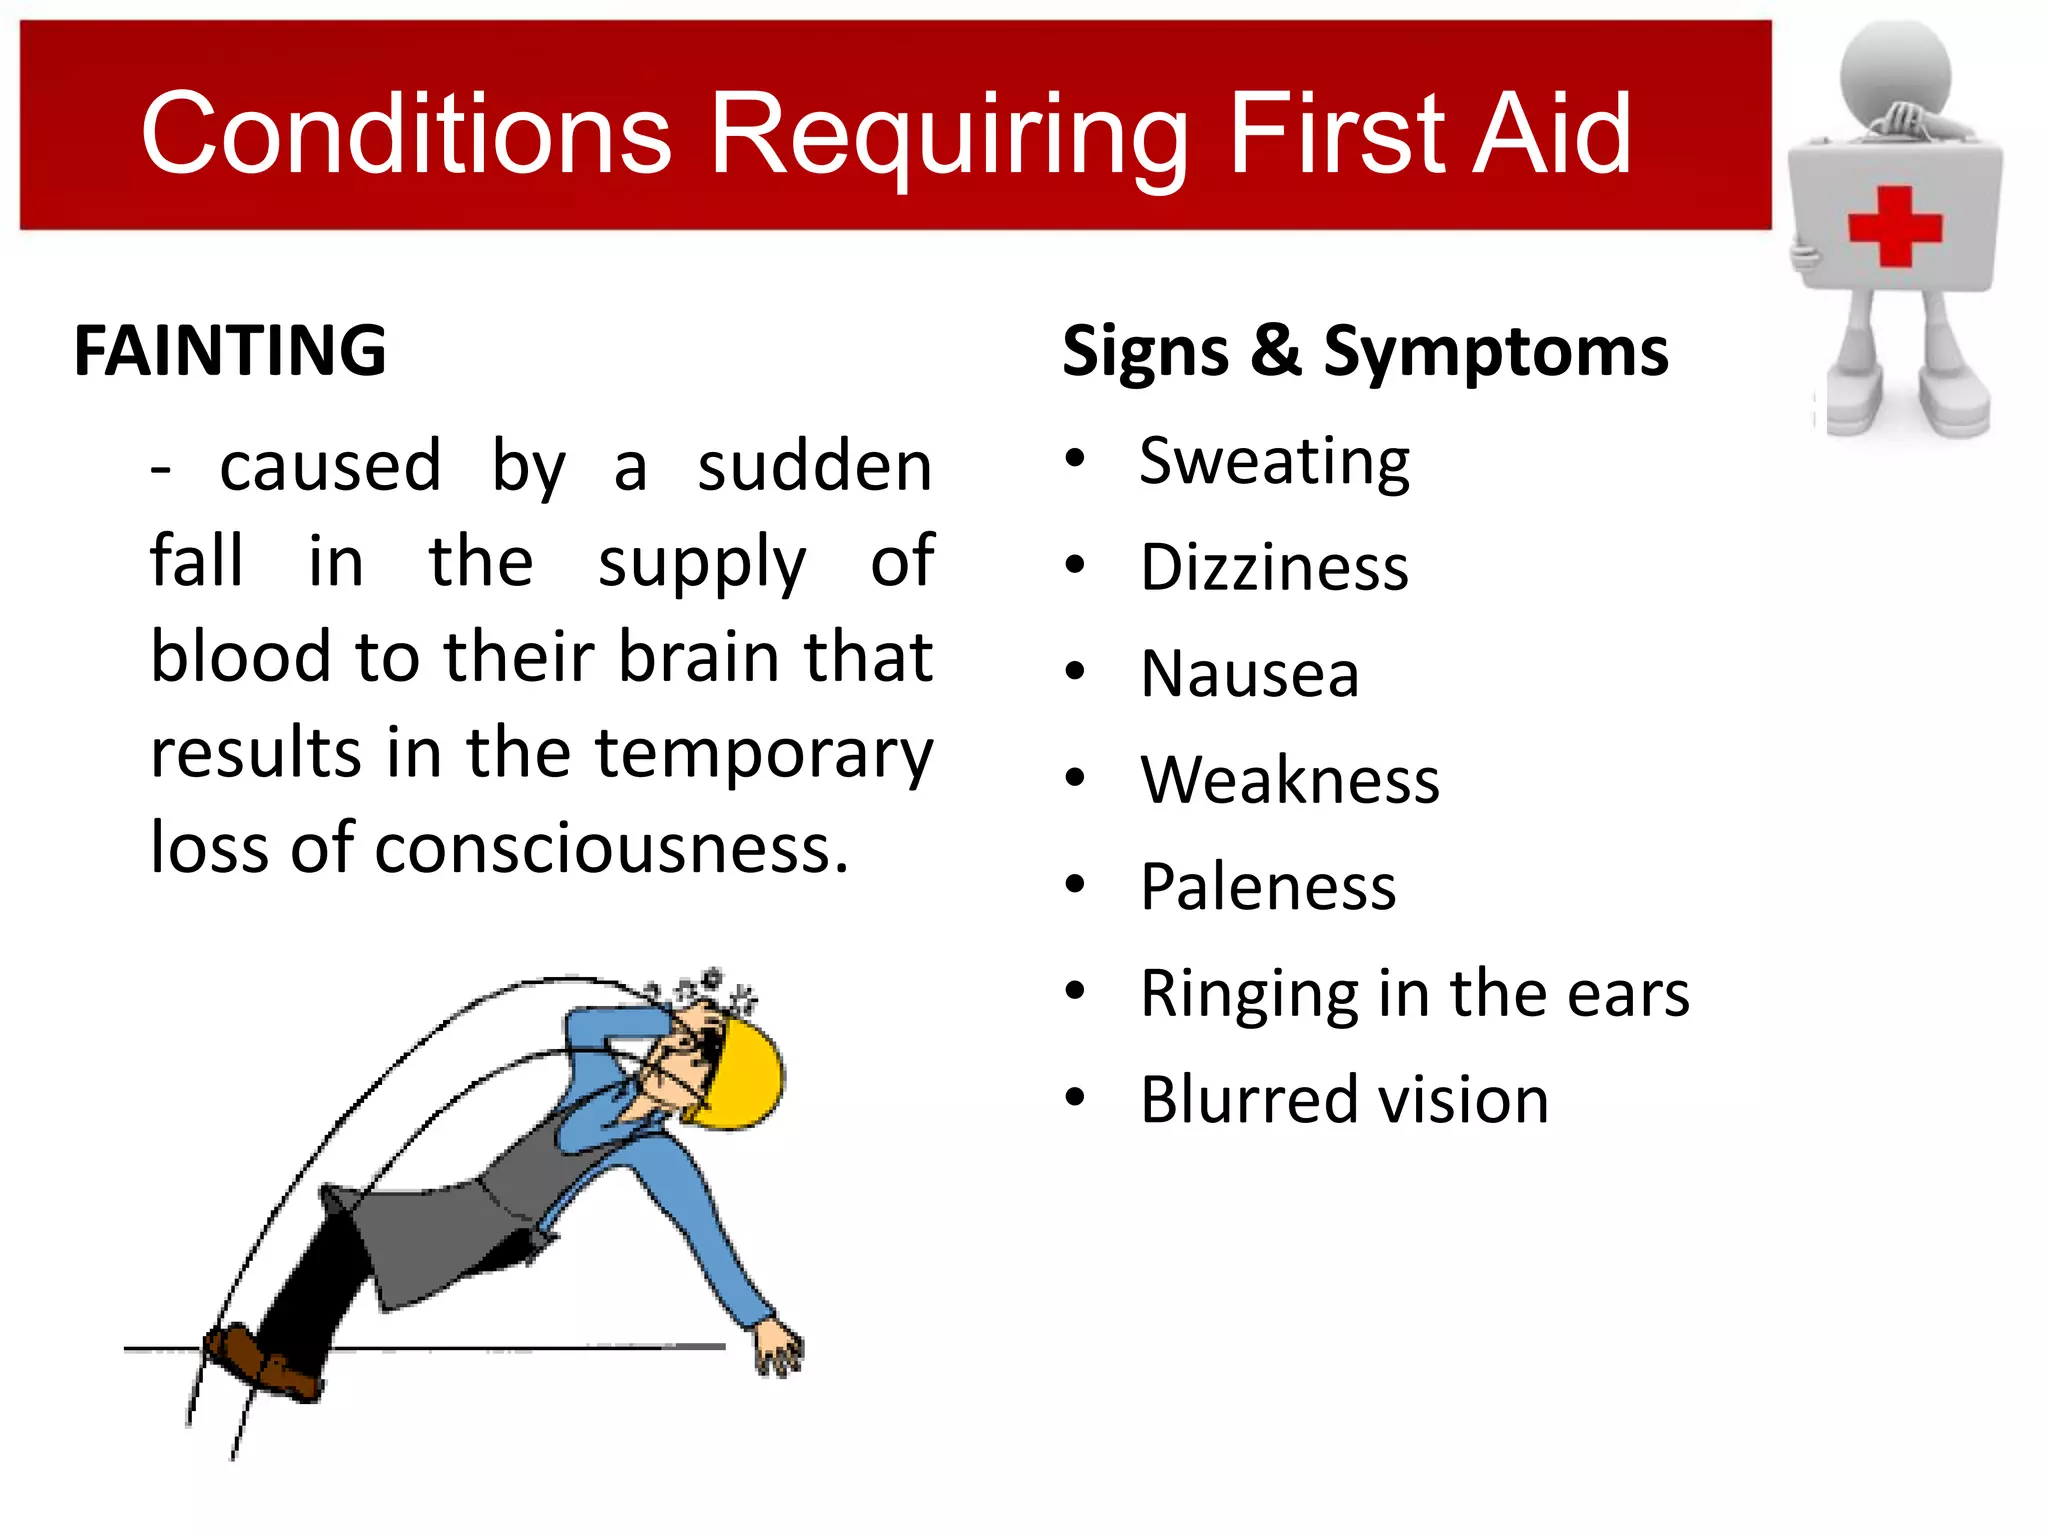

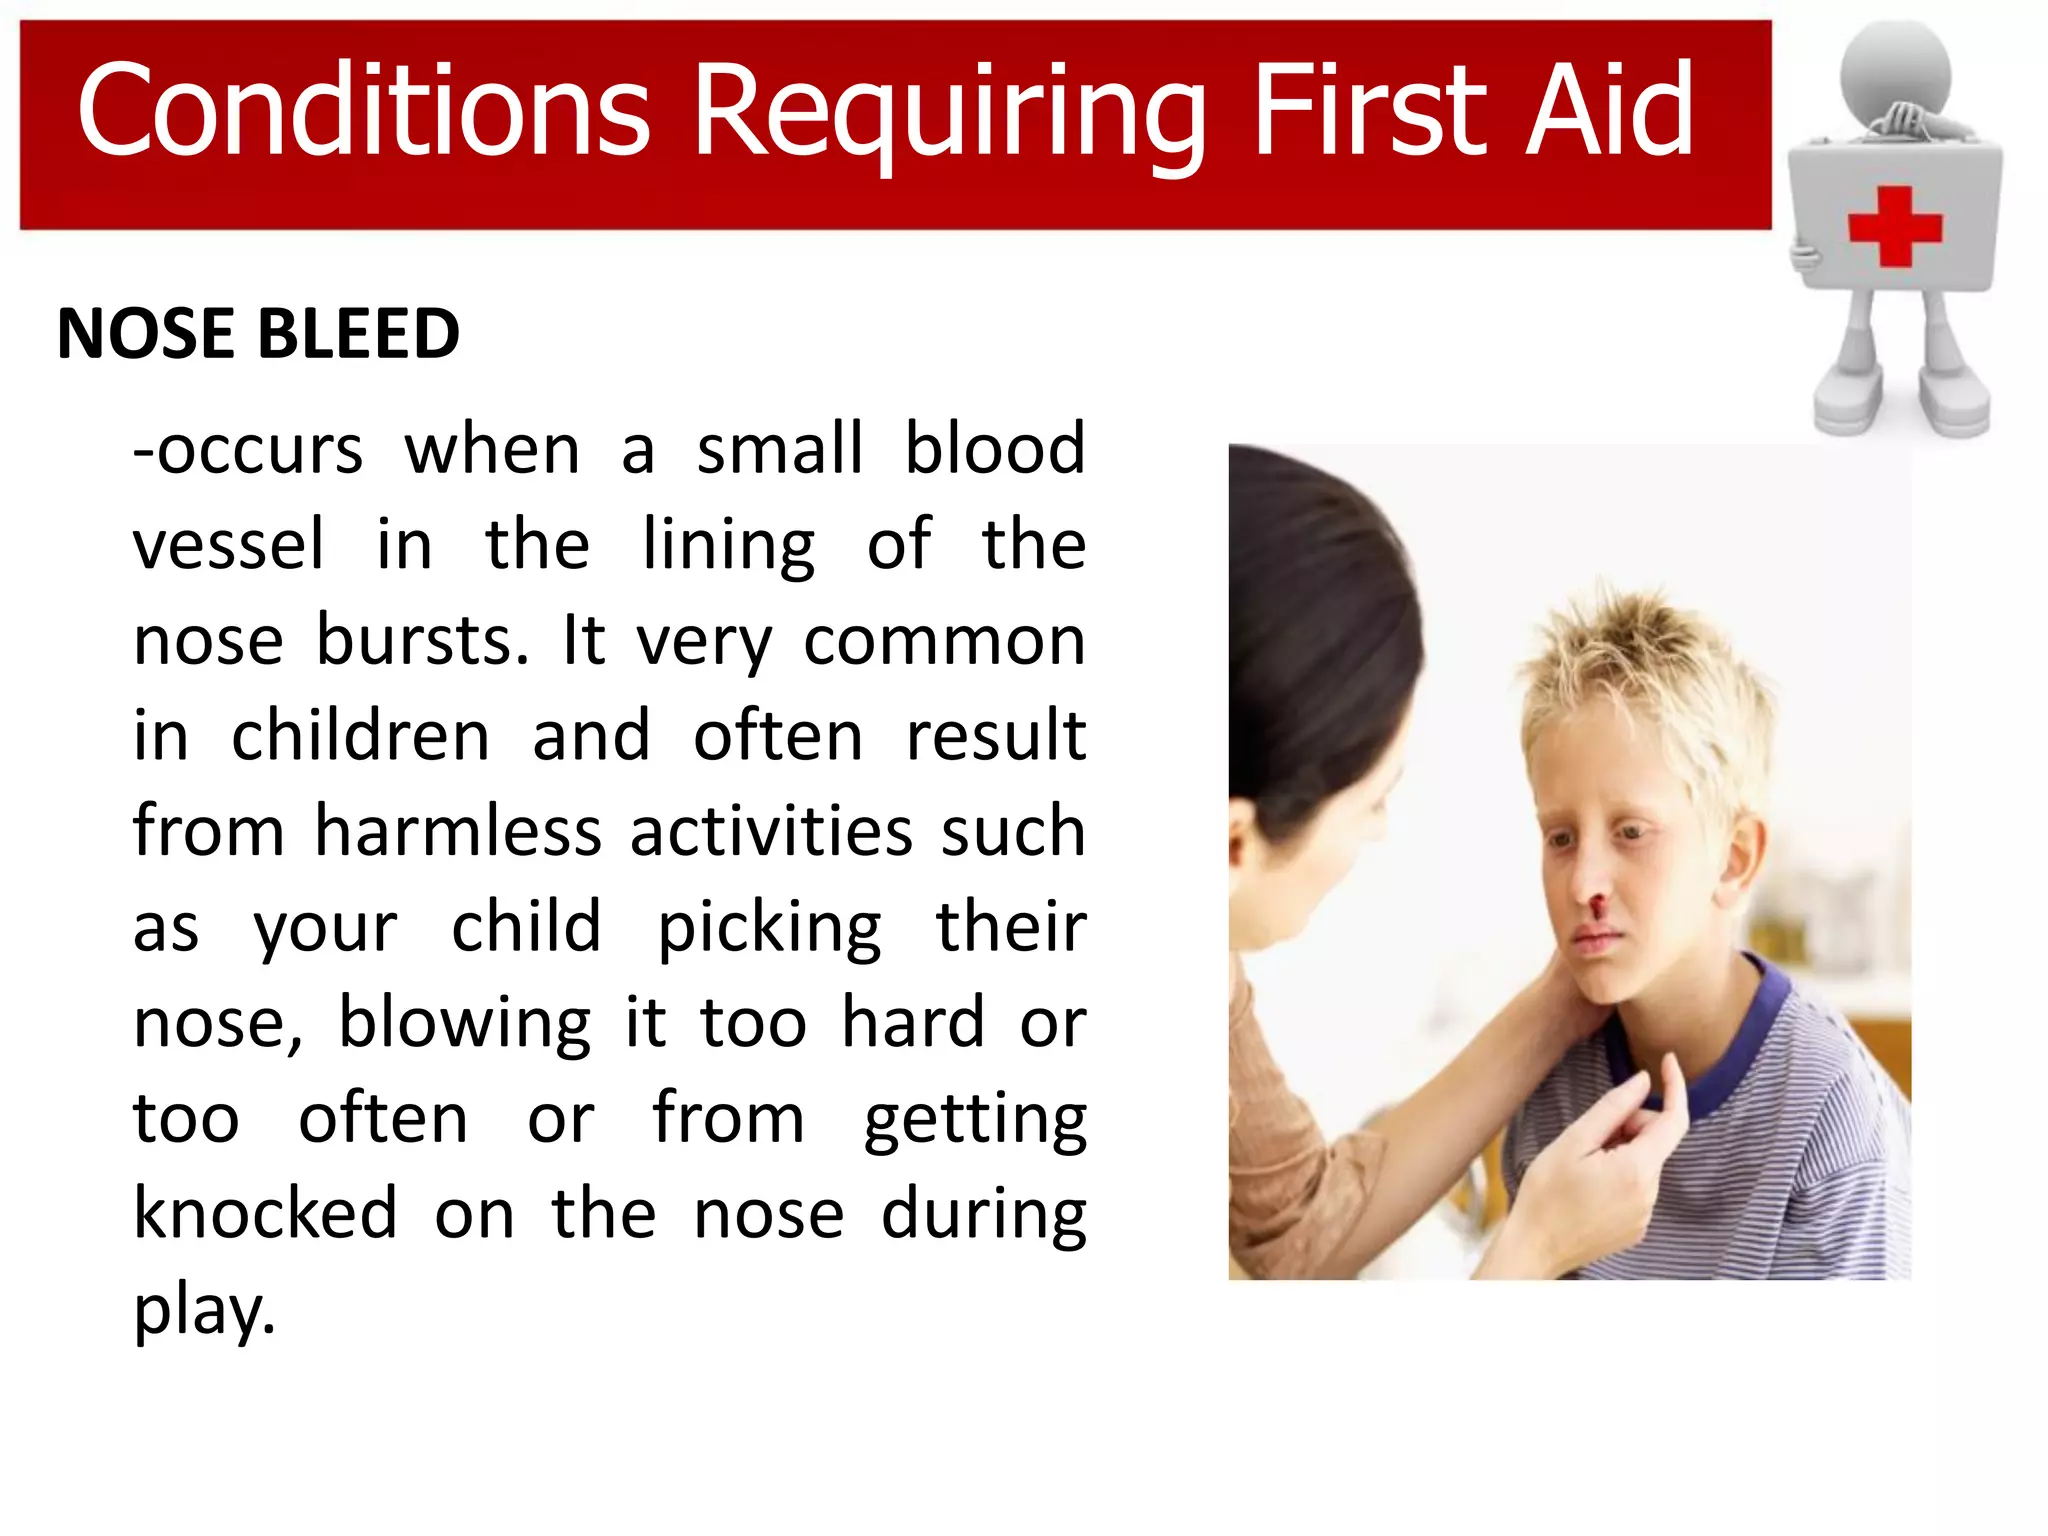


1. First aid provides immediate care for illness or injury until medical help arrives to prolong life, alleviate suffering, and prevent further injury. 2. A first aid kit contains essential supplies like bandages, antiseptics, gloves, and splints. 3. Common injuries and illnesses requiring first aid include fainting, nosebleeds, wounds, fractures, and burns. 4. Proper first aid techniques include controlling bleeding, preventing infection, immobilizing injuries, and seeking further help if needed.