This document provides guidelines for positioning and moving patients in emergency situations:
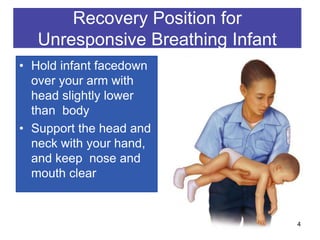
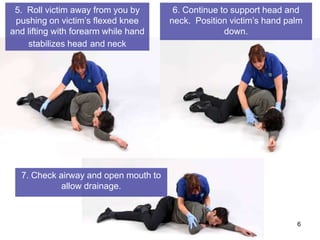
- Reposition patients only when necessary, placing unresponsive and non-trauma patients in the recovery position on their side. Do not move trauma patients unless treating a life-threatening condition.
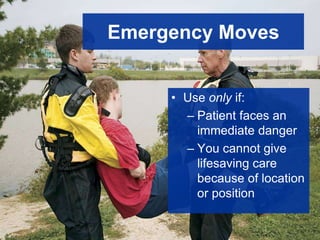
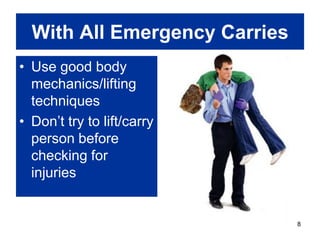
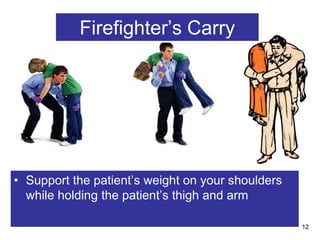
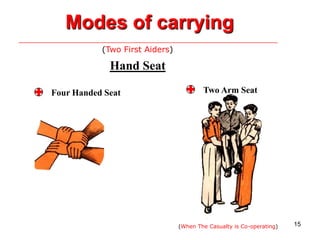
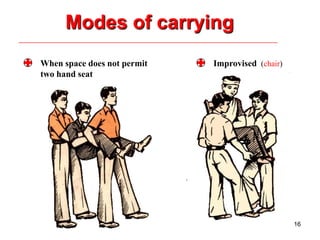
- Carry patients using proper lifting techniques to prevent injury, checking for injuries first. Use emergency carries like the firefighter's carry or pack-strap carry only if the patient faces immediate danger and you cannot otherwise provide care.
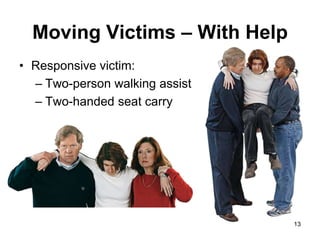
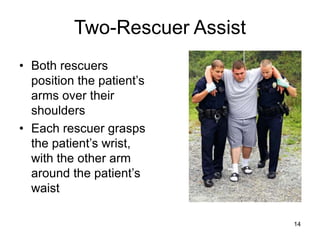
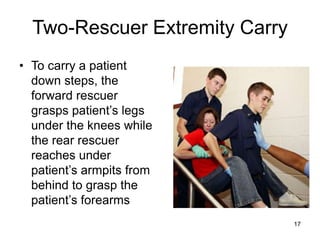
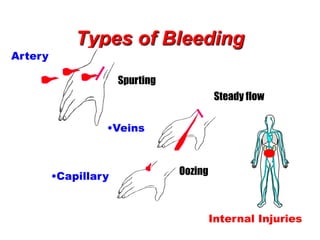
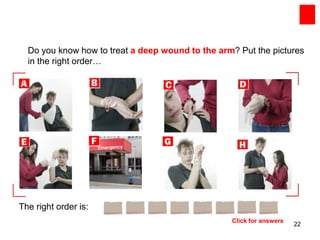
- When moving a patient with help, use assisted walking, two-person seat carries, or extremity carries down steps, supporting the patient's weight appropriately. Control bleeding through direct pressure, elevation, pressure bandages,