2. Process
• Experiment 1
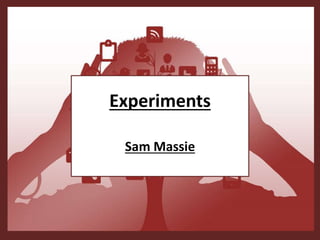
• This is my first experiment
that I created on
Photoshop. The first step
that I did in order to create
my poster was to create the
logo. I went for different
shapes to make the logo
stand out. I then created the
hands and a special effect
to both sides. Then I went
onto creating the guitar
which was the hardest
design to create for my
product, then I went onto
doing a title which was
behind the guitar and my
final design was to include
designs in the background
and that was the lightning
symbols.
3. Process
• Experiment 2
• This is my second experiment the first
step I did for my 2nd design was creating
the guitar and the speakers. They took a
bit of time to trace over and to make
sure that it looks accurate on both sides.
I tilted the guitar on top of the speaker
to give it an effect. I then added a text
message at the top right saying “lets
rock”, I gave it a font to the text and I
changed the sizing of the text, then I
including the lightning design on the top
left, to give this poster a powerful effect.
The last step I did was to colour the
background by using the pain bucket
tool which was green. I chose green
because I wanted to give the poster an
Halloween affect.
4. Process
• Experiment 3
• This is my 3rd experiment project, the
first step that I did was creating the
speakers because that was my main
design for my poster, I added a styles of
the circles to give the speaker an effect, I
then added text next to the speakers
saying “rock you” and I added red circles
under some of the words because it was
based of an Halloween festive, the next
step I did was creating the logo, I added
shapes such as: circles and shapes to
make the logo stand out. The last step
was to change the background by
adding a colour green to give it an
Halloween effect like my text in this
poster.
5. Process
• Experiment 4
• This is my 4th experiment and this poster
was short because I wanted to make it
basic for the audience that is not
familiar with rock. My first step was to
create the guitar seeing as that’s the
main design of my poster. Then my last
step was to create the rock in text by
giving it a font and some colour to make
it stand out.
6. Process
• Experiment 5
• This is my 5th and final experiment, this
poster was a basic design that I have
created on Photoshop. The first step that
I did was creating my poster and then I
drew the hands that represent rock. The
next step was to include the word rock
and I have included colour to the text. I
made it stand out by making the text
bigger. The next step was to create the
lightning at the top middle of the poster
to give it a powerful effect. The last step
to complete my poster was to include a
colour for the background and I chose
green to give it a Halloween effect.
7. Reflection
• What elements of your experiments will you include
in your final product?
• The elements that I will include in my final product are:
shapes, colours, fonts, objects, logo, people and a
design for a background. The 5 experiments that I have
on each slide represents what kind of design I have
used for my posters. Some of the slides have basic
designs whereas other slides has more advance
designs. These slides that I have created are about a
rock band and I chose a poster to gather my designs for
my final product.
Editor's Notes
Discuss the tools and processes used in your experiments
Discuss the tools and processes used in your experiments
Discuss the tools and processes used in your experiments
Discuss the tools and processes used in your experiments
Discuss the tools and processes used in your experiments