Downloaded 848 times
![Glog All! Jan McGee, Technology Coordinator West Monroe High School 201 Riggs Street West Monroe, LA 71291 Library Coordinator Ouachita Parish School System [email_address] Glog One! Glog On! Glog On!](https://image.slidesharecdn.com/glogon-1226442320441964-9/75/Glog-On-1-2048.jpg)
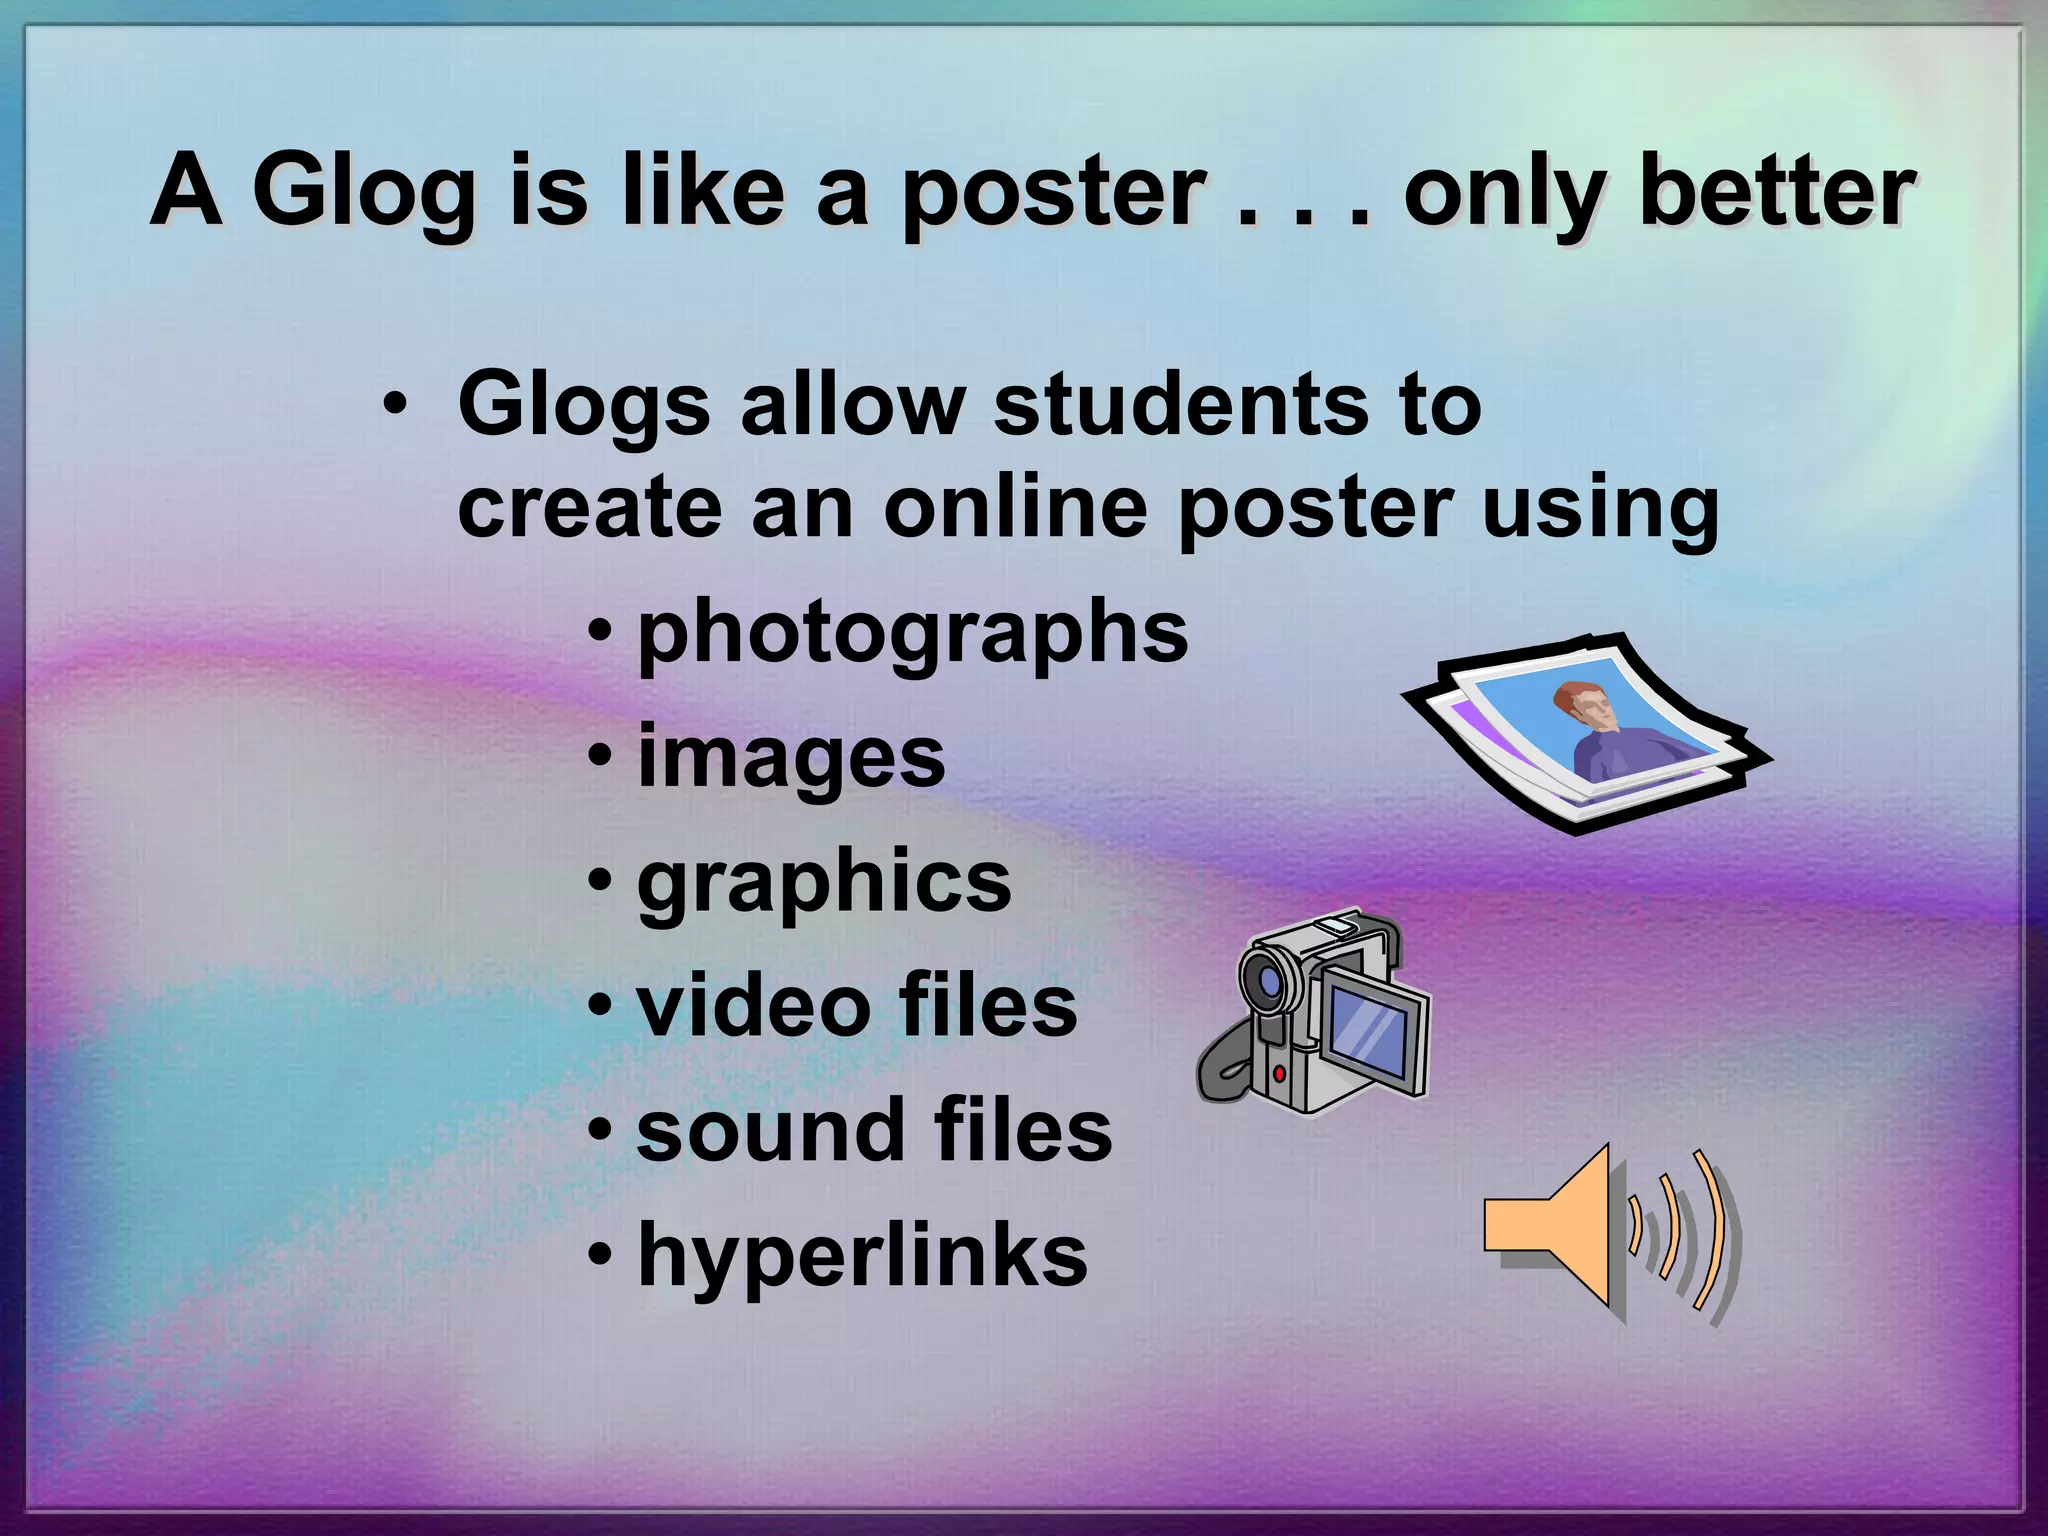


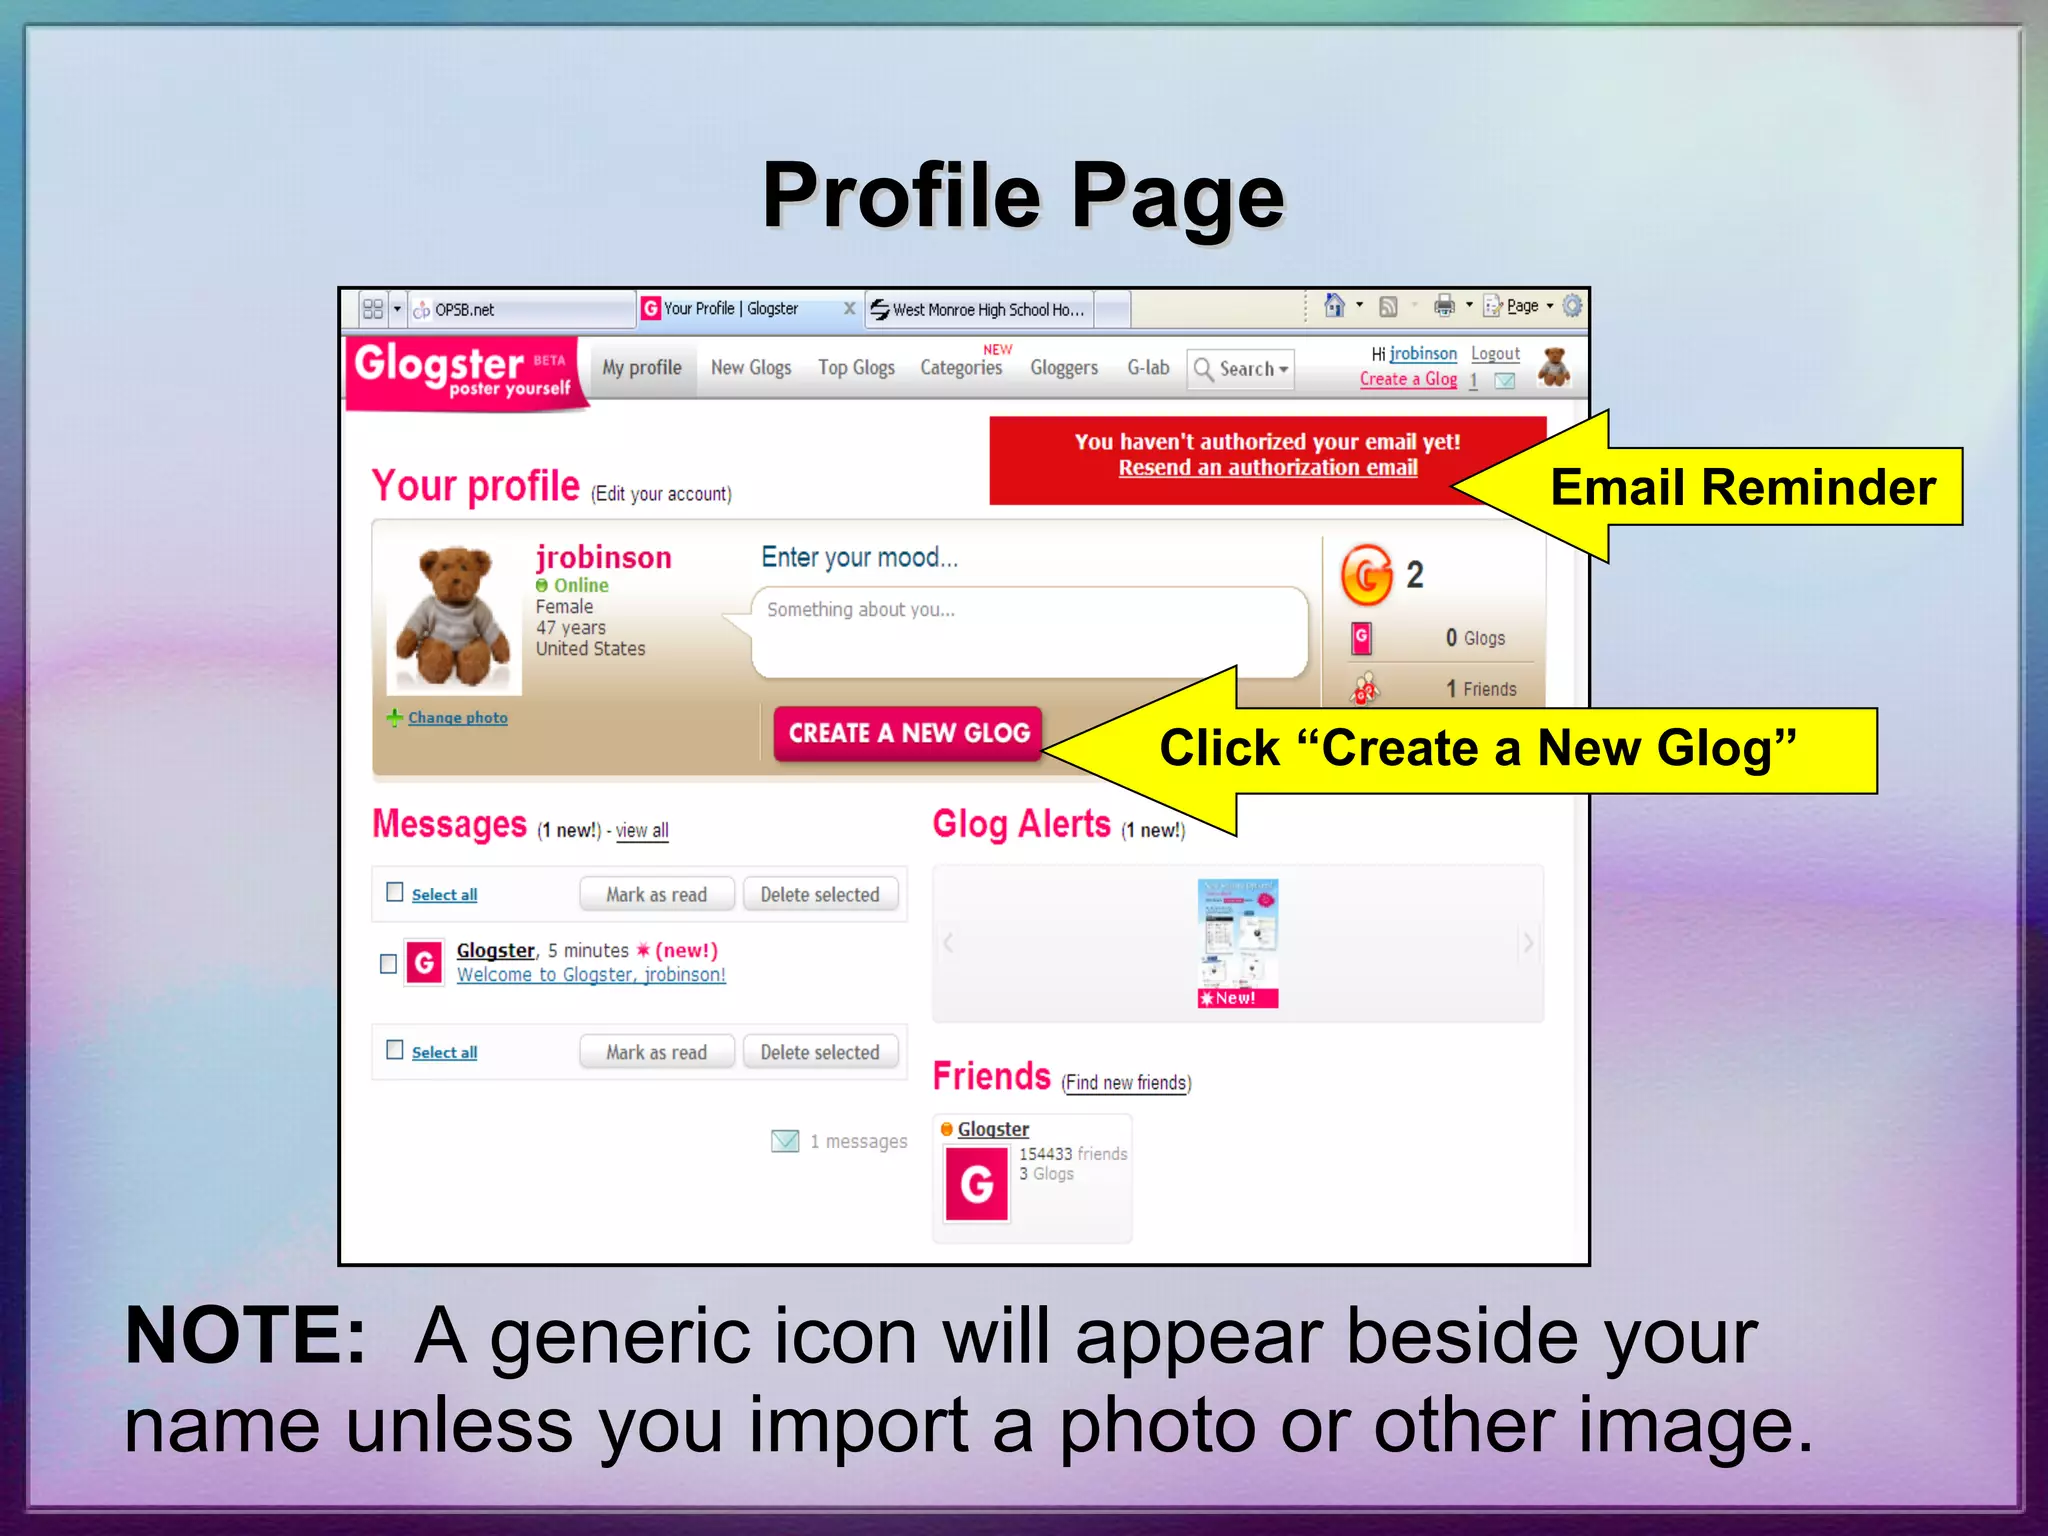
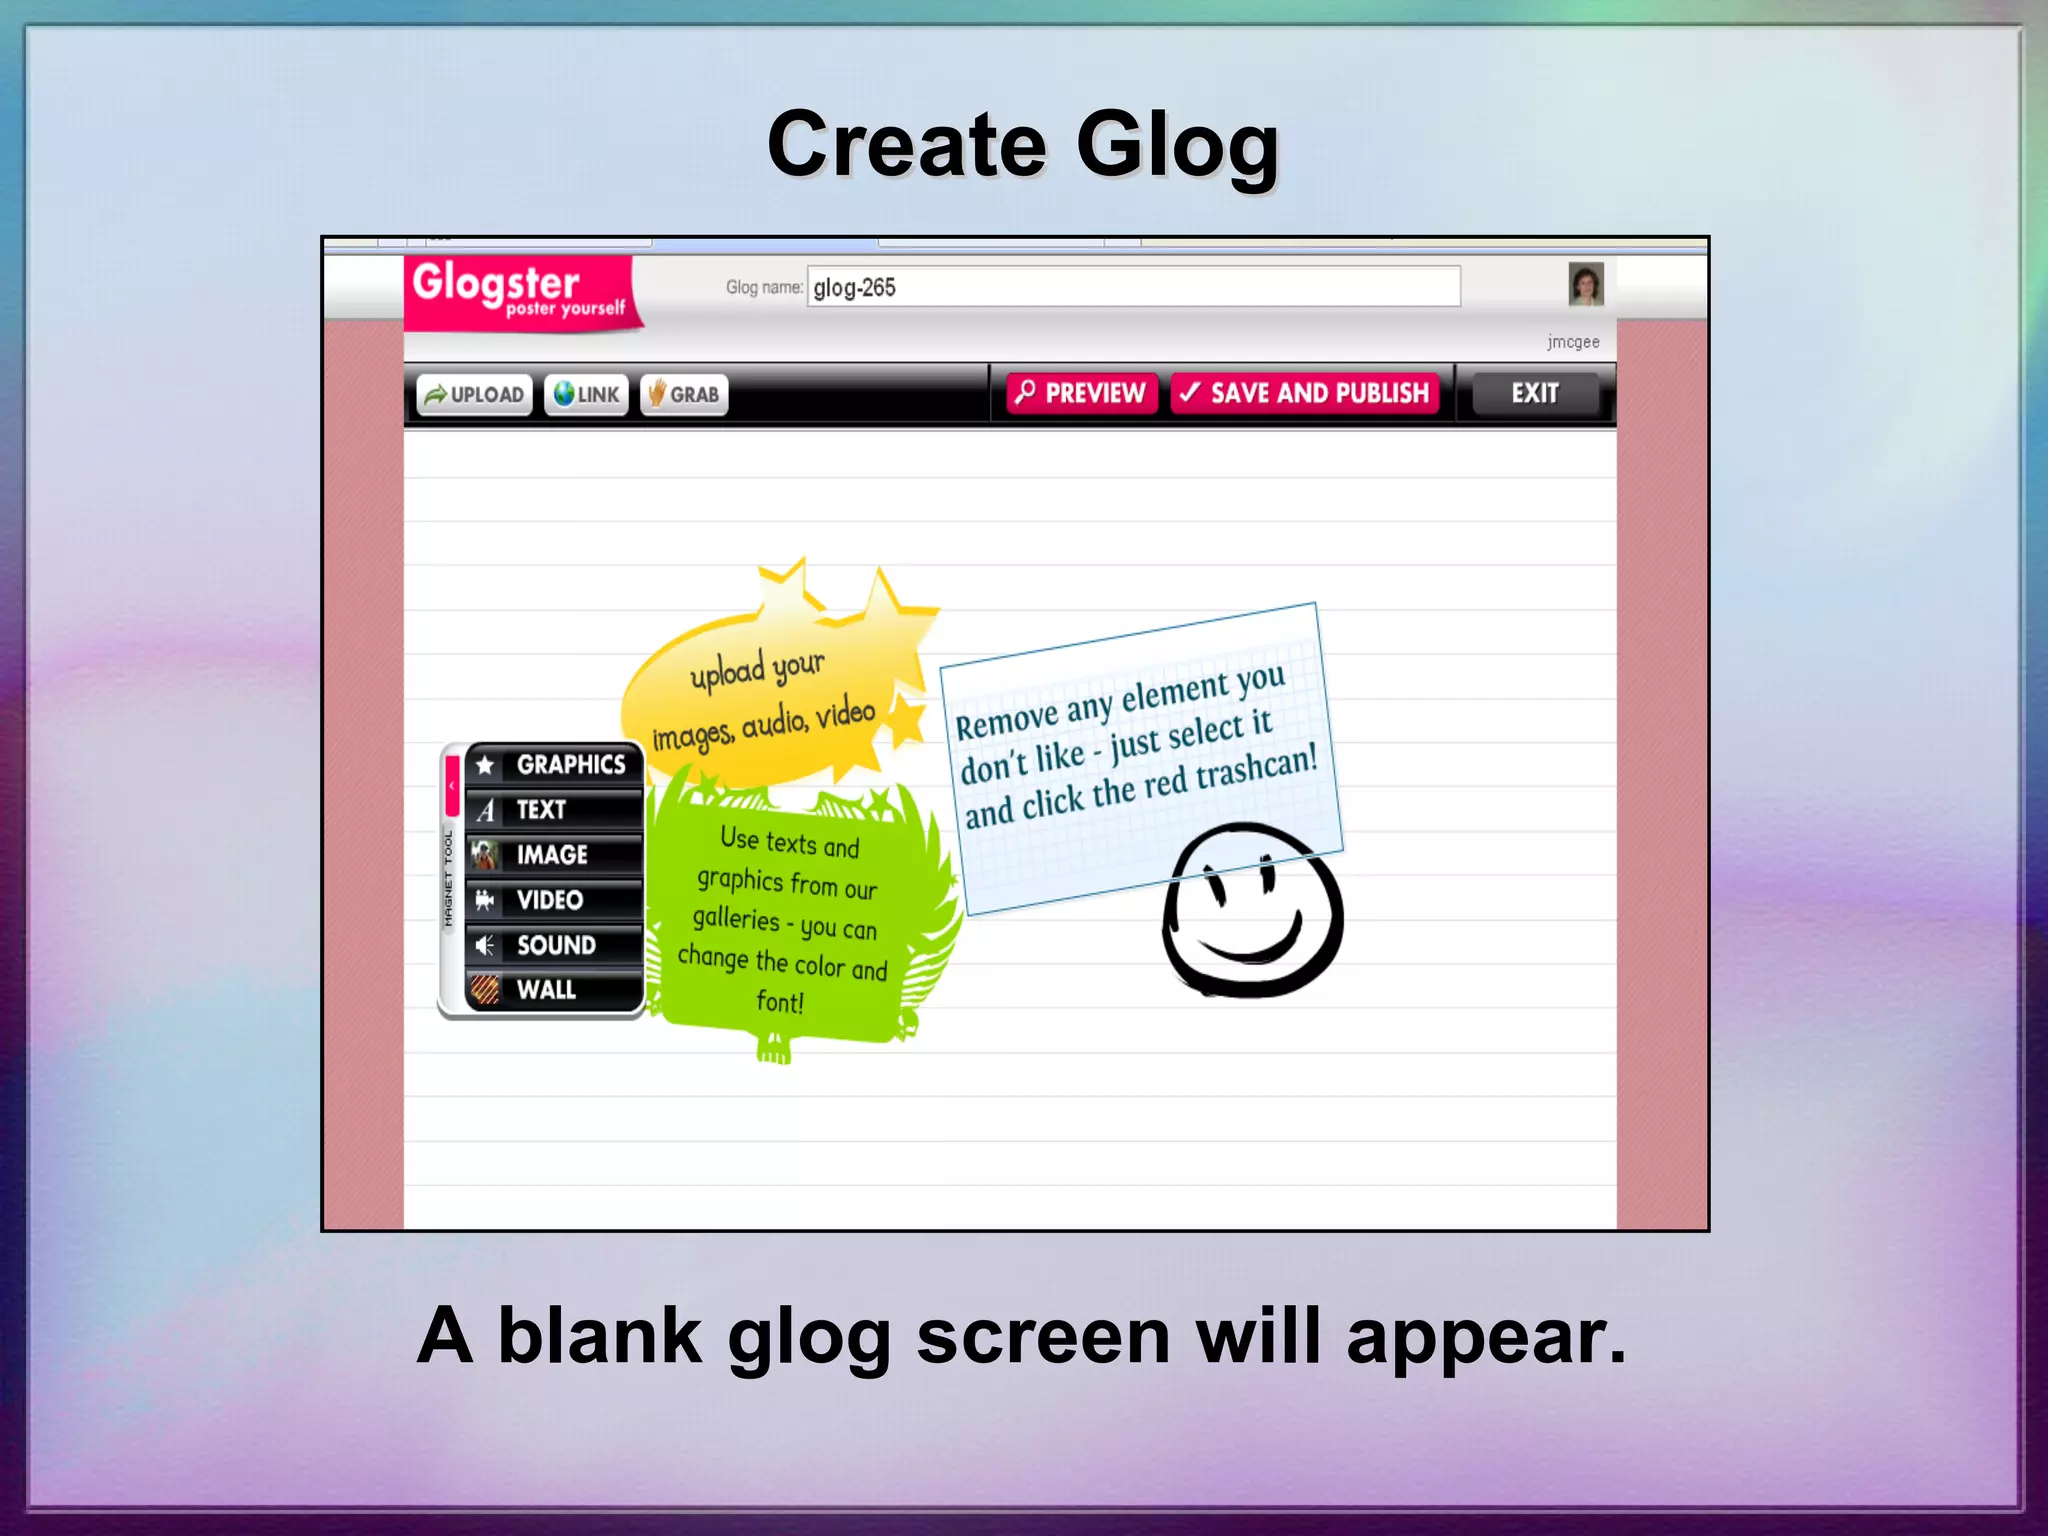


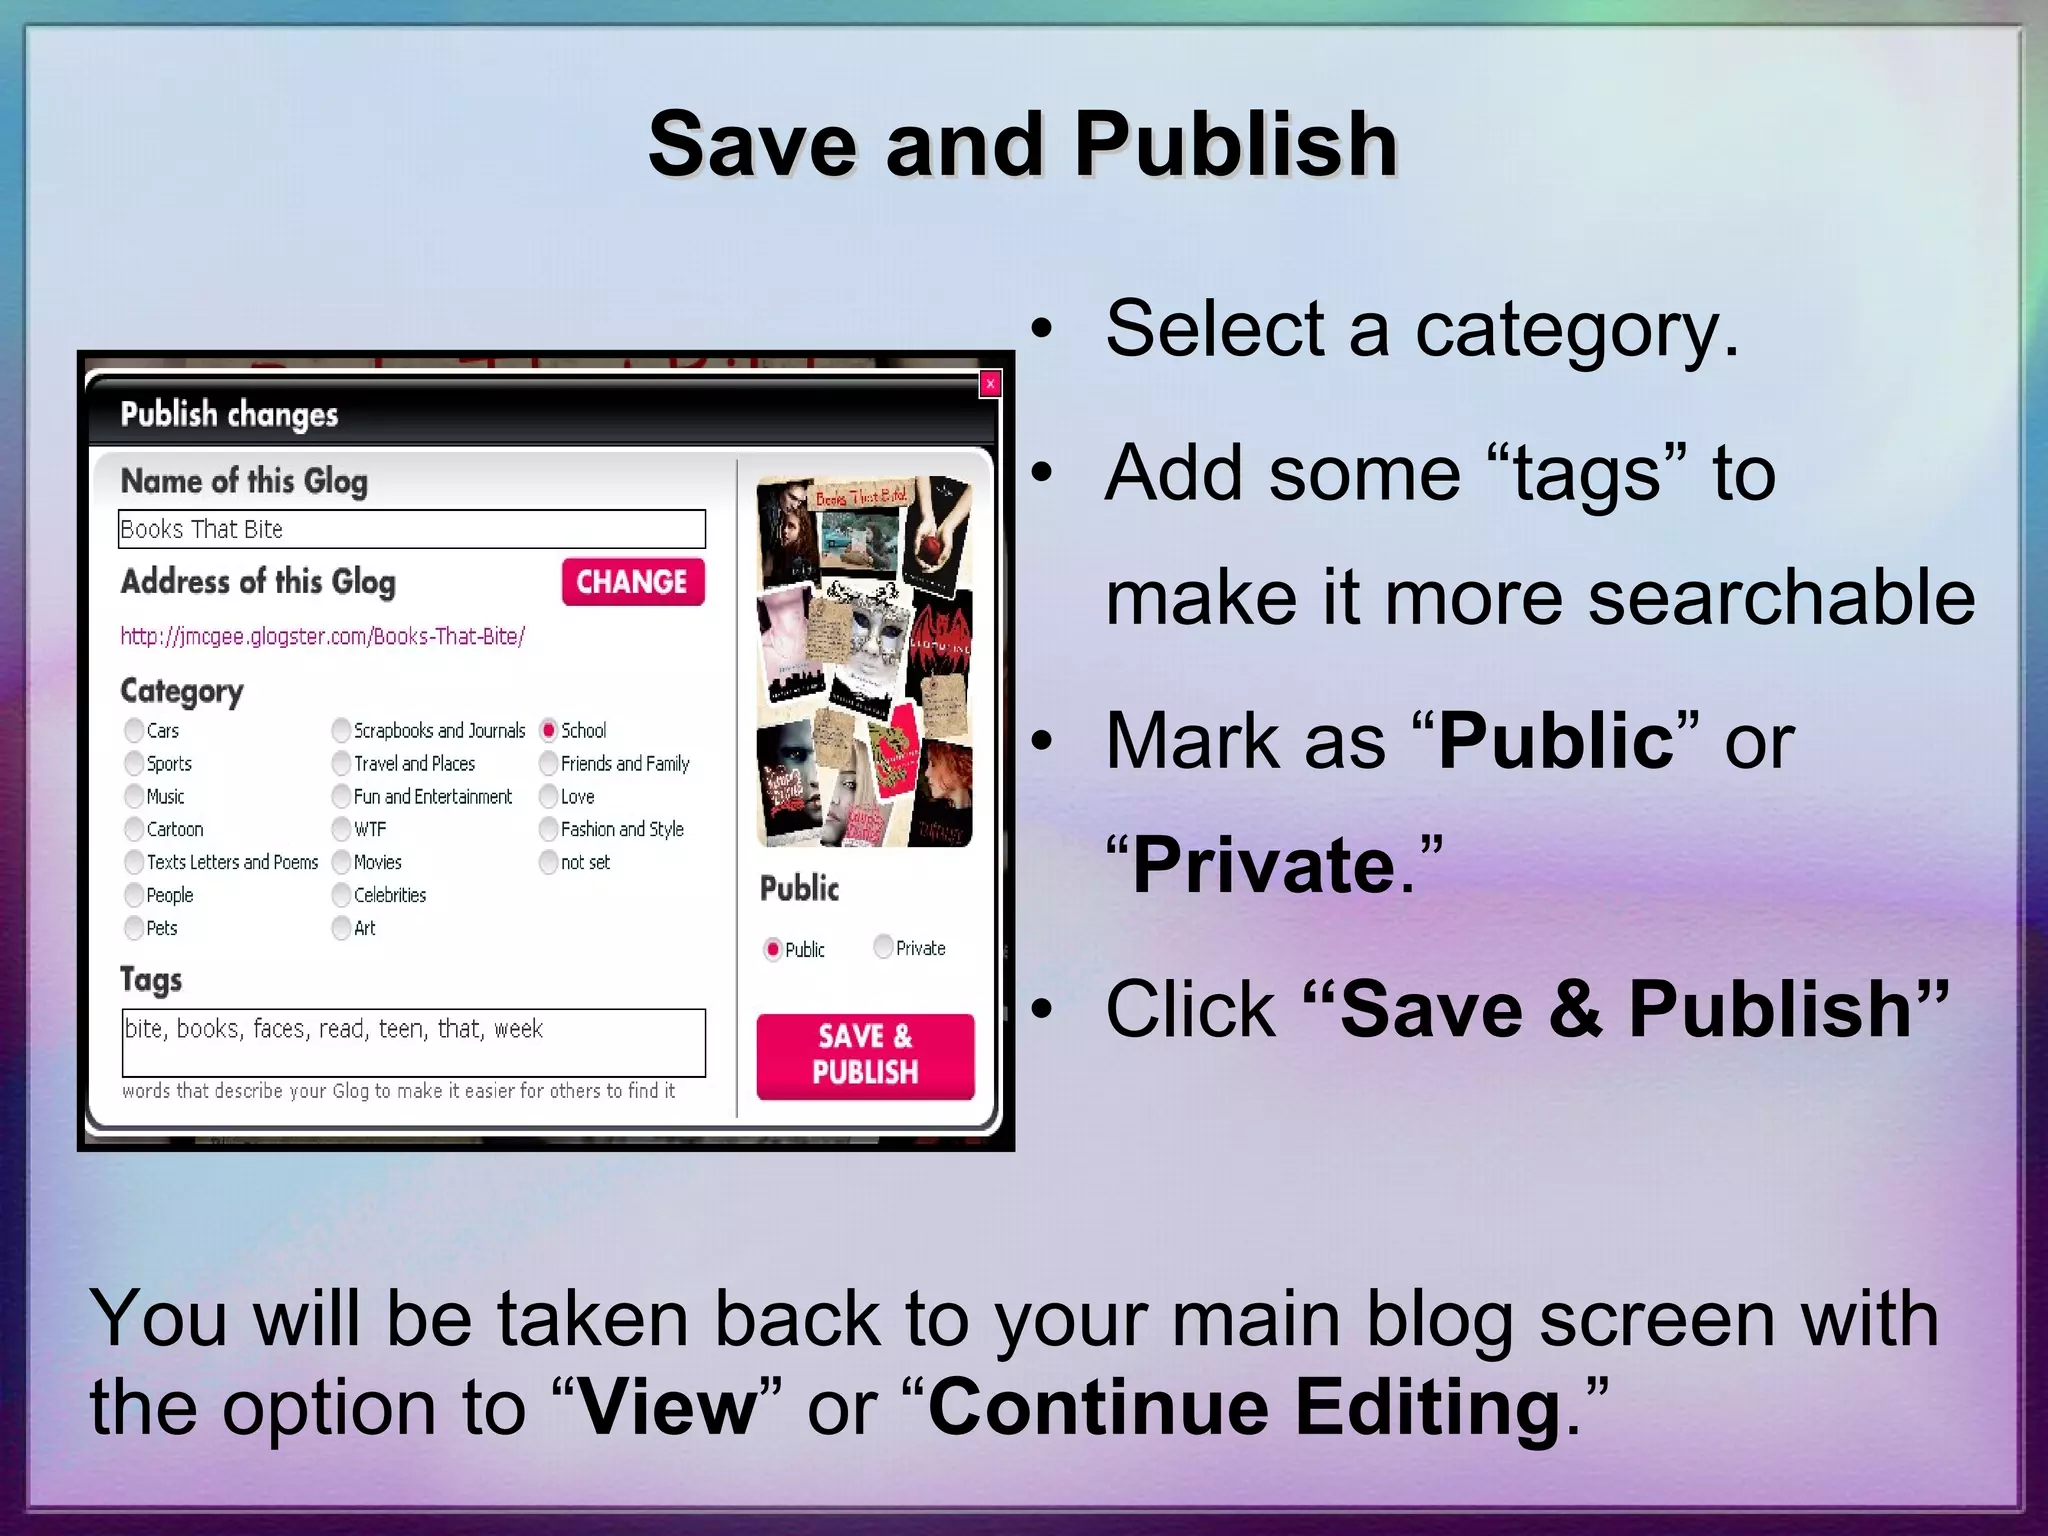


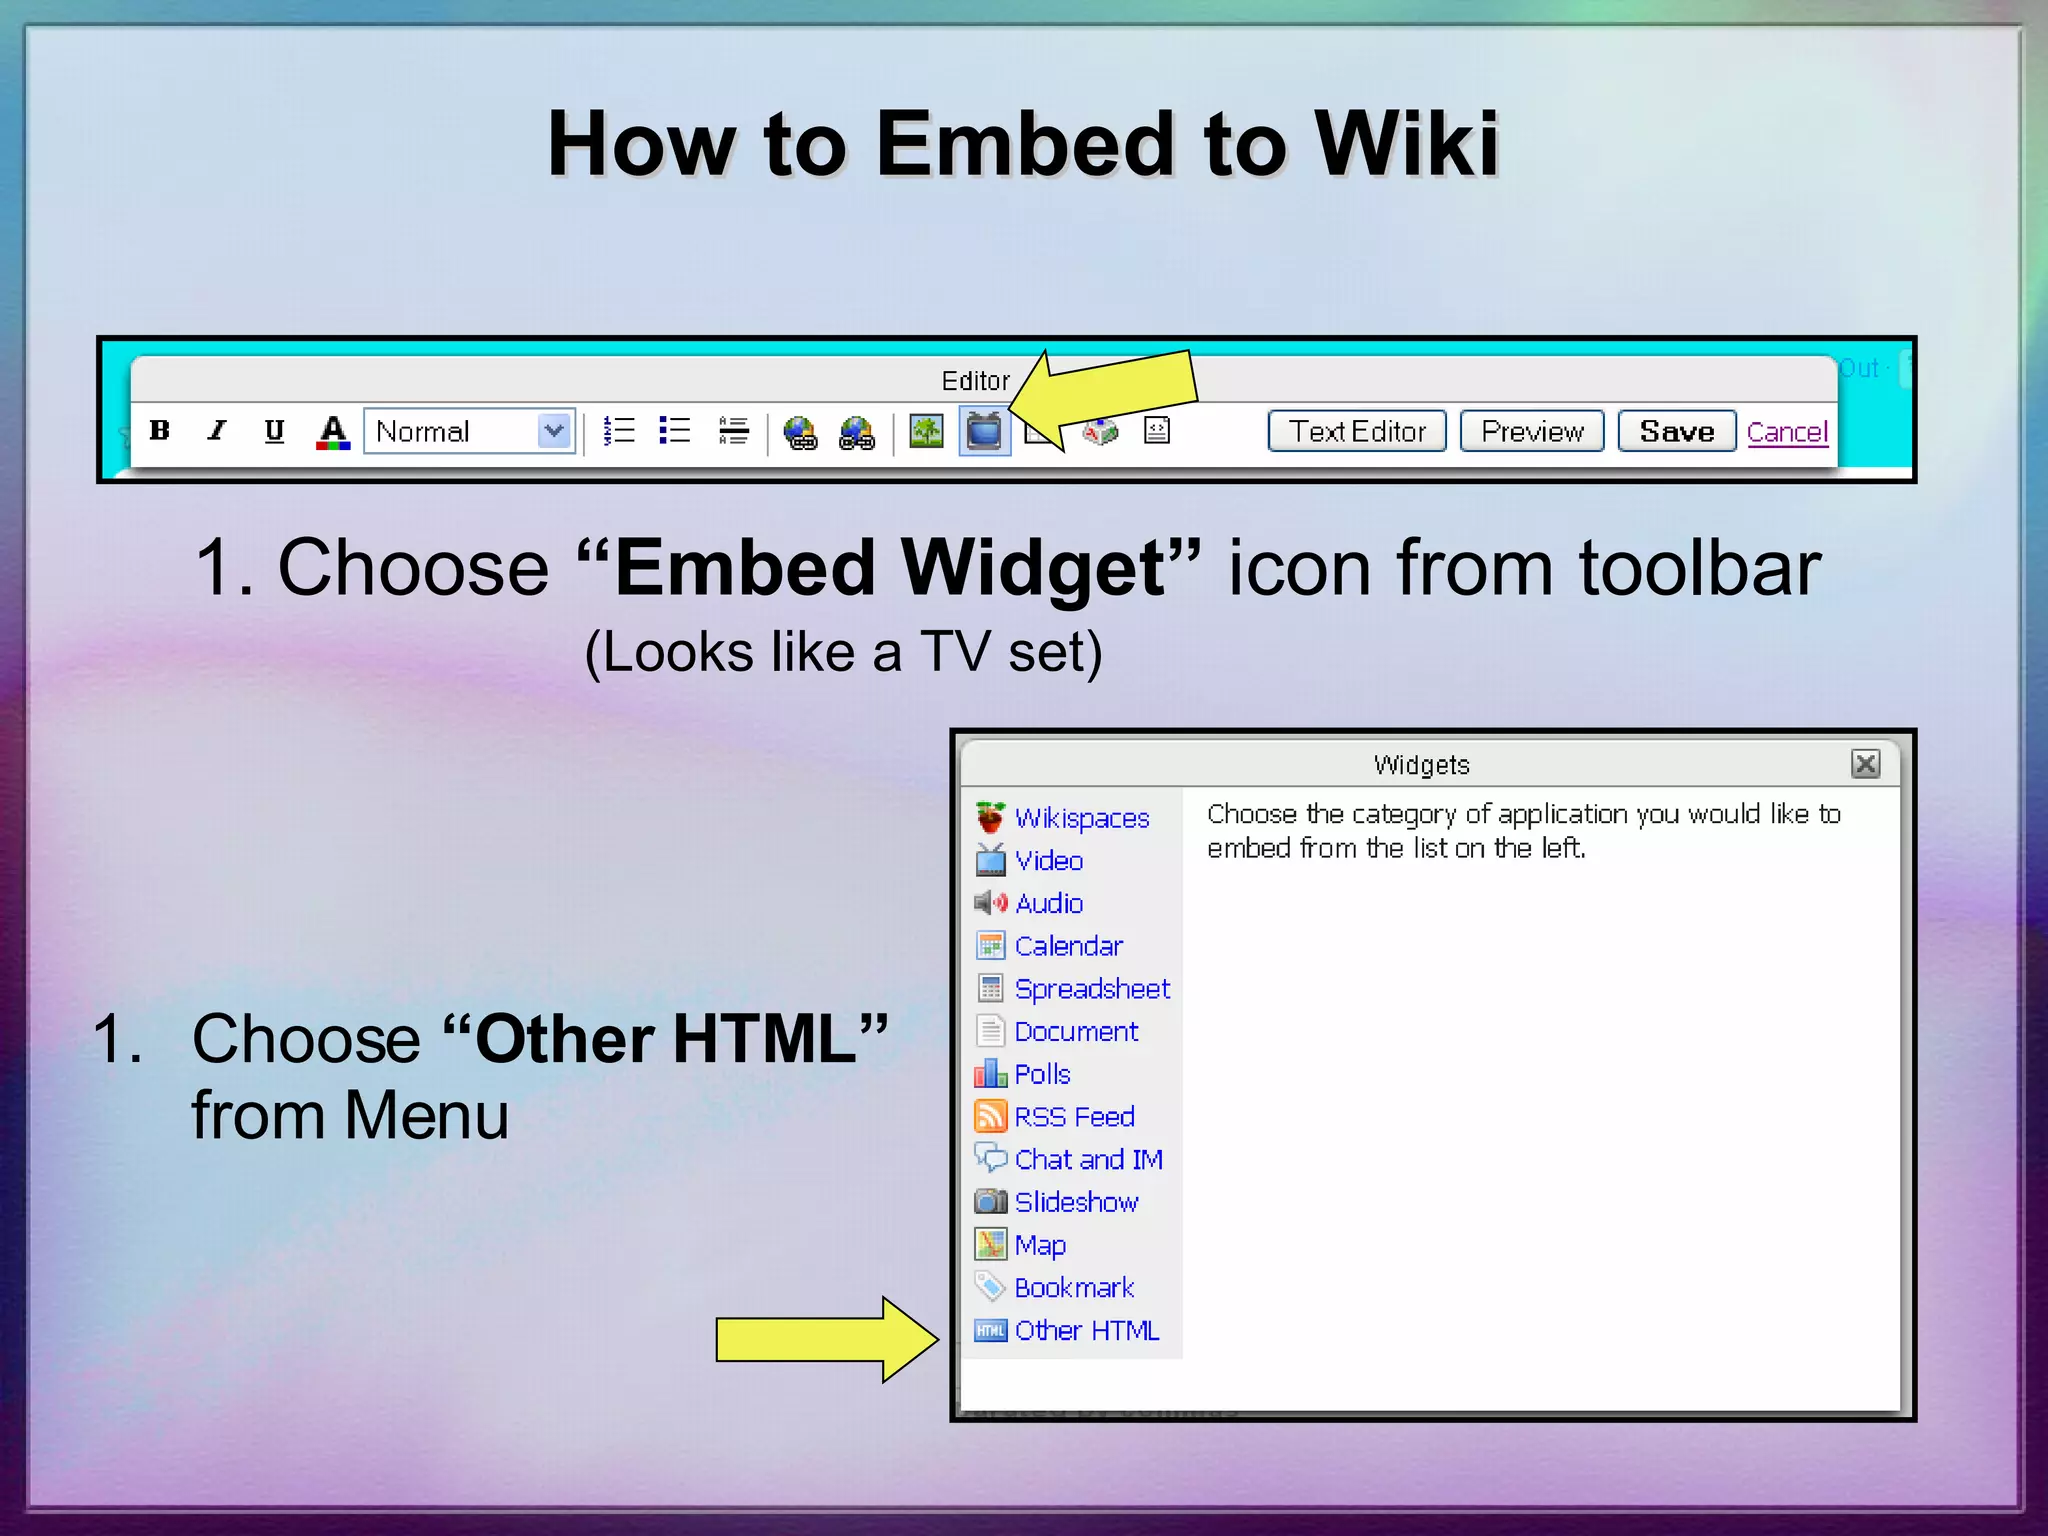


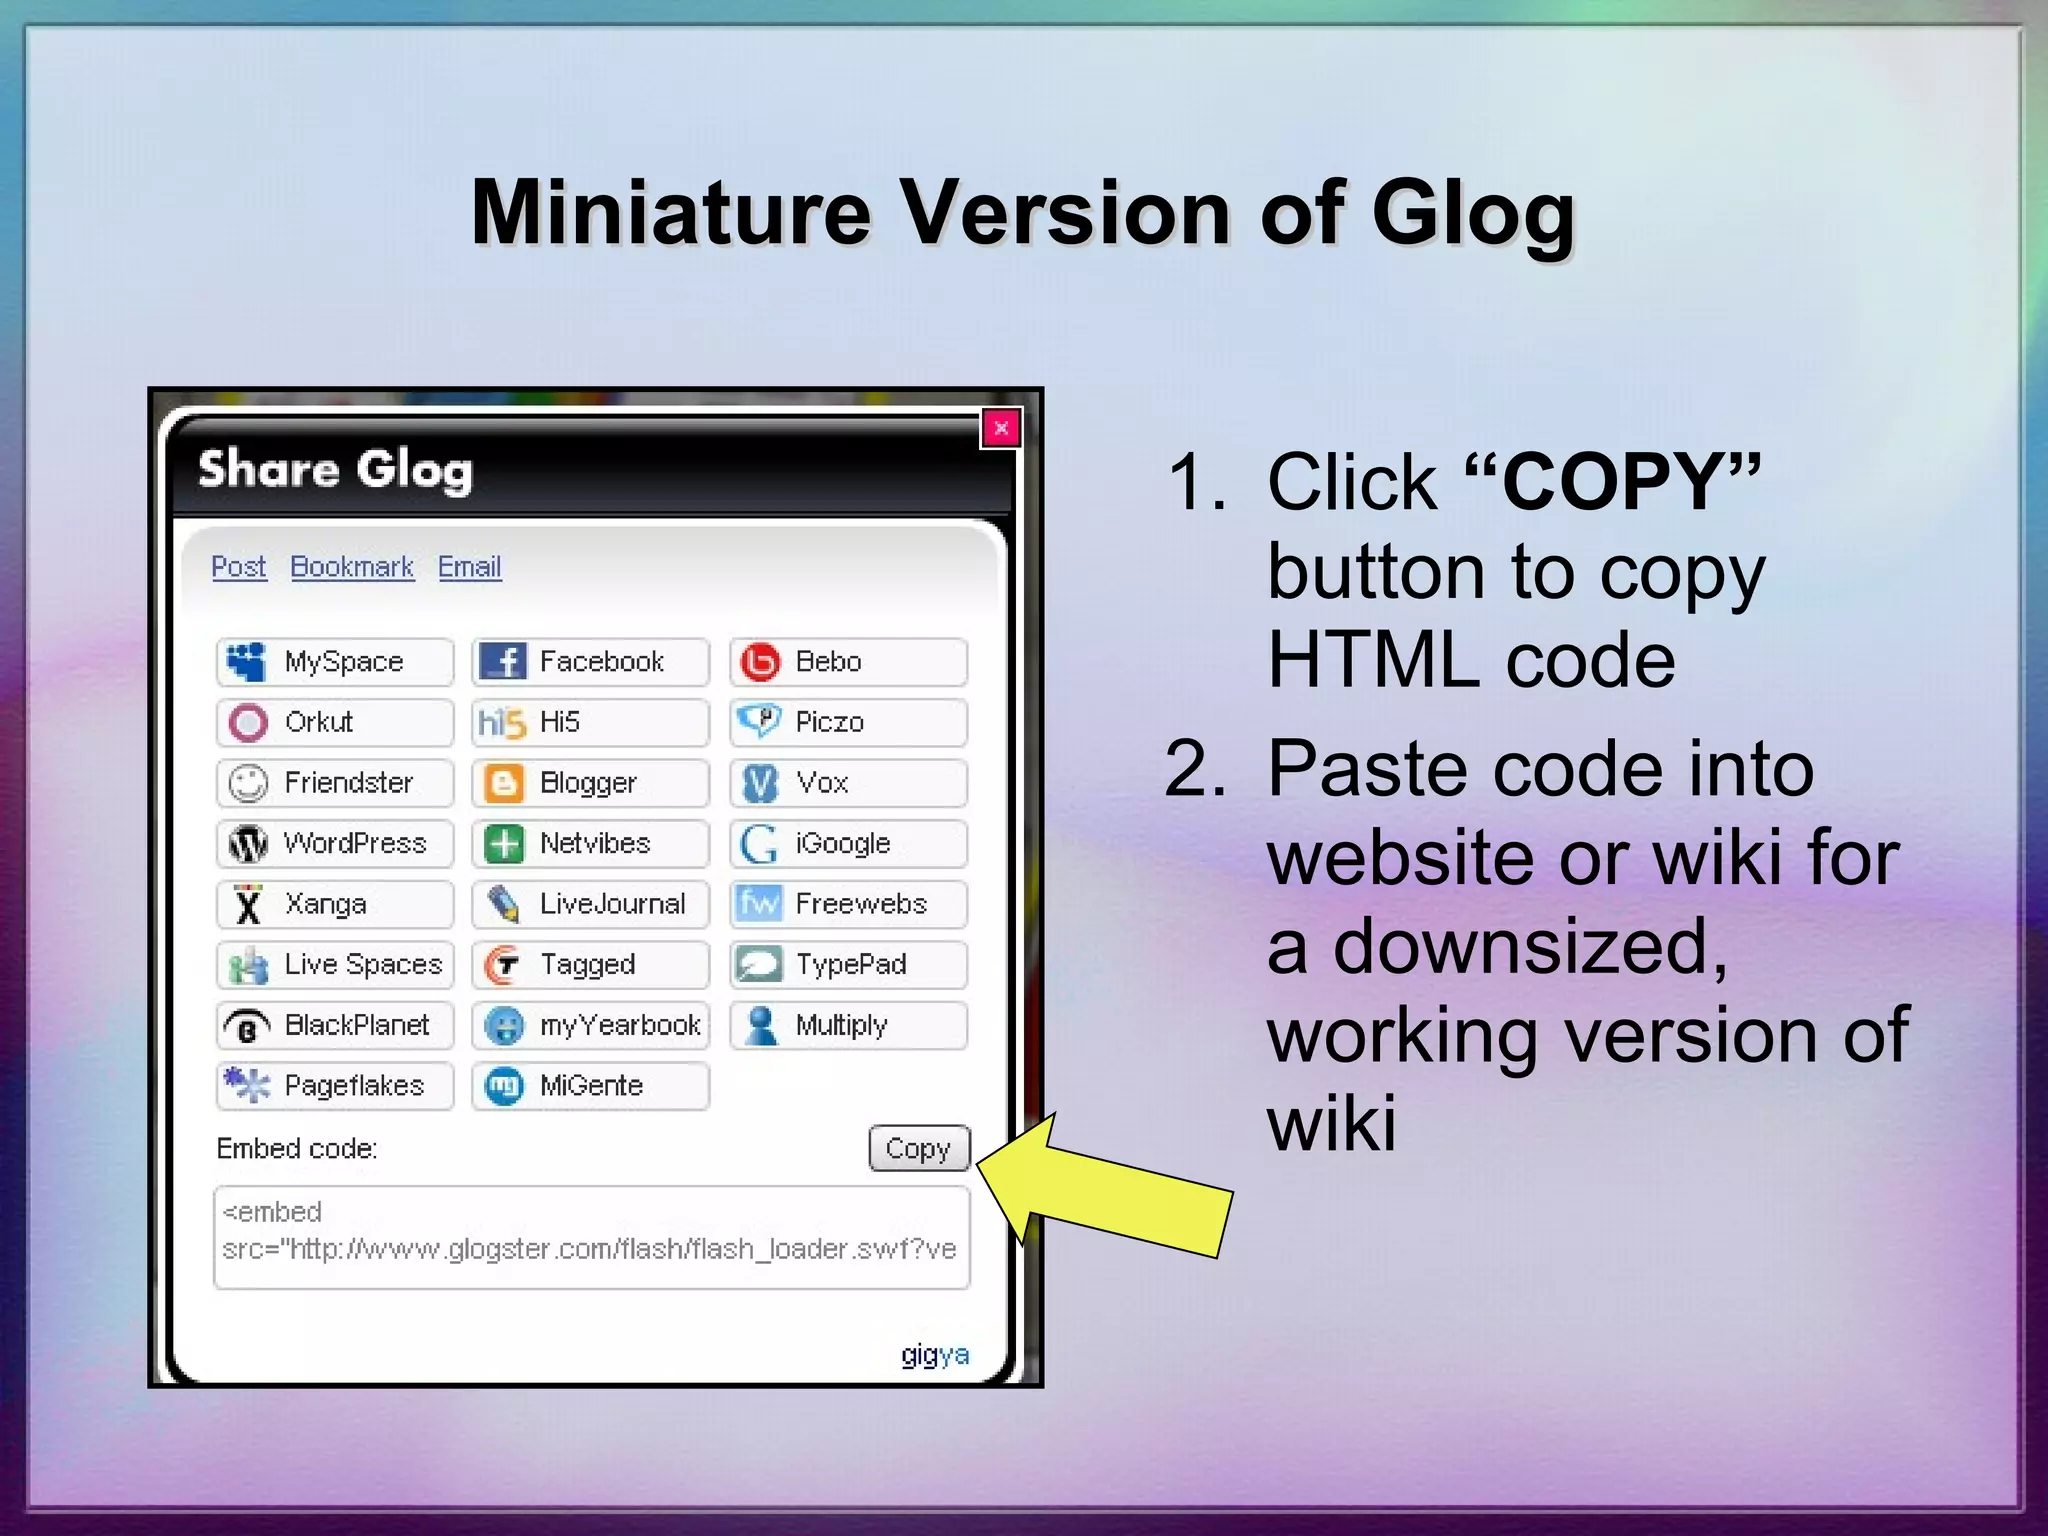


The document outlines the functionalities and benefits of using Glogster, an online tool for creating digital posters (glogs). It highlights nine advantages, including its cost-effectiveness, accessibility, and ability to support various learning styles. The document also provides a step-by-step guide for creating and sharing glogs, including the addition of multimedia elements like images, videos, and hyperlinks.


![Glogster wtih de[1]](https://cdn.slidesharecdn.com/ss_thumbnails/glogsterwtihde1-111013091320-phpapp01-thumbnail.jpg?width=640&height=640&fit=bounds)


