Downloaded 109 times


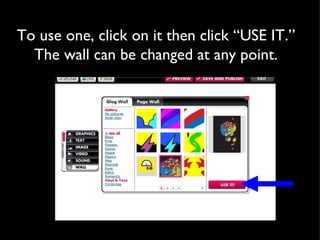
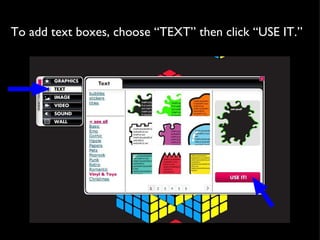
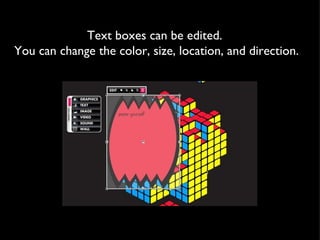
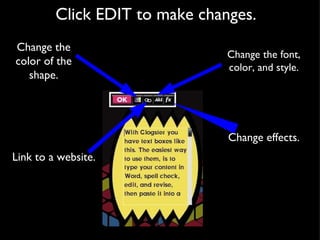

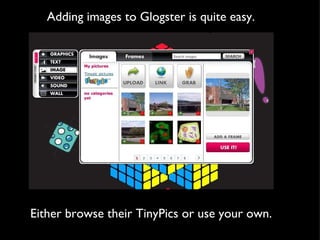


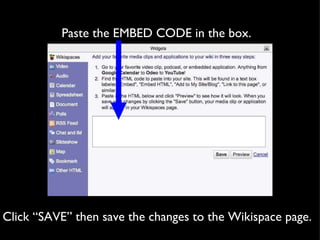


Glogster is an online poster application that can be utilized for various educational purposes, allowing students to create visual representations of their learning. Teachers can register for free accounts and manage student accounts to facilitate project creation. Users can easily customize their glogs with text, graphics, images, and multimedia, and there are several options for sharing their completed projects.


