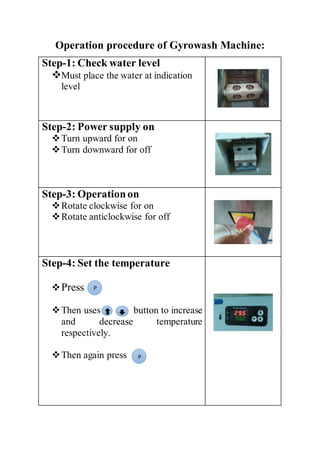
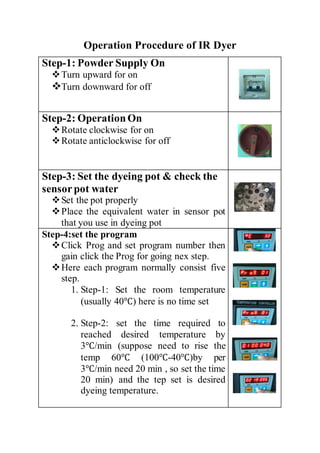
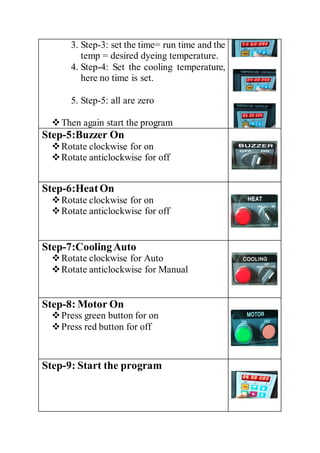
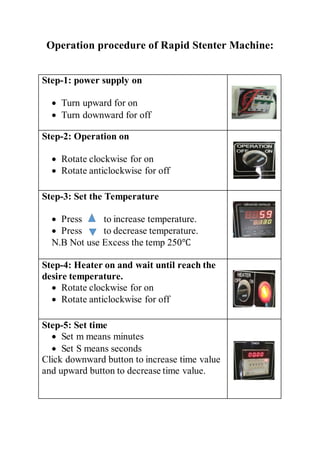
Operation procedure of Gyrowash Machine:
Step-1: Check water level
Must place the water at indication
level
Step-2: Power supply on
Turn upward for on
Turn downward for off
Step-3: Operationon
Rotate clockwise for on
Rotate anticlockwise for off
Step-4: Set the temperature
Press
Then uses button to increase
and decrease temperature
respectively.
Then again press
P
P
Step-5: Set time
Press
Then uses button to increase
and decrease Time respectively.
Then again press
Finally press the
Step-6:Heateron
Press the heater on/off
Step-7:RotorStart
Step-8: Timer auto
Press the Timer Auto
P
P
Start
stop
Operation Procedure of IR Dyer
Step-1: Powder Supply On
Turn upward for on
Turn downward for off
Step-2: OperationOn
Rotate clockwise for on
Rotate anticlockwise for off
Step-3: Set the dyeing pot & check the
sensorpot water
Set the pot properly
Place the equivalent water in sensor pot
that you use in dyeing pot
Step-4:set the program
Click Prog and set program number then
gain click the Prog for going nex step.
Here each program normally consist five
step.
1. Step-1: Set the room temperature
(usually 40℃) here is no time set
2. Step-2: set the time required to
reached desired temperature by
3℃/min (suppose need to rise the
temp 60℃ (100℃-40℃)by per
3℃/min need 20 min , so set the time
20 min) and the tep set is desired
dyeing temperature.
3. Step-3: set the time= run time and the
temp = desired dyeing temperature.
4. Step-4: Set the cooling temperature,
here no time is set.
5. Step-5: all are zero
Then again start the program
Step-5:Buzzer On
Rotate clockwise for on
Rotate anticlockwise for off
Step-6:HeatOn
Rotate clockwise for on
Rotate anticlockwise for off
Step-7:CoolingAuto
Rotate clockwise for Auto
Rotate anticlockwise for Manual
Step-8: Motor On
Press green button for on
Press red button for off
Step-9: Start the program
Operation procedure of Rapid Stenter Machine:
Step-1: power supply on
 Turn upward for on
 Turn downward for off
Step-2: Operation on
 Rotate clockwise for on
 Rotate anticlockwise for off
Step-3: Set the Temperature
 Press to increase temperature.
 Press to decrease temperature.
N.B Not use Excess the temp 250℃
Step-4: Heater on and wait until reach the
desire temperature.
 Rotate clockwise for on
 Rotate anticlockwise for off
Step-5: Set time
 Set m means minutes
 Set S means seconds
Click downward button to increase time value
and upward button to decrease time value.
Step-6: Set fabric on fabric trey and place
the fabric trey on machine
Step-7: Press the feed button
 Simply press the feed button
Step-8: After desire time that you are set time
table the sample conveyor come out & Collect
the sample.
Prepared by:-
Md. Fahimuzzaman
9th
batch
Textile lab machines operation procedure

Textile lab machines operation procedure

  • 1.
    Operation procedure ofGyrowash Machine: Step-1: Check water level Must place the water at indication level Step-2: Power supply on Turn upward for on Turn downward for off Step-3: Operationon Rotate clockwise for on Rotate anticlockwise for off Step-4: Set the temperature Press Then uses button to increase and decrease temperature respectively. Then again press P P
  • 2.
    Step-5: Set time Press Thenuses button to increase and decrease Time respectively. Then again press Finally press the Step-6:Heateron Press the heater on/off Step-7:RotorStart Step-8: Timer auto Press the Timer Auto P P Start stop
  • 3.
    Operation Procedure ofIR Dyer Step-1: Powder Supply On Turn upward for on Turn downward for off Step-2: OperationOn Rotate clockwise for on Rotate anticlockwise for off Step-3: Set the dyeing pot & check the sensorpot water Set the pot properly Place the equivalent water in sensor pot that you use in dyeing pot Step-4:set the program Click Prog and set program number then gain click the Prog for going nex step. Here each program normally consist five step. 1. Step-1: Set the room temperature (usually 40℃) here is no time set 2. Step-2: set the time required to reached desired temperature by 3℃/min (suppose need to rise the temp 60℃ (100℃-40℃)by per 3℃/min need 20 min , so set the time 20 min) and the tep set is desired dyeing temperature.
  • 4.
    3. Step-3: setthe time= run time and the temp = desired dyeing temperature. 4. Step-4: Set the cooling temperature, here no time is set. 5. Step-5: all are zero Then again start the program Step-5:Buzzer On Rotate clockwise for on Rotate anticlockwise for off Step-6:HeatOn Rotate clockwise for on Rotate anticlockwise for off Step-7:CoolingAuto Rotate clockwise for Auto Rotate anticlockwise for Manual Step-8: Motor On Press green button for on Press red button for off Step-9: Start the program
  • 5.
    Operation procedure ofRapid Stenter Machine: Step-1: power supply on  Turn upward for on  Turn downward for off Step-2: Operation on  Rotate clockwise for on  Rotate anticlockwise for off Step-3: Set the Temperature  Press to increase temperature.  Press to decrease temperature. N.B Not use Excess the temp 250℃ Step-4: Heater on and wait until reach the desire temperature.  Rotate clockwise for on  Rotate anticlockwise for off Step-5: Set time  Set m means minutes  Set S means seconds Click downward button to increase time value and upward button to decrease time value.
  • 6.
    Step-6: Set fabricon fabric trey and place the fabric trey on machine Step-7: Press the feed button  Simply press the feed button Step-8: After desire time that you are set time table the sample conveyor come out & Collect the sample. Prepared by:- Md. Fahimuzzaman 9th batch