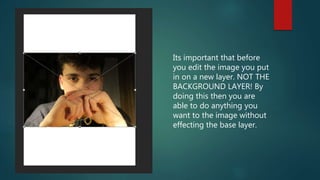
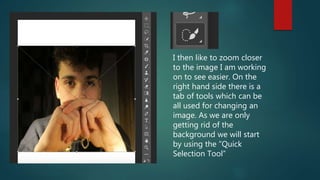
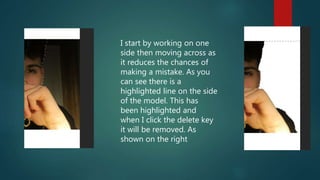
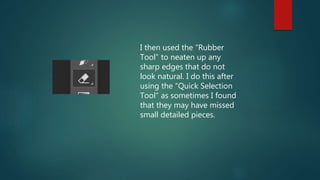
Steps On Removing
Background From An
Image
Its important that before
you edit the image you put
in on a new layer. NOT THE
BACKGROUND LAYER! By
doing this then you are
able to do anything you
want to the image without
effecting the base layer.
I then like to zoom closer
to the image I am working
on to see easier. On the
right hand side there is a
tab of tools which can be
all used for changing an
image. As we are only
getting rid of the
background we will start
by using the ”Quick
Selection Tool”
I start by working on one
side then moving across as
it reduces the chances of
making a mistake. As you
can see there is a
highlighted line on the side
of the model. This has
been highlighted and
when I click the delete key
it will be removed. As
shown on the right
As you can see I did this
again for the other side so
we had all the background
cut out as shown on the
right. There are other ways
that this can be done by I
find this to be the easiest.
I then used the “Rubber
Tool” to neaten up any
sharp edges that do not
look natural. I do this after
using the “Quick Selection
Tool” as sometimes I found
that they may have missed
small detailed pieces.

Steps On Removing The Background

  • 1.
  • 2.
    Its important thatbefore you edit the image you put in on a new layer. NOT THE BACKGROUND LAYER! By doing this then you are able to do anything you want to the image without effecting the base layer.
  • 3.
    I then liketo zoom closer to the image I am working on to see easier. On the right hand side there is a tab of tools which can be all used for changing an image. As we are only getting rid of the background we will start by using the ”Quick Selection Tool”
  • 4.
    I start byworking on one side then moving across as it reduces the chances of making a mistake. As you can see there is a highlighted line on the side of the model. This has been highlighted and when I click the delete key it will be removed. As shown on the right
  • 5.
    As you cansee I did this again for the other side so we had all the background cut out as shown on the right. There are other ways that this can be done by I find this to be the easiest.
  • 6.
    I then usedthe “Rubber Tool” to neaten up any sharp edges that do not look natural. I do this after using the “Quick Selection Tool” as sometimes I found that they may have missed small detailed pieces.