The document describes the image manipulation process used to edit a photo for advertising purposes. The key steps included:
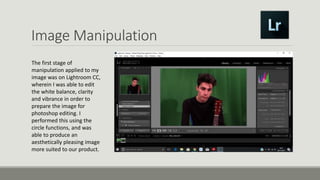
1. Editing the photo in Lightroom to adjust white balance, clarity, and vibrance.
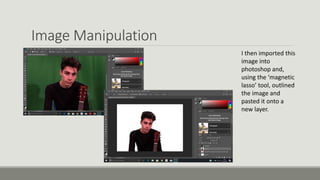
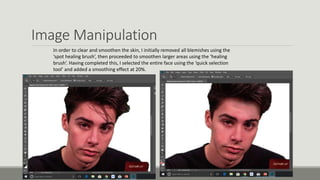
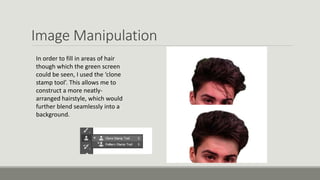
2. Importing the photo into Photoshop and using tools like the magnetic lasso and healing brush to remove blemishes, smooth skin, and fill in hair.
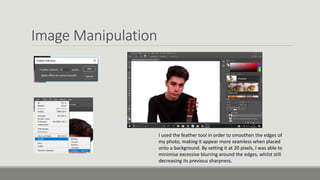
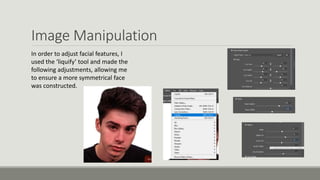
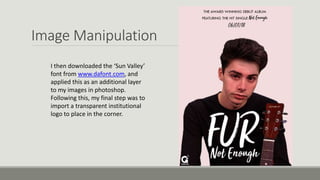
3. Using additional tools like the feather tool, clone stamp tool, and liquify tool to further refine edges, reconstruct hairstyle, and adjust facial features for symmetry. Font and logo layers were then added to complete the edited image.