To create an Andy Warhol style image in Photoshop, follow these steps:
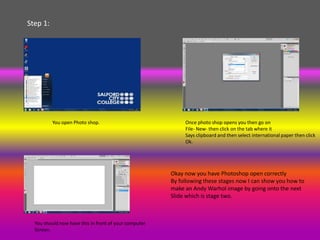
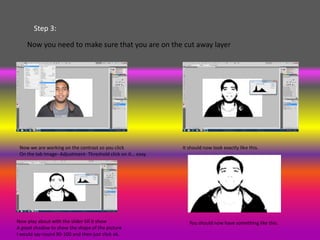
1. Open Photoshop and a photo, then duplicate the background layer. Rename one layer "cut away" and use the magic wand tool to select the background and fill with black.
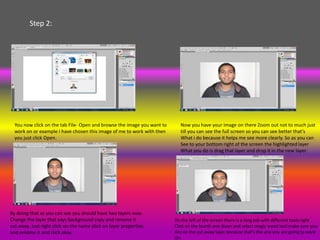
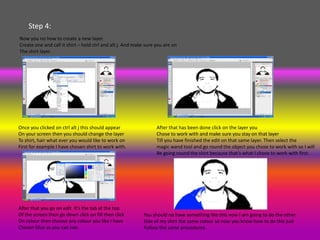
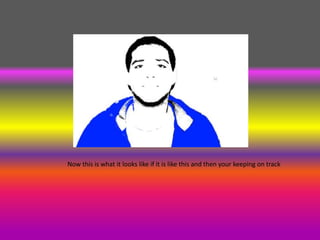
2. Rename another layer "color" and use the threshold adjustment to give it a high-contrast look.
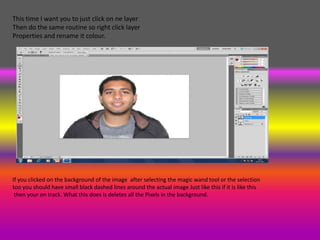
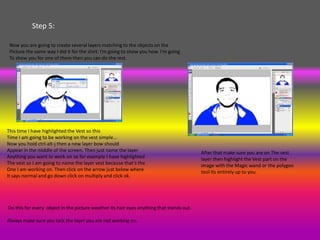
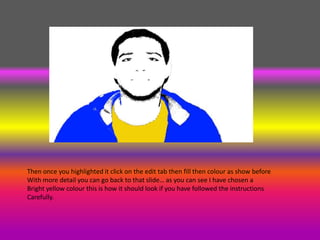
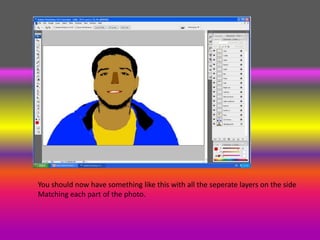
3. Create new layers for different objects like "shirt" and use the magic wand tool to select the object, then fill with color.
4. Repeat for other objects, lock layers not being edited, and fill selections with bright colors to achieve the classic Warhol style composite image.