Download to read offline

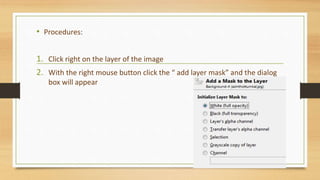
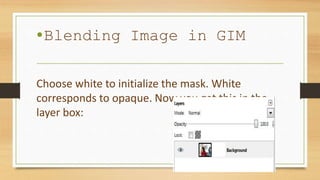
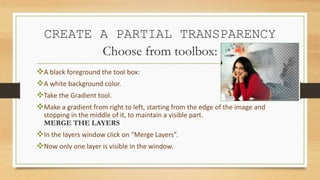
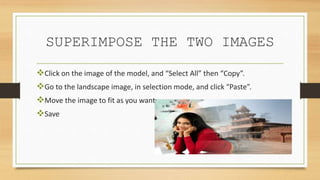
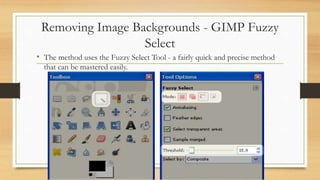
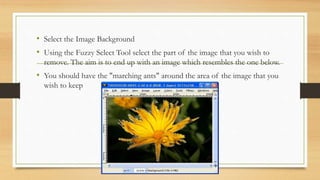


This document provides a basic tutorial on how to use GIMP, an open-source graphic design program, to blend images, create partial transparency, superimpose images, and remove backgrounds. It outlines the following steps: (1) choose two pictures and add a layer mask to blend them; (2) use the gradient tool to create partial transparency; (3) merge layers and paste one image onto another to superimpose them; and (4) use the fuzzy select tool and layer transparency settings to remove backgrounds and add other backgrounds or paste selections into new images. The goal is to teach basic image editing and manipulation techniques in GIMP.


![Christine rose nd. tipones [gr. 11 abm, caritas]](https://cdn.slidesharecdn.com/ss_thumbnails/christinerosend-190129074921-thumbnail.jpg?width=640&height=640&fit=bounds)


