Download to read offline

![1. Take the marker tool and trace around the image you want to extract. Keep the marker 1/2 way on the image and 1/2 on the background. For solid areas use a small brush, for softer areas like the loose hair, use a larger brush. Tip: to adjust the brush size use the [ and ] keys. 2. Now take the bucket tool and fill the area you want to keep.Click OK.](https://image.slidesharecdn.com/p-16-movingpicfrombackground-090816072706-phpapp01/85/P-16-Moving-Pic-From-Background-3-320.jpg)
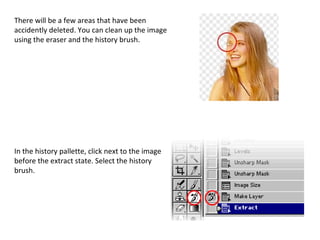
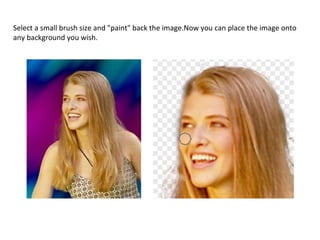
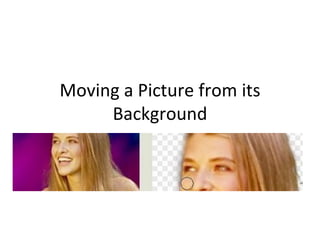
This document provides instructions for extracting a picture from its background in 3 steps: 1) Trace around the image with the marker tool using different brush sizes for solid and soft areas, 2) Fill the traced area with the bucket tool, 3) Use the history brush with a small size to paint back any accidentally erased areas and complete the extraction.


