Downloaded 38 times


Soldering is a process of joining metal components like in electronics where a filler metal with a low melting point called solder is melted and flowed into the joint between two metal items. The key steps of soldering include preheating the soldering iron, inserting electronic components like resistors into printed circuit boards, heating the joint with the soldering iron, and applying solder to allow it to flow into the heated joint in a volcano shape to securely bind the components conductively. Solder has a melting point between 90 to 450 degrees Celsius and is especially useful for electronics work.
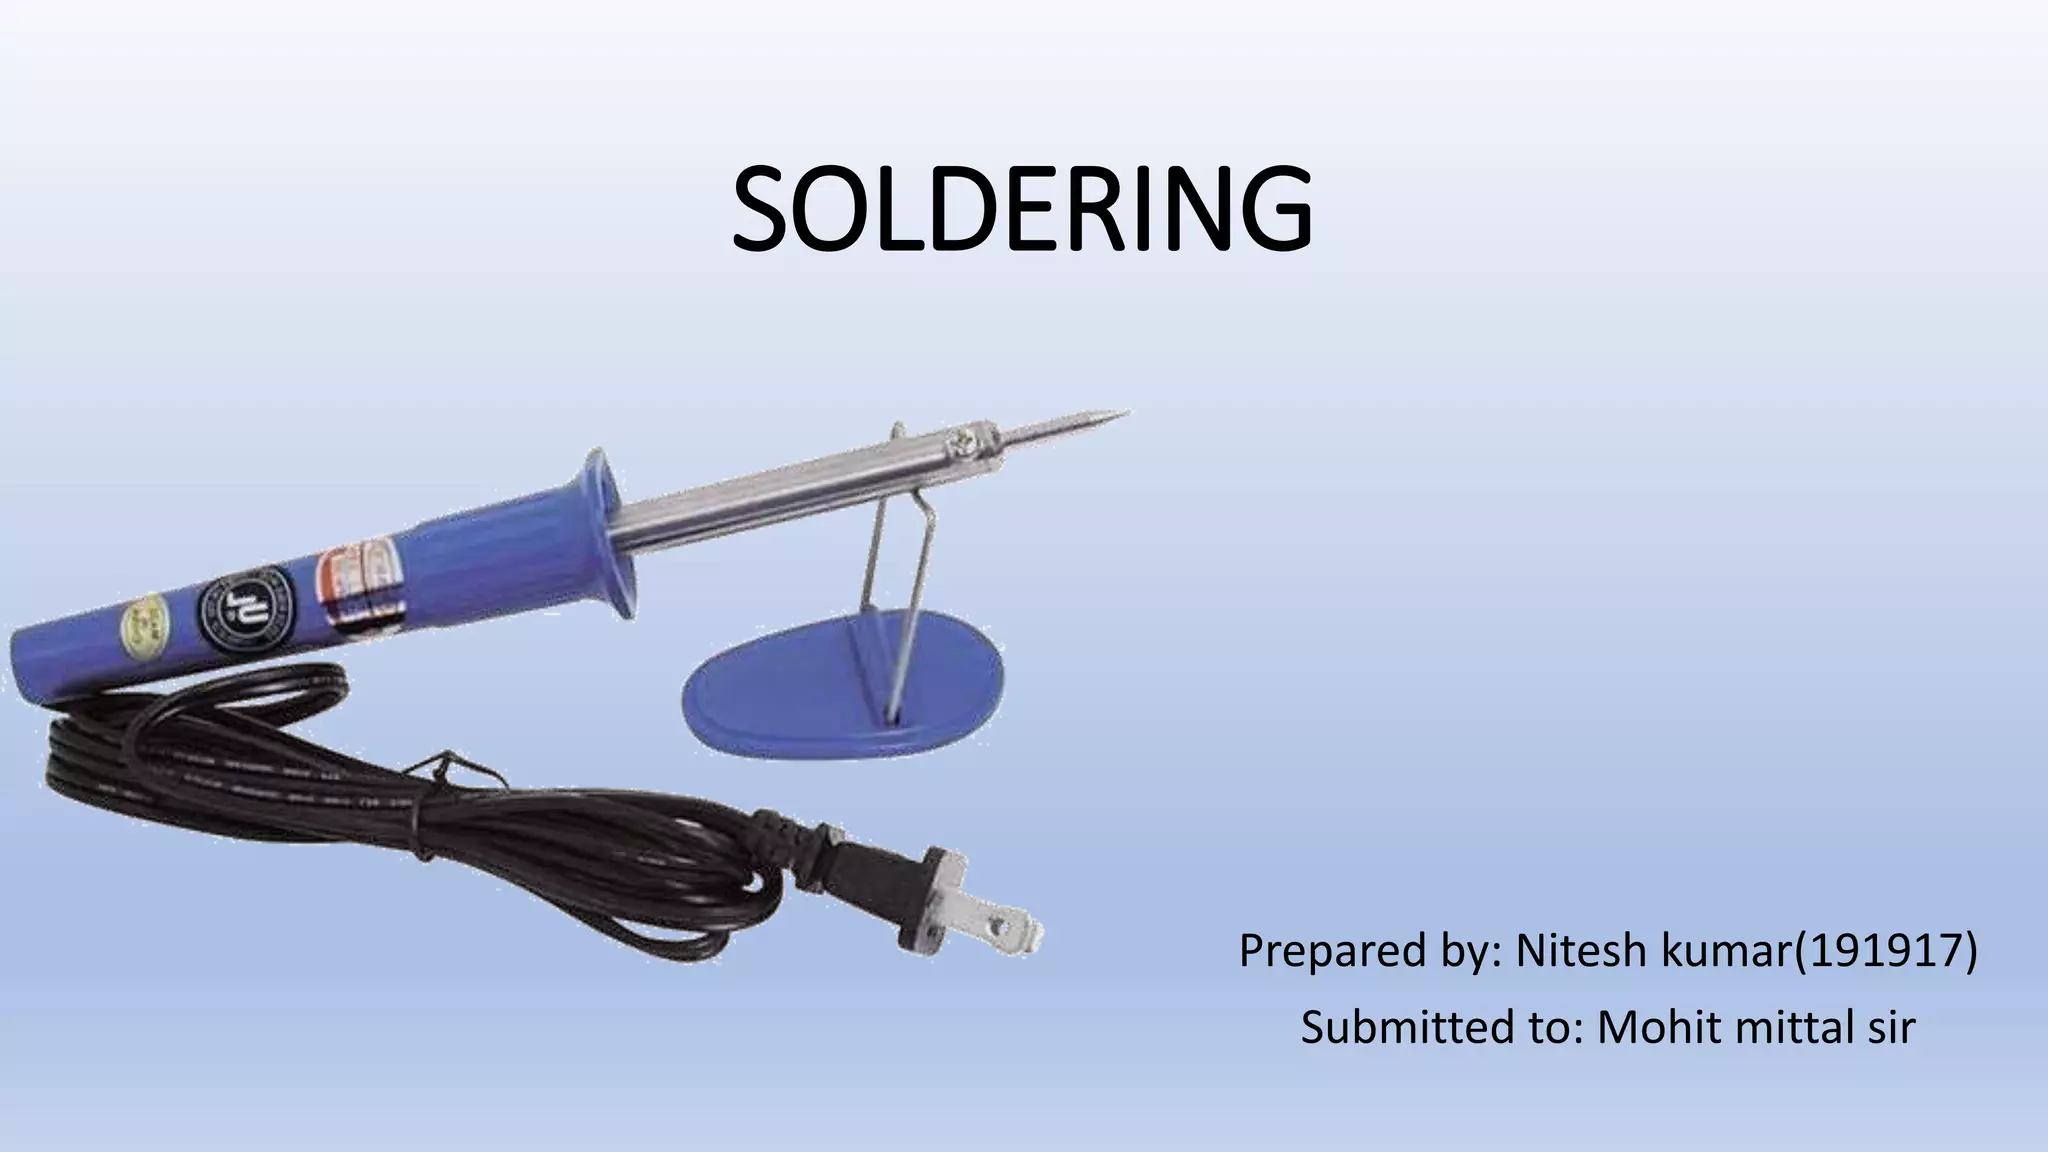
Overview of soldering, prepared by Nitesh Kumar and submitted to Mohit Mittal.
Definition of soldering as a process to join metal items using filler metal with a low melting point.
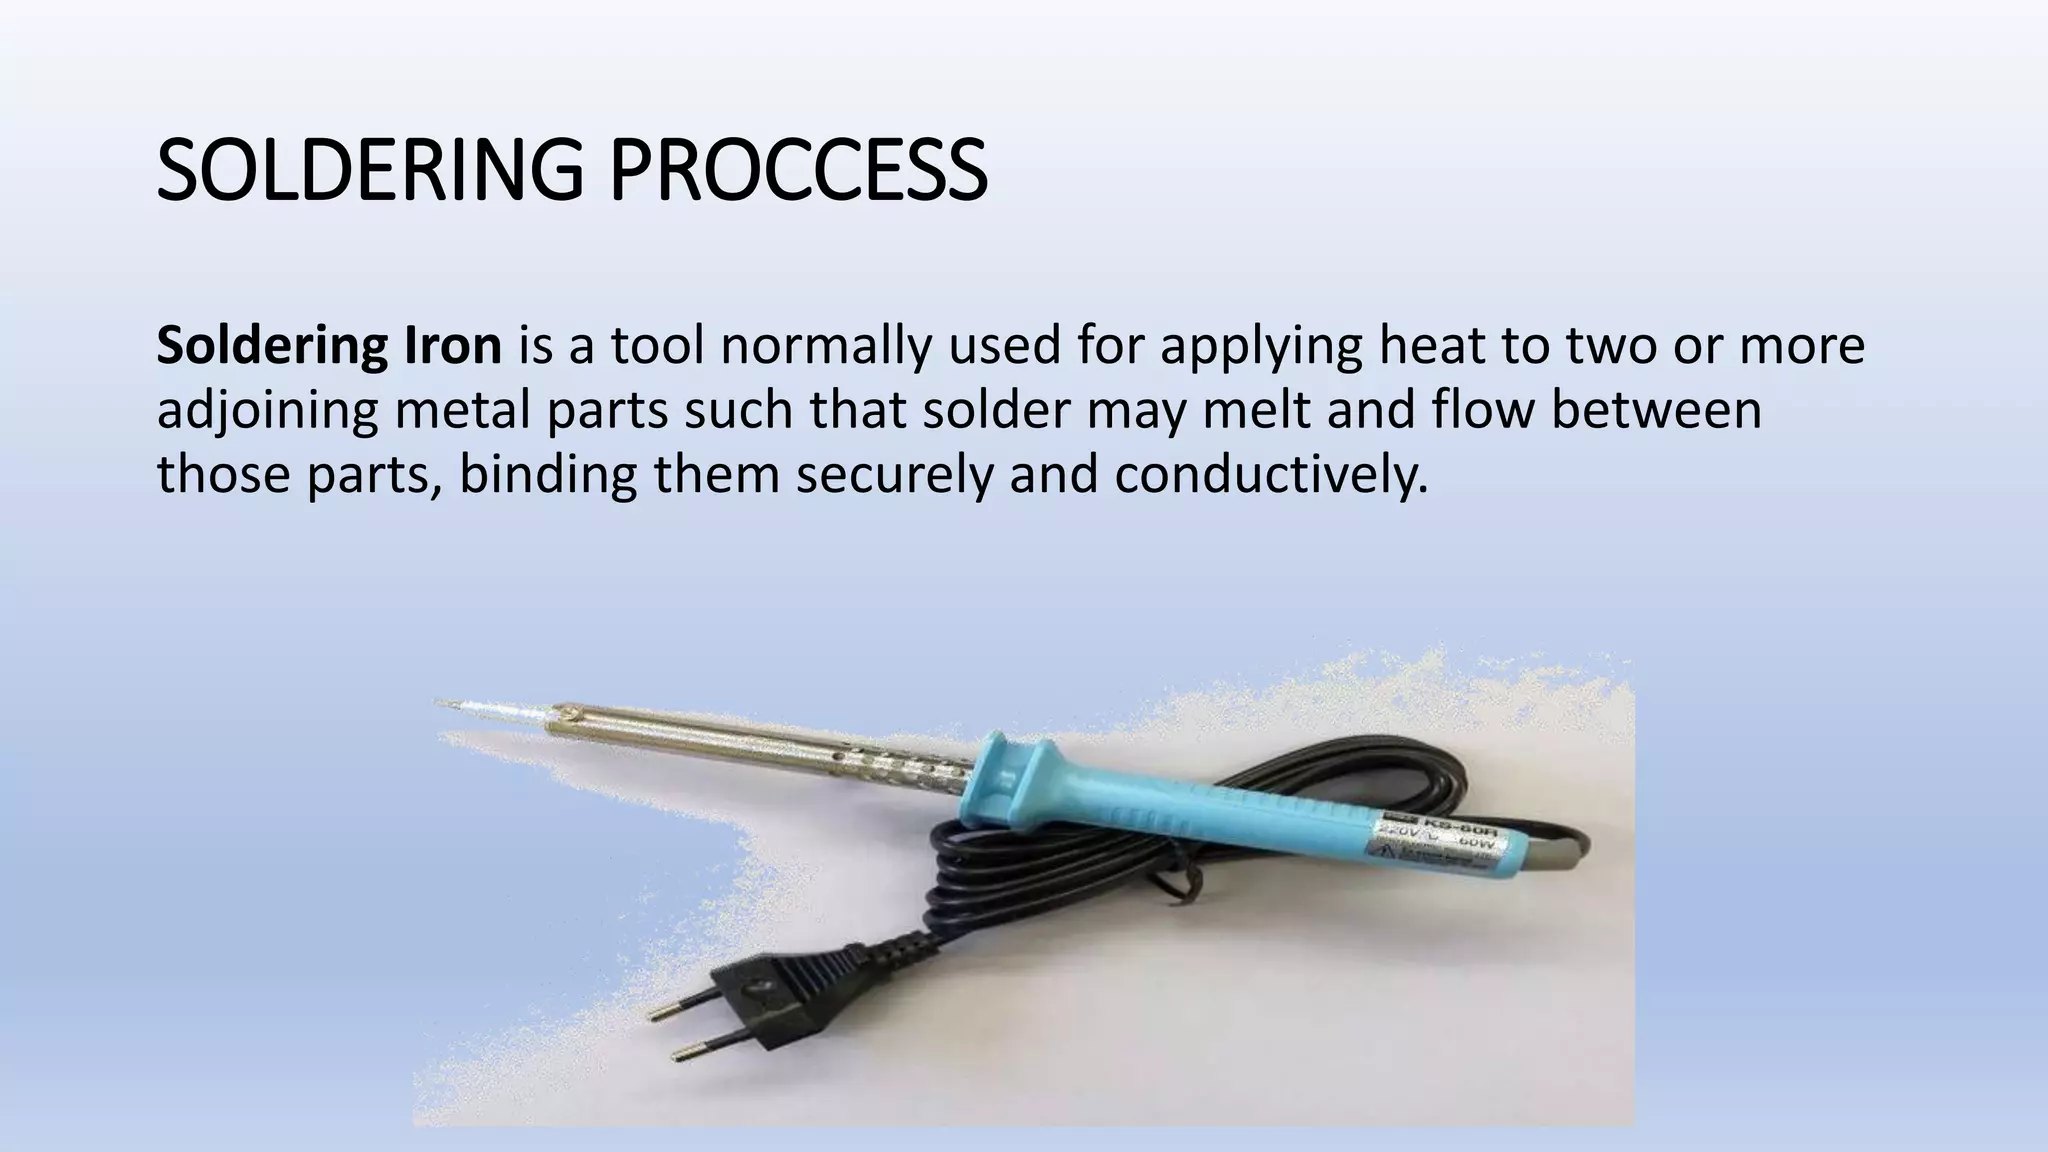
Description of soldering iron as a tool to apply heat to adjoining metal parts for soldering.
Solder is a metal alloy with a melting point of 90 to 450 °C, used mainly in electronics.
List of materials needed for soldering, including soldering iron, solder, PCB, and electronic components.
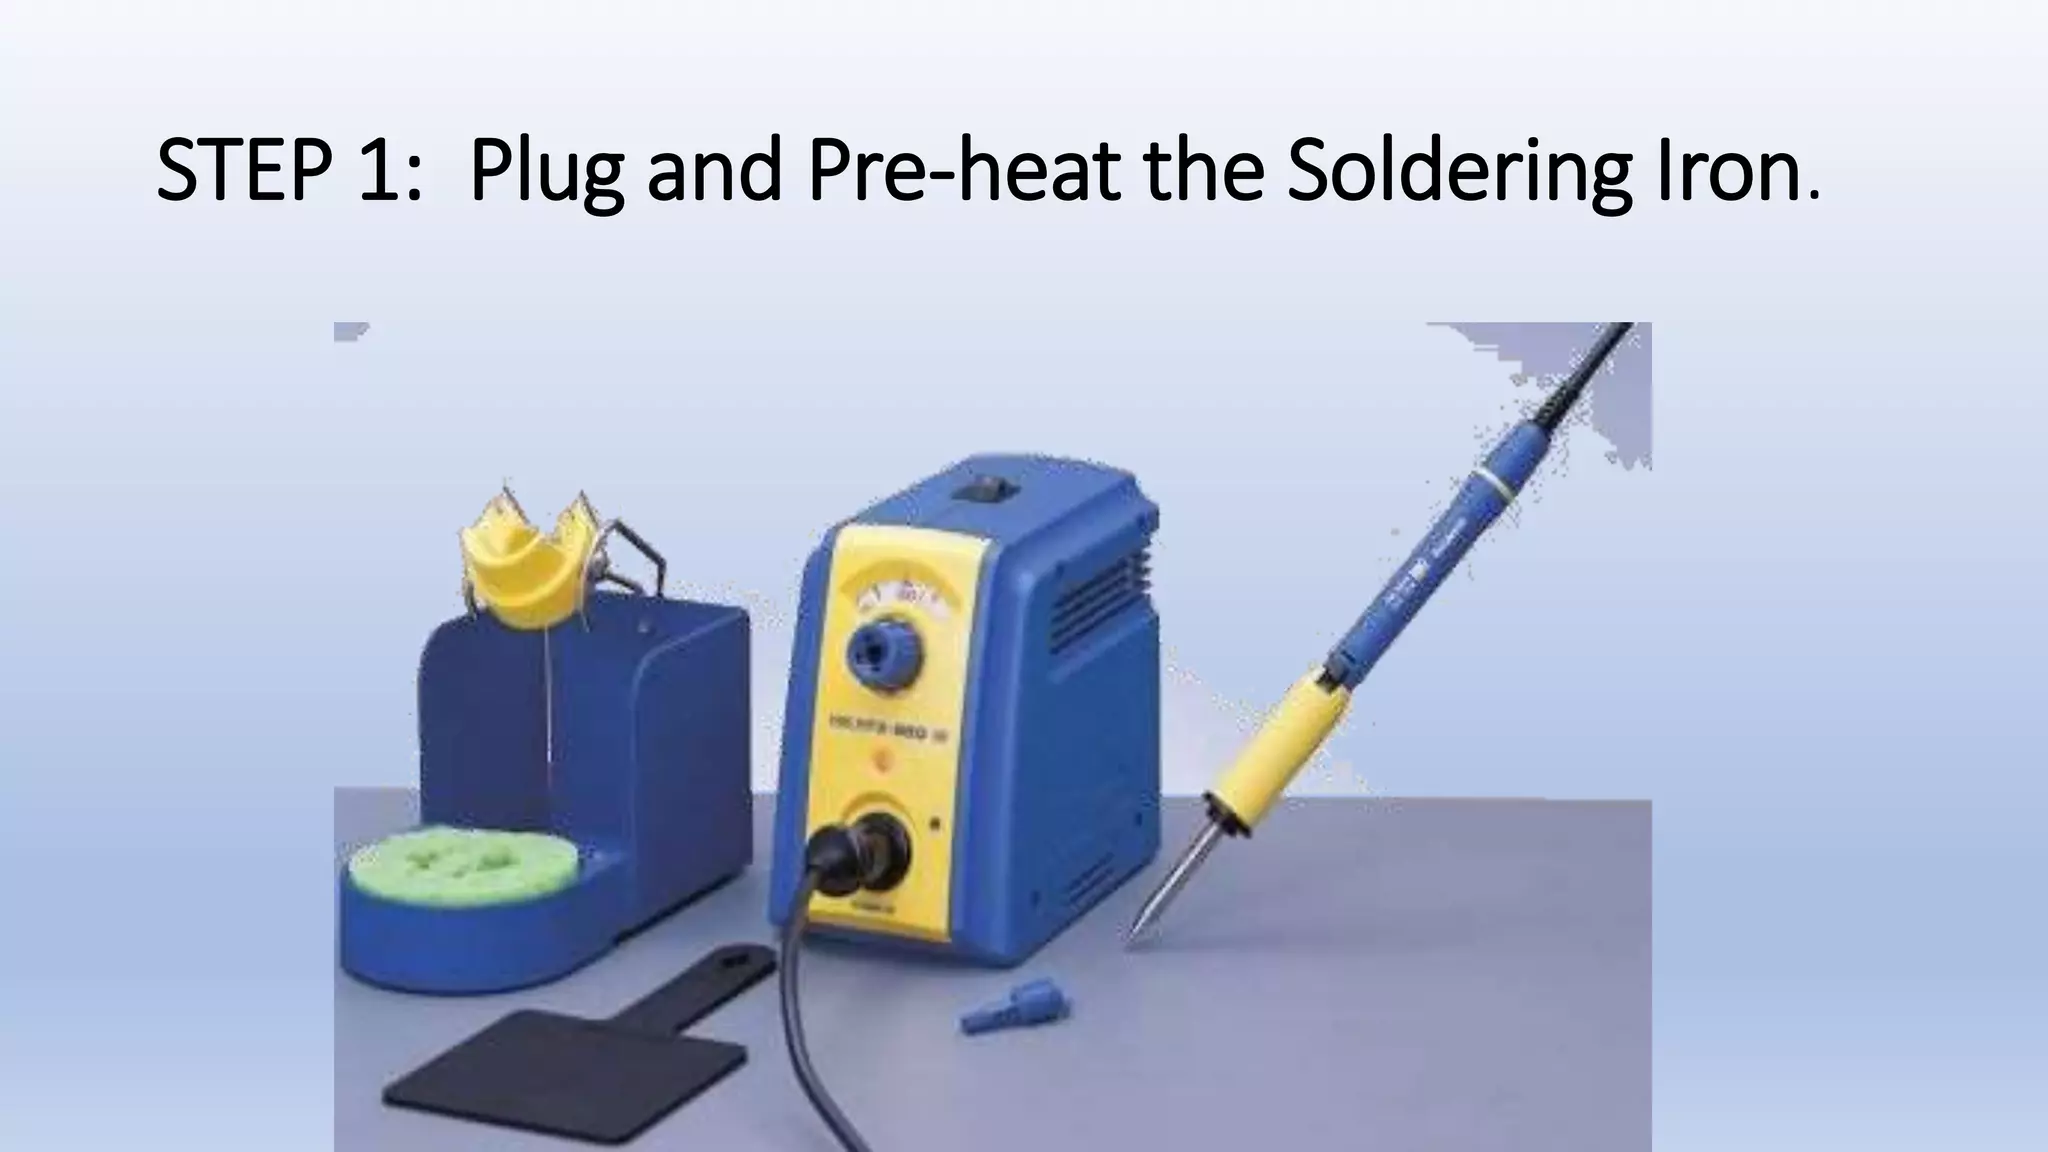
Instructions to plug and pre-heat the soldering iron before starting the soldering process.
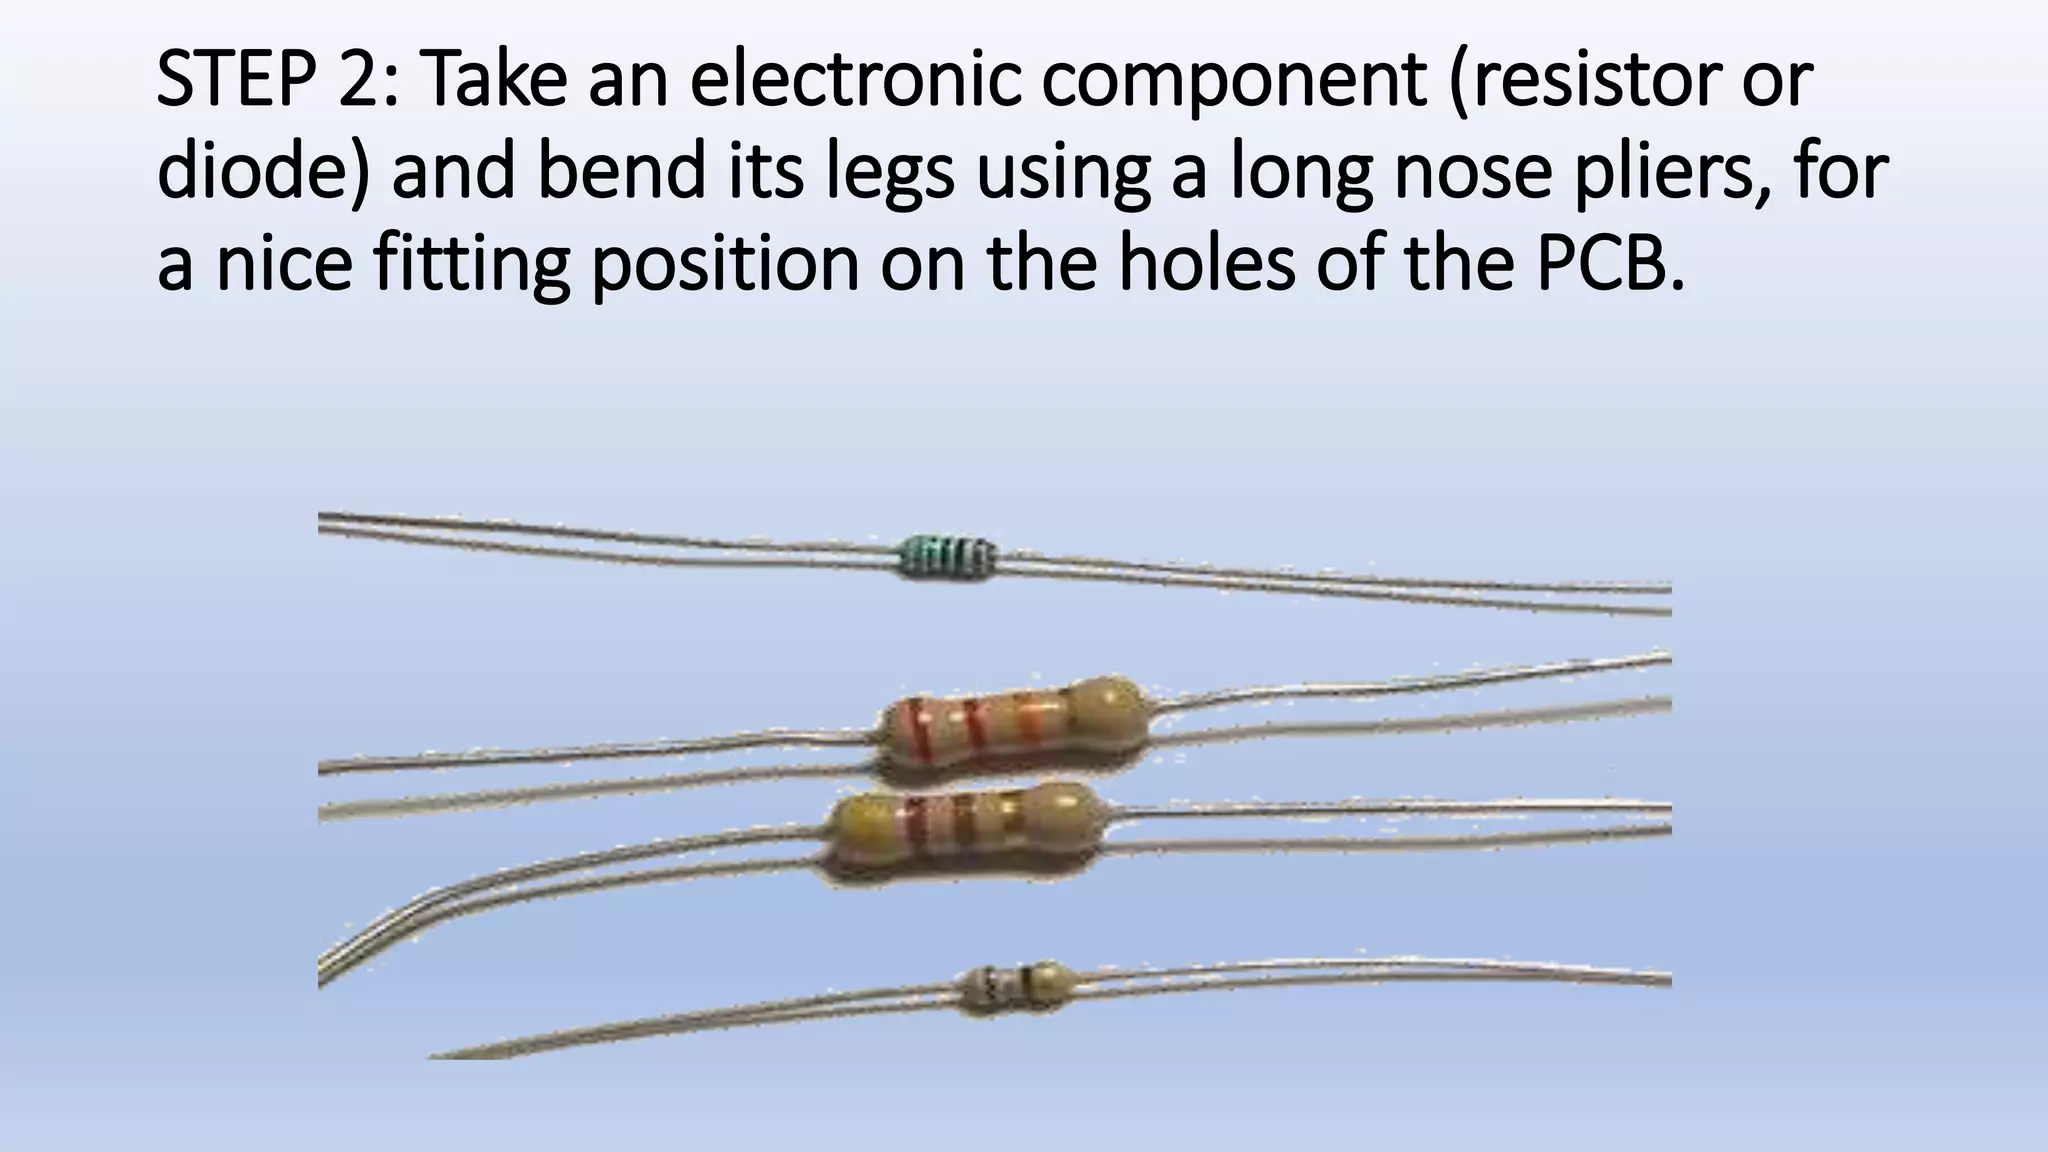
Instructions to bend the legs of electronic components for proper fitting in the PCB holes.
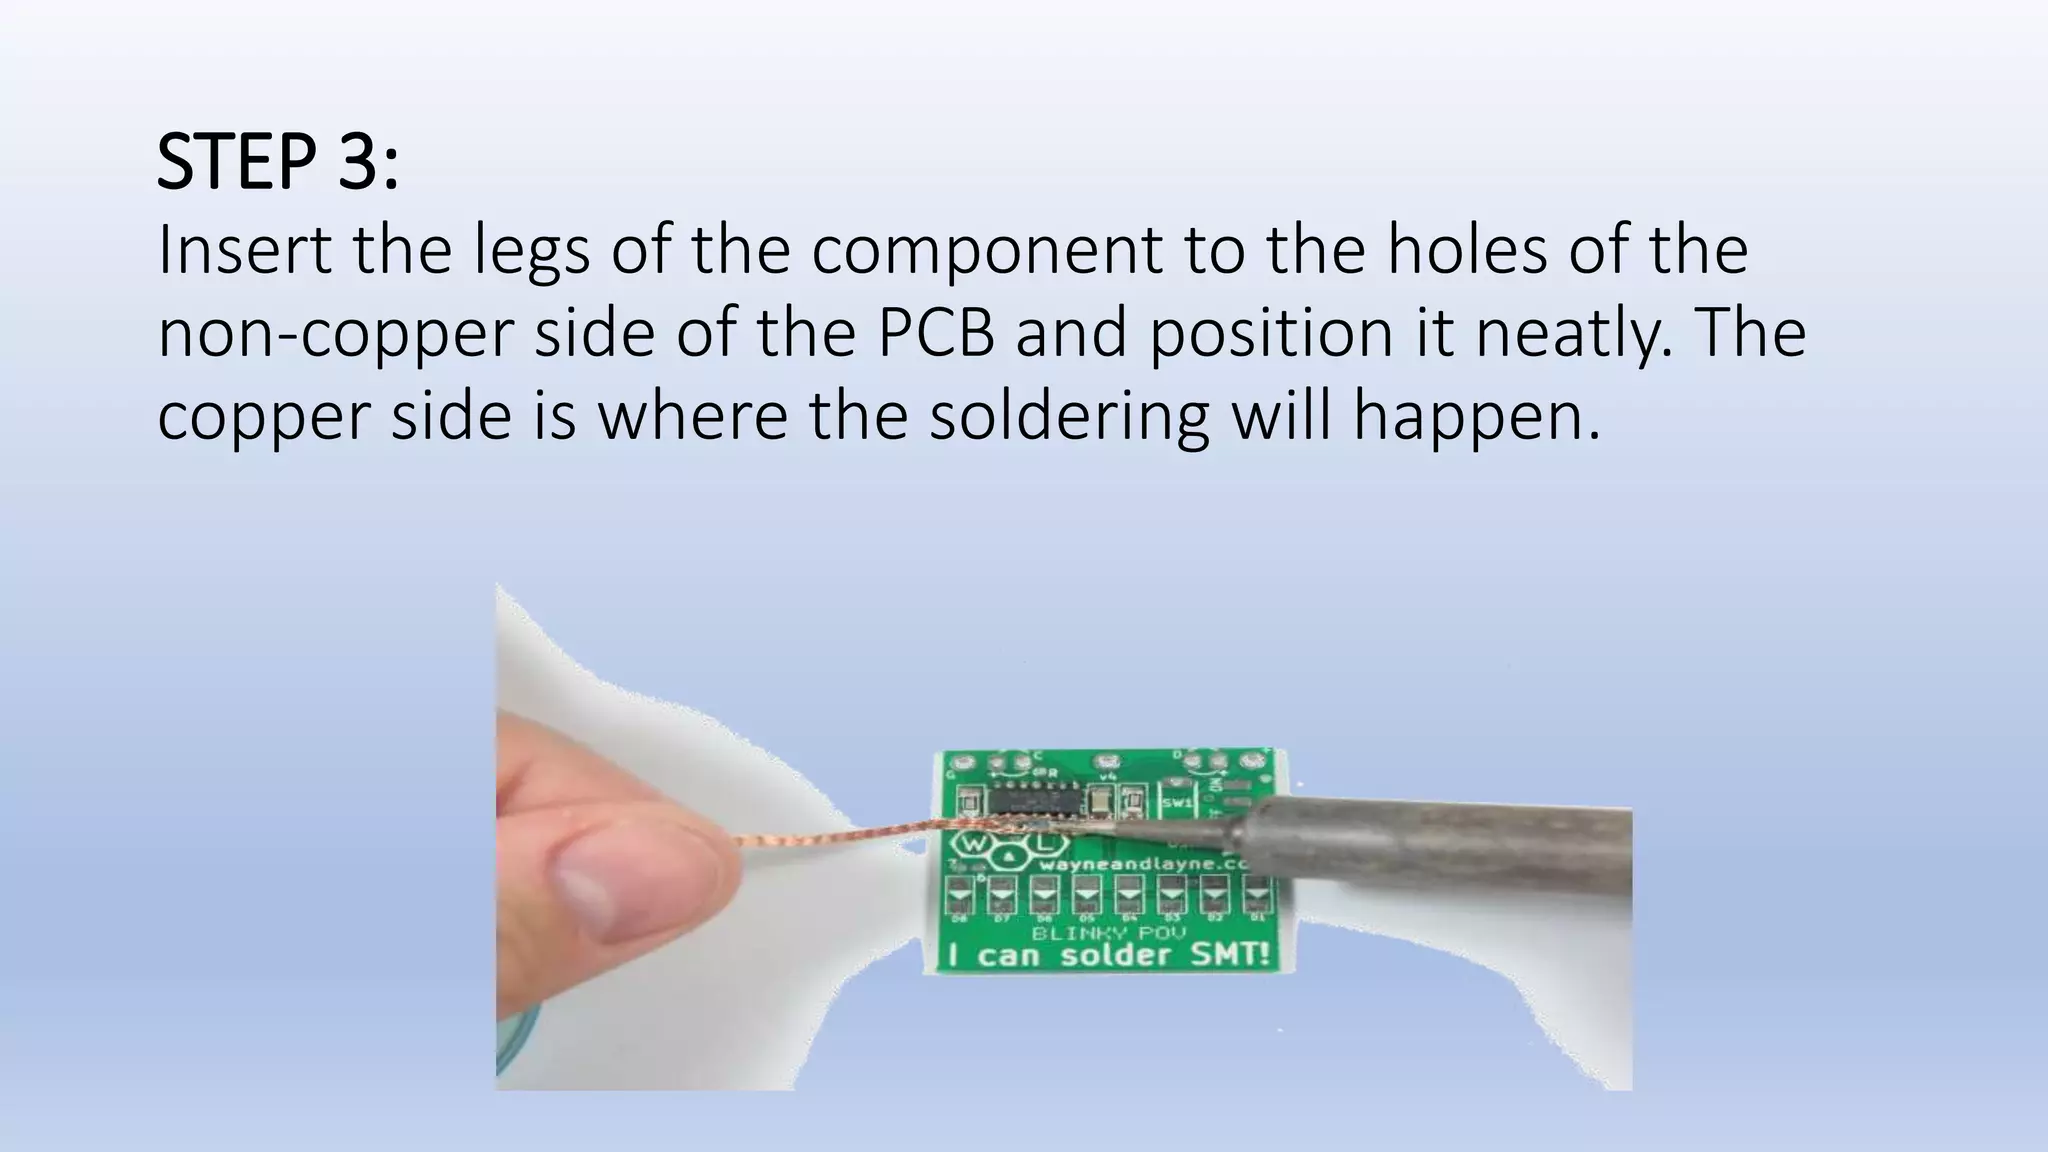
Placement of component legs into PCB holes with a focus on the non-copper side.
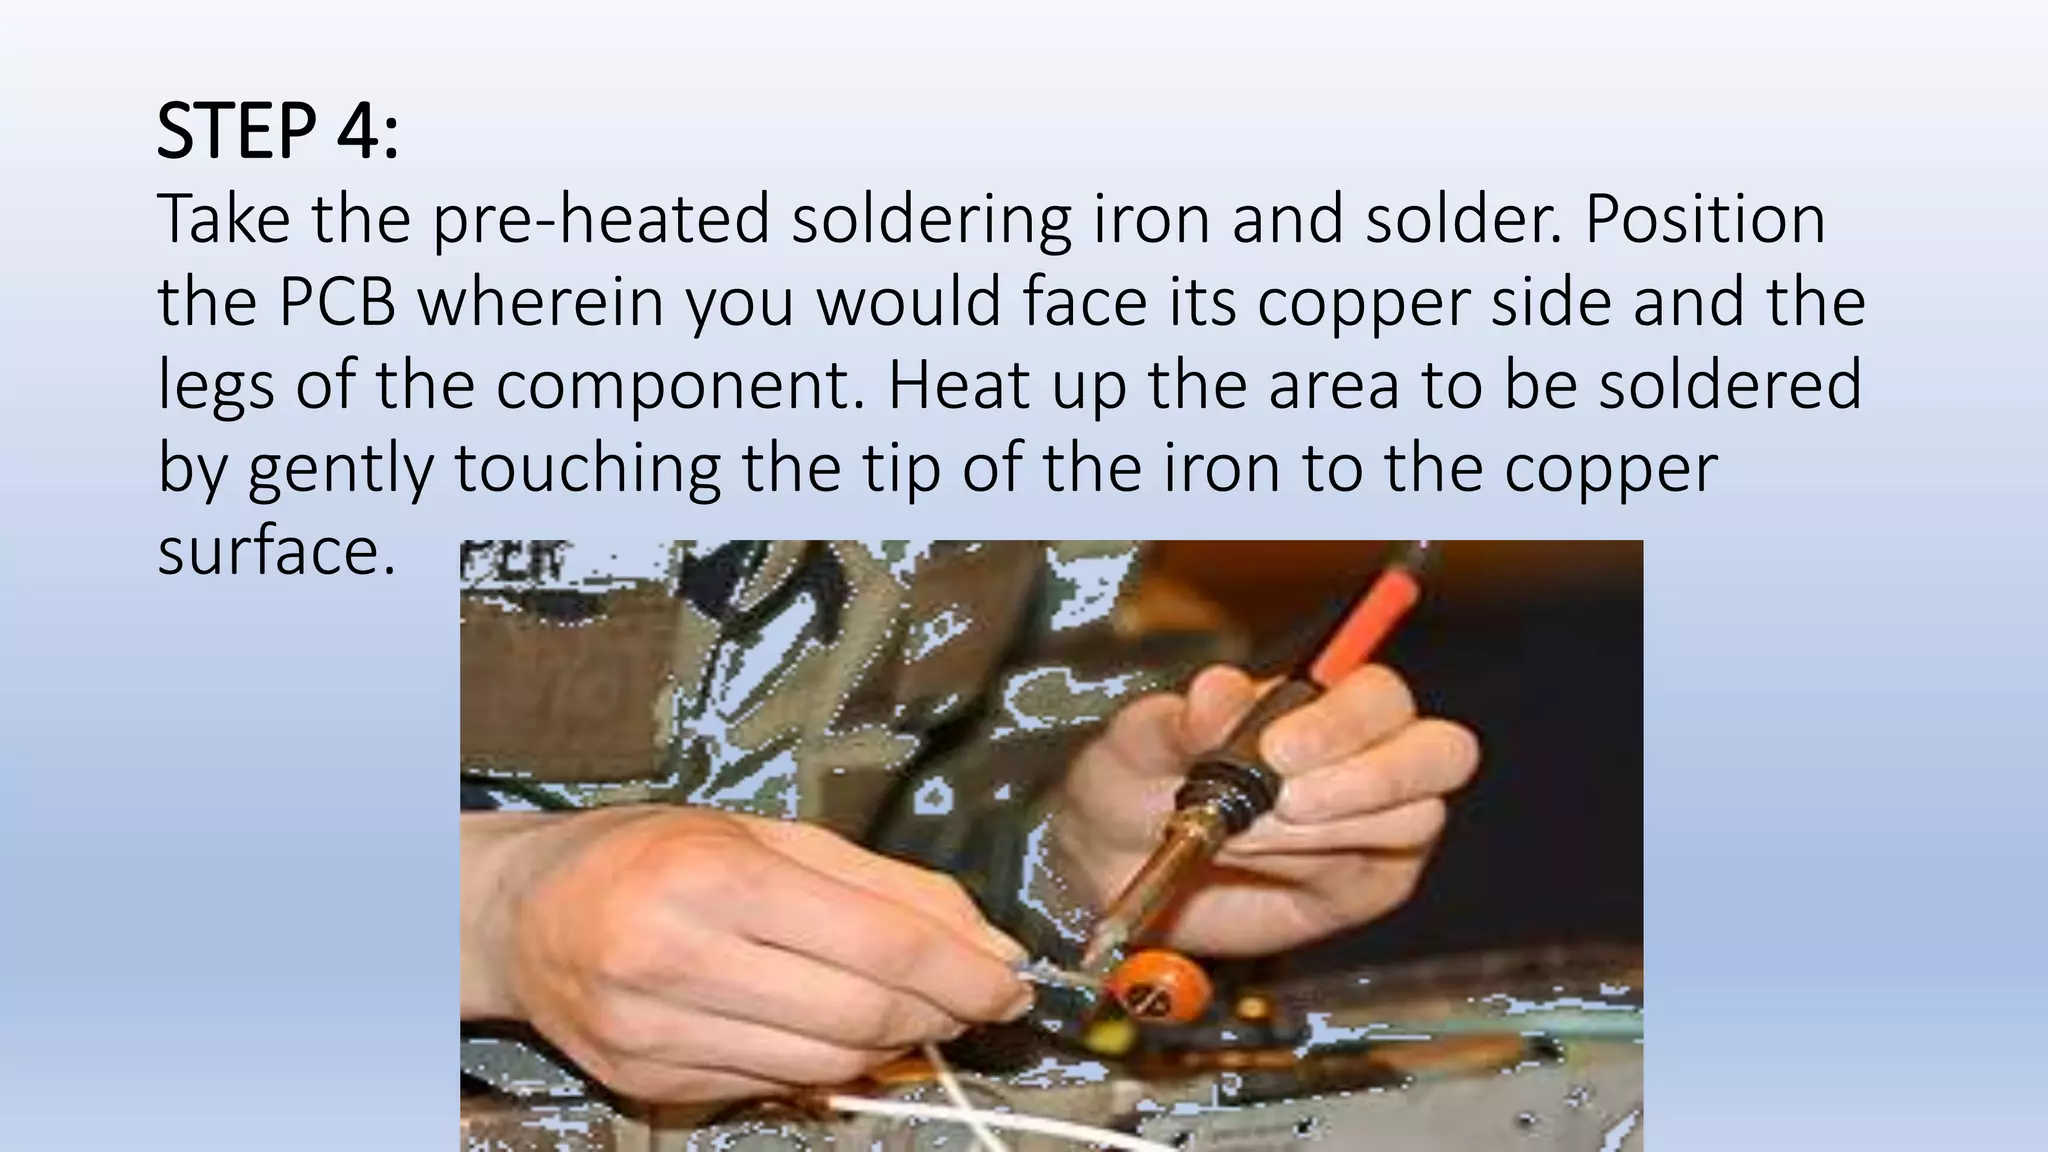
Directions to heat the joint area of the PCB using the soldering iron.
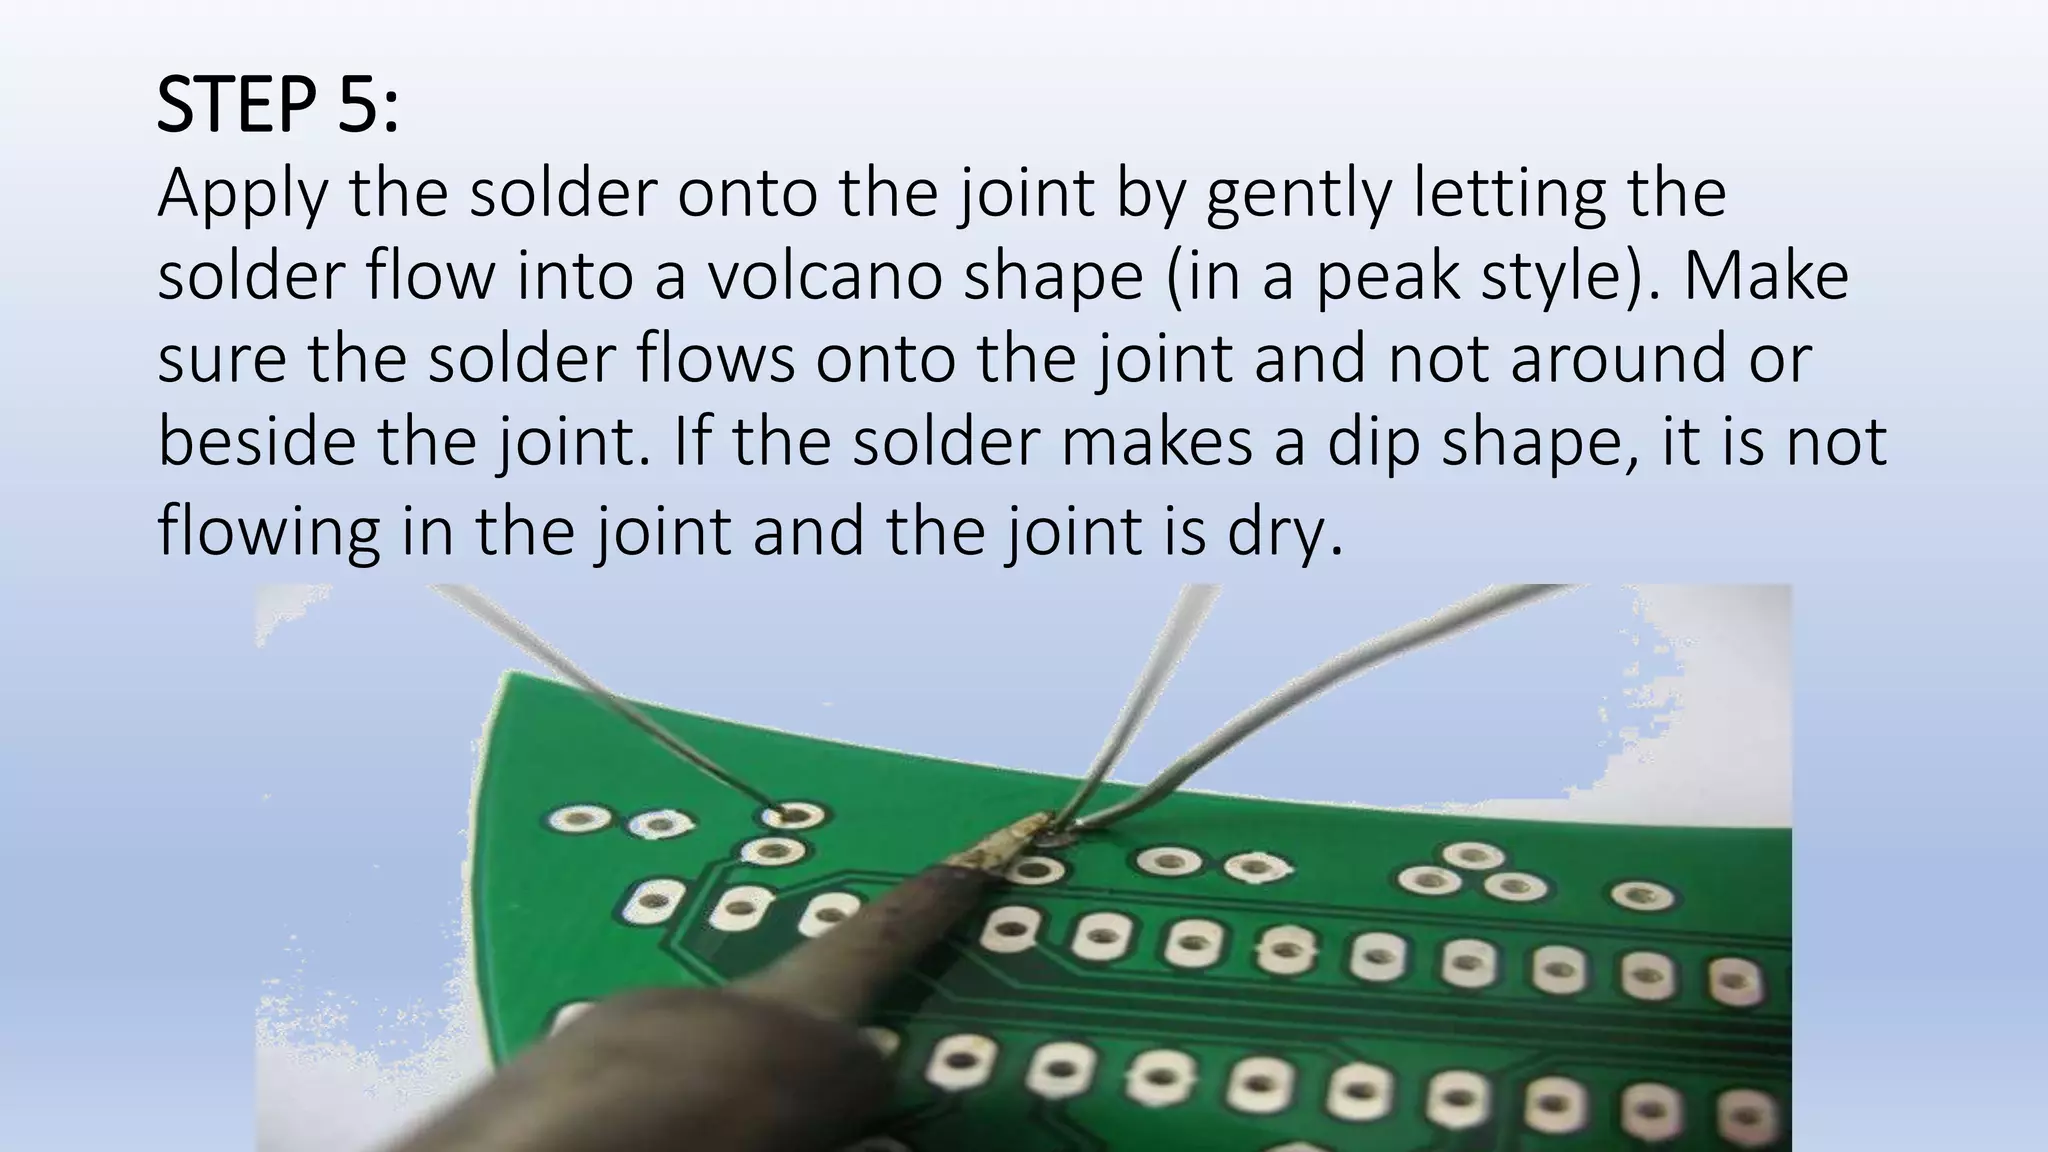
Technique for applying solder properly to the joint, ensuring it flows into a peak shape.
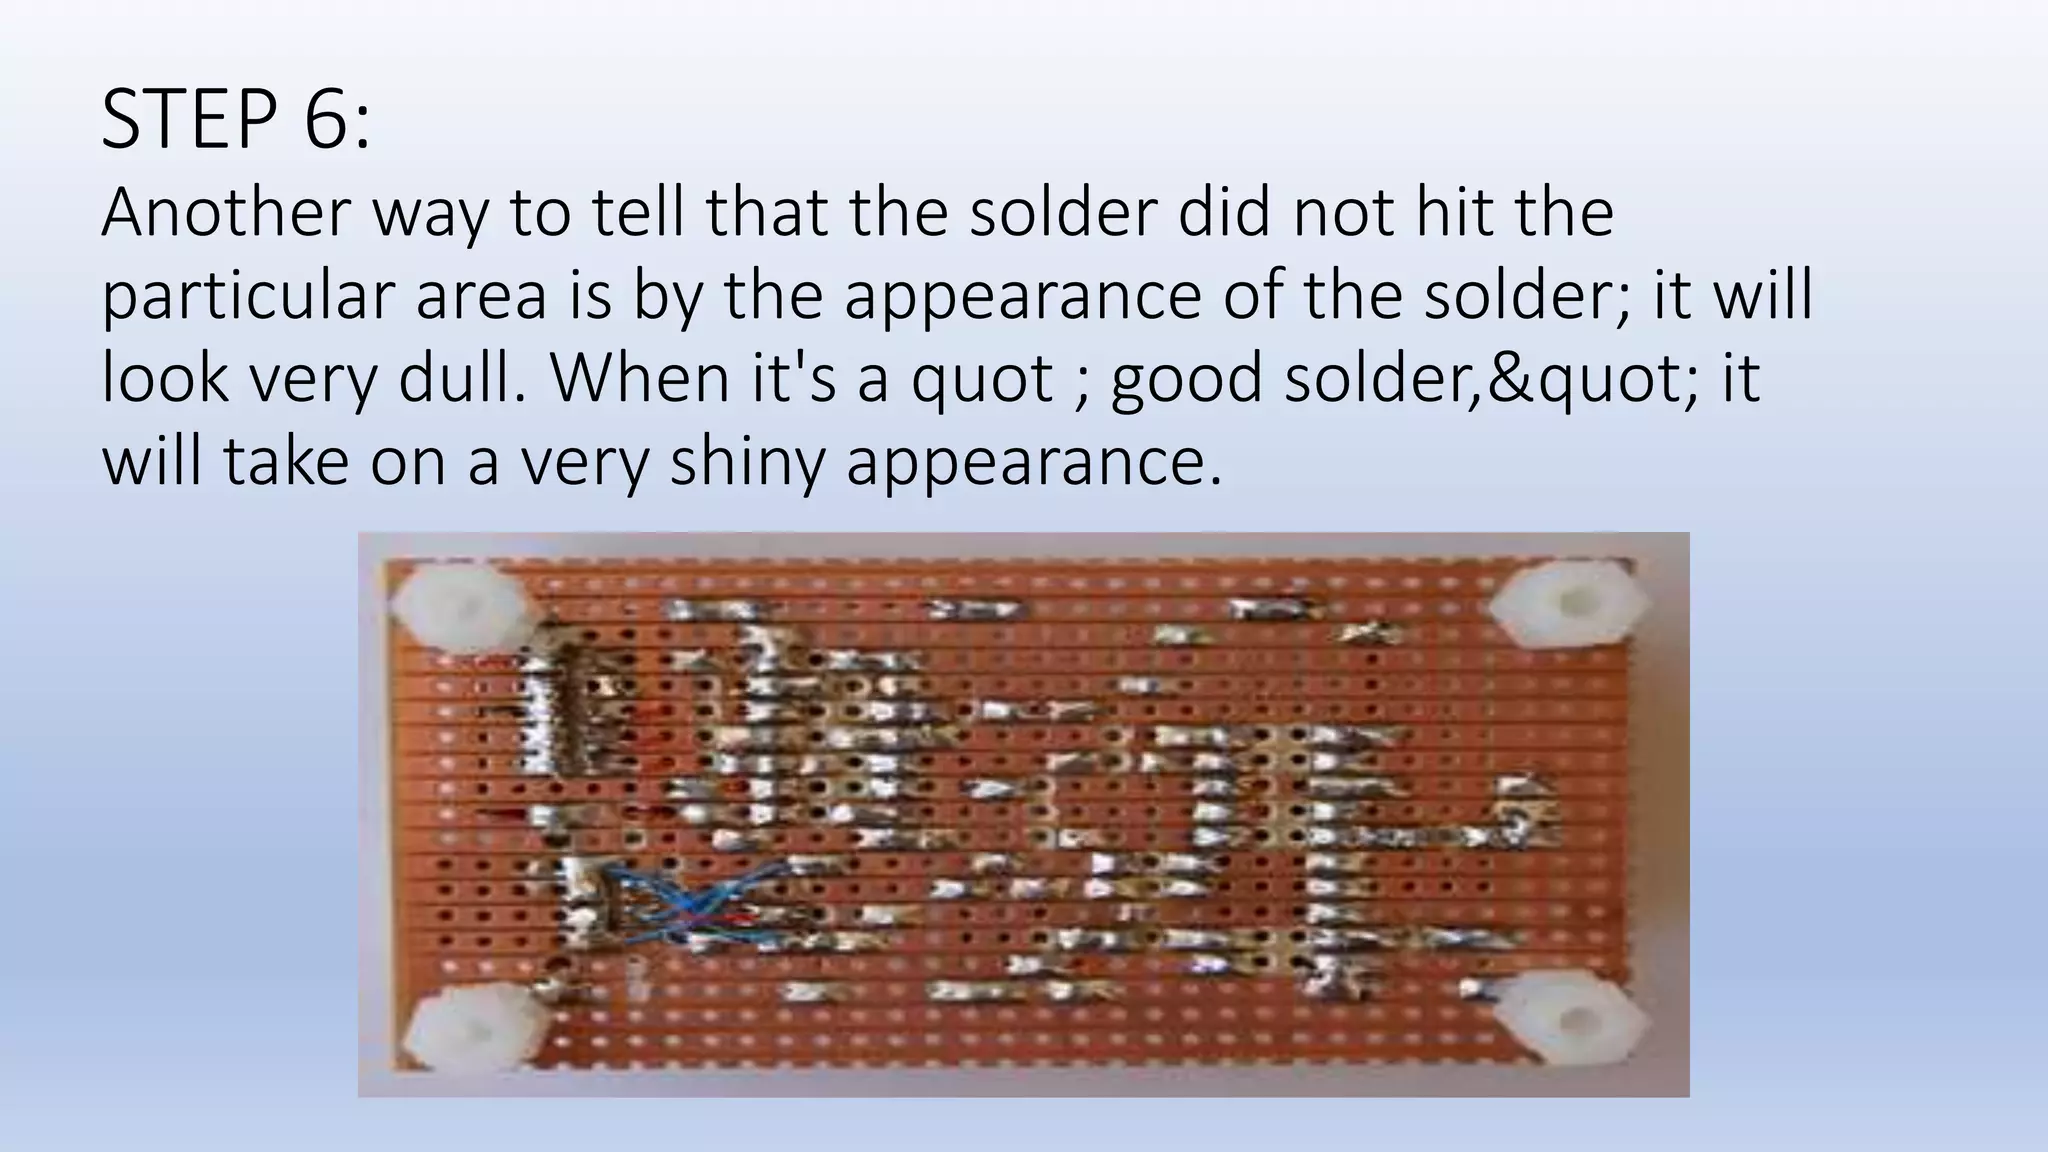
Indicators of good solder appearance, focusing on shiny vs. dull finishes.