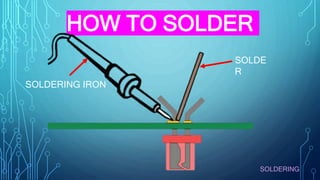
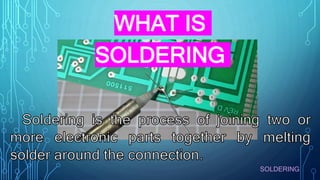
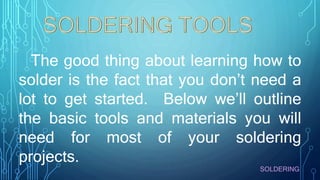
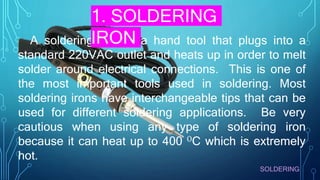
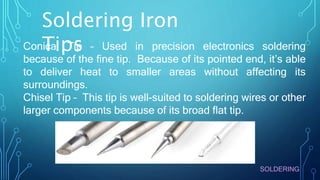
The document provides a comprehensive guide on soldering, outlining essential tools and techniques for beginners. It emphasizes the importance of safety, proper preparation, and the correct methods for soldering electronic components and wires. Additionally, it highlights the need for protective gear and the significance of using flux and maintaining the soldering iron for effective soldering results.


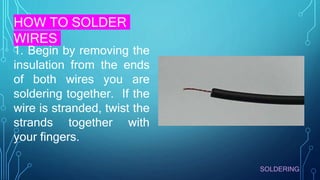


![5G Explained! A High Level Overview [Introduction]](https://cdn.slidesharecdn.com/ss_thumbnails/5gexplainedahighleveloverview-260119165306-cc137a3e-thumbnail.jpg?width=640&height=640&fit=bounds)


