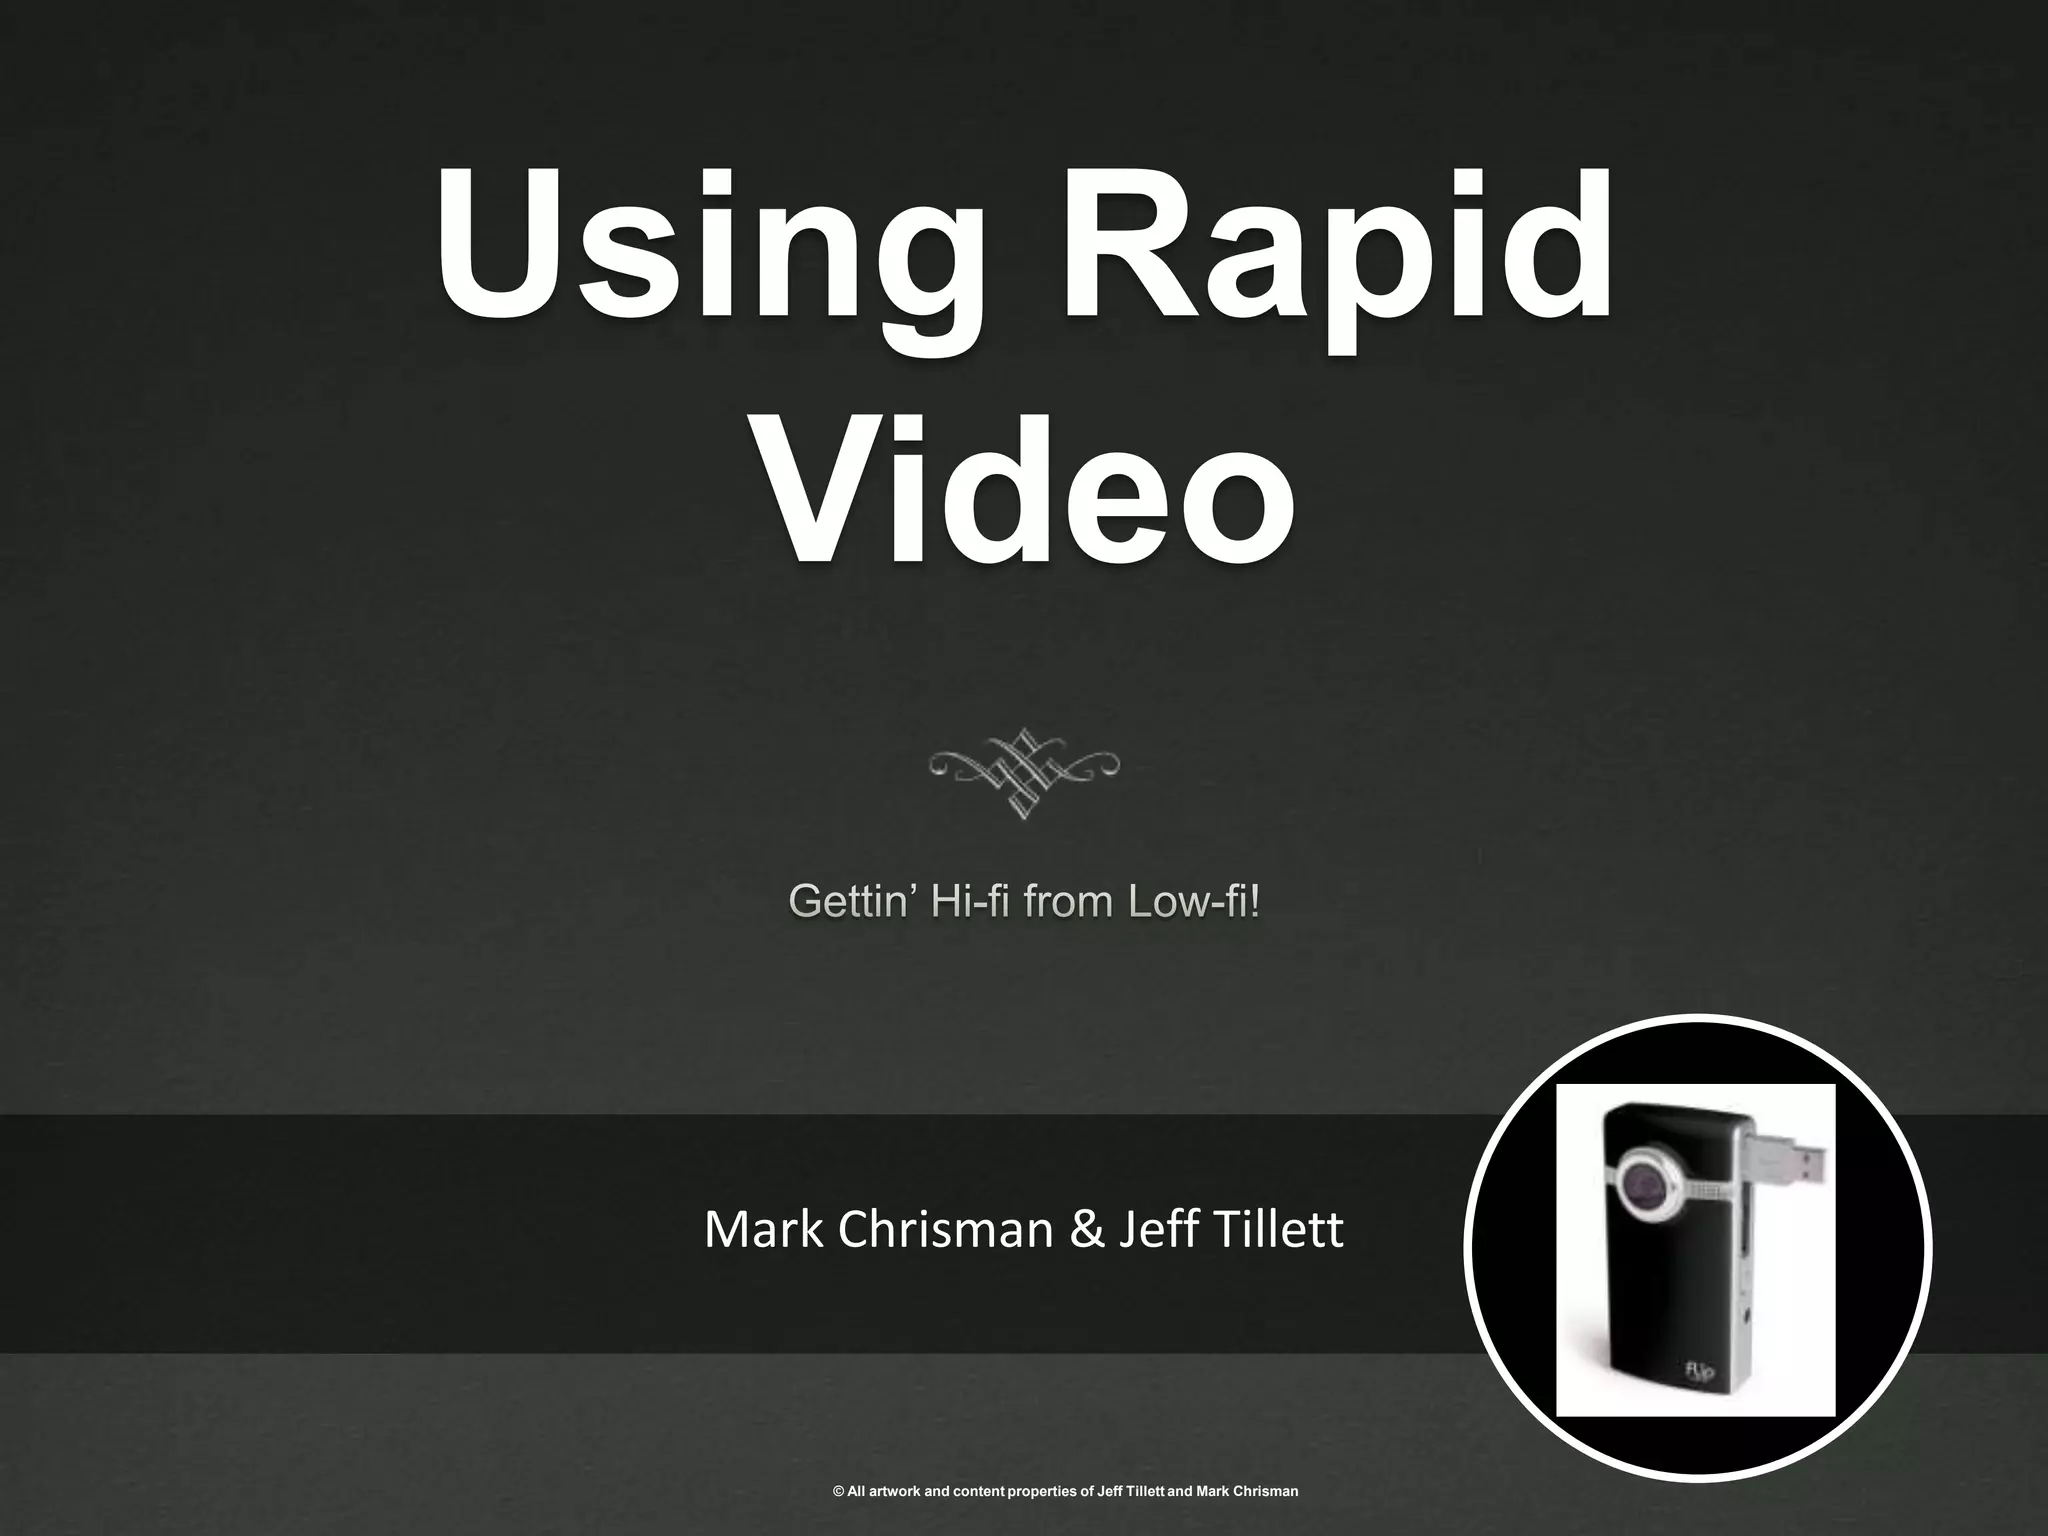
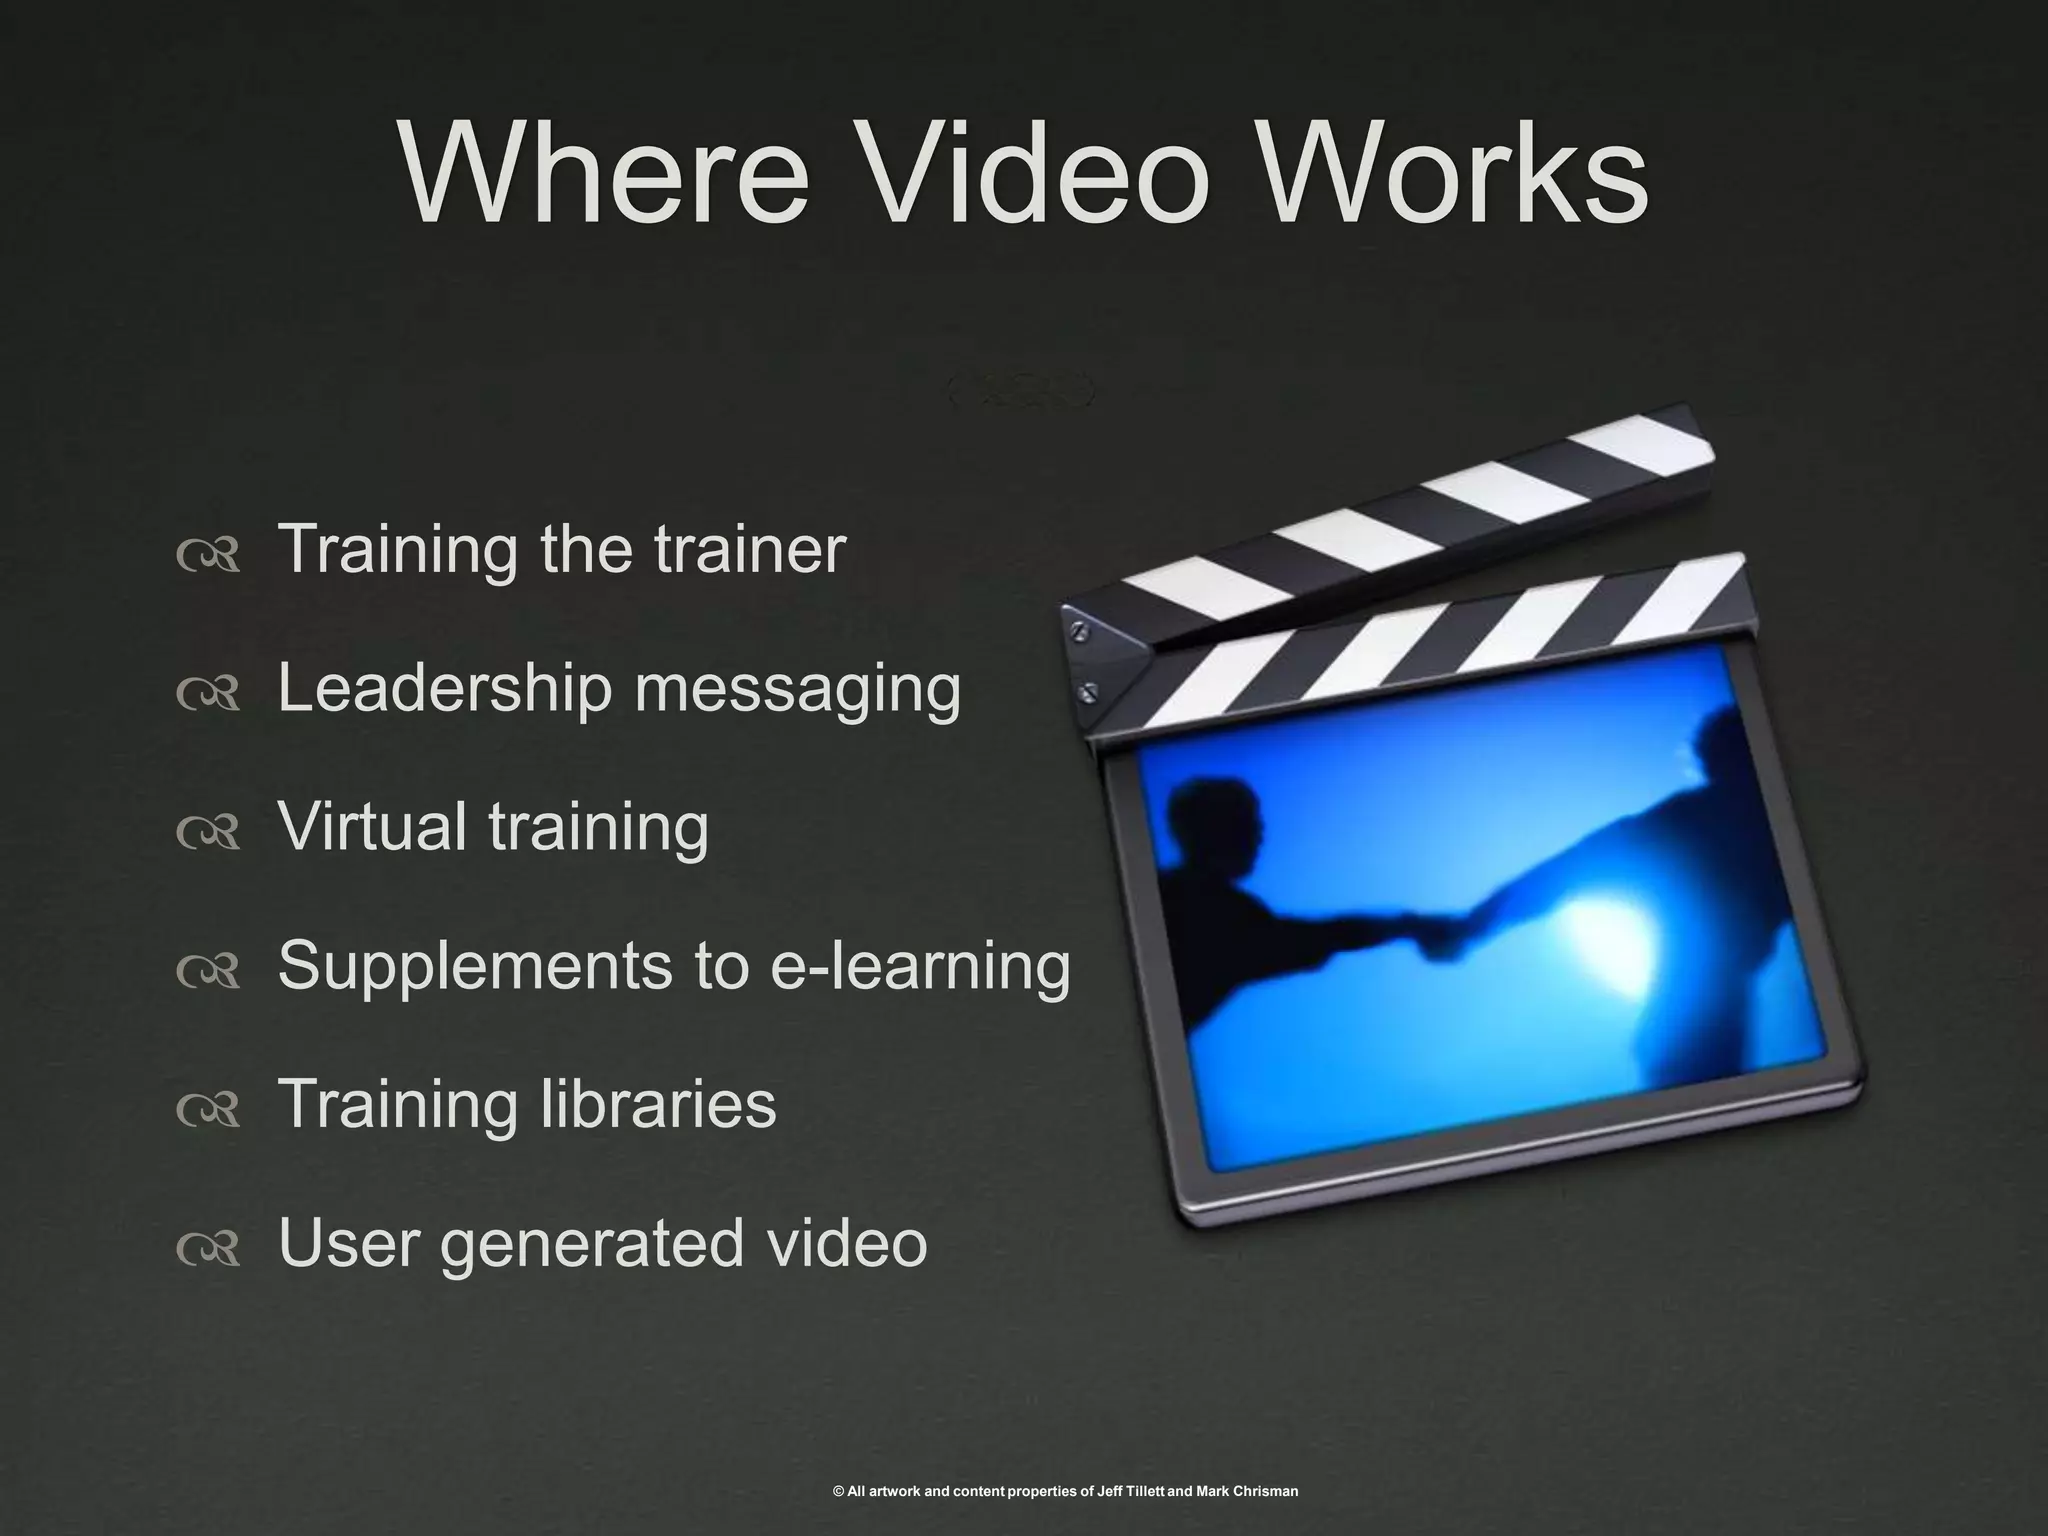
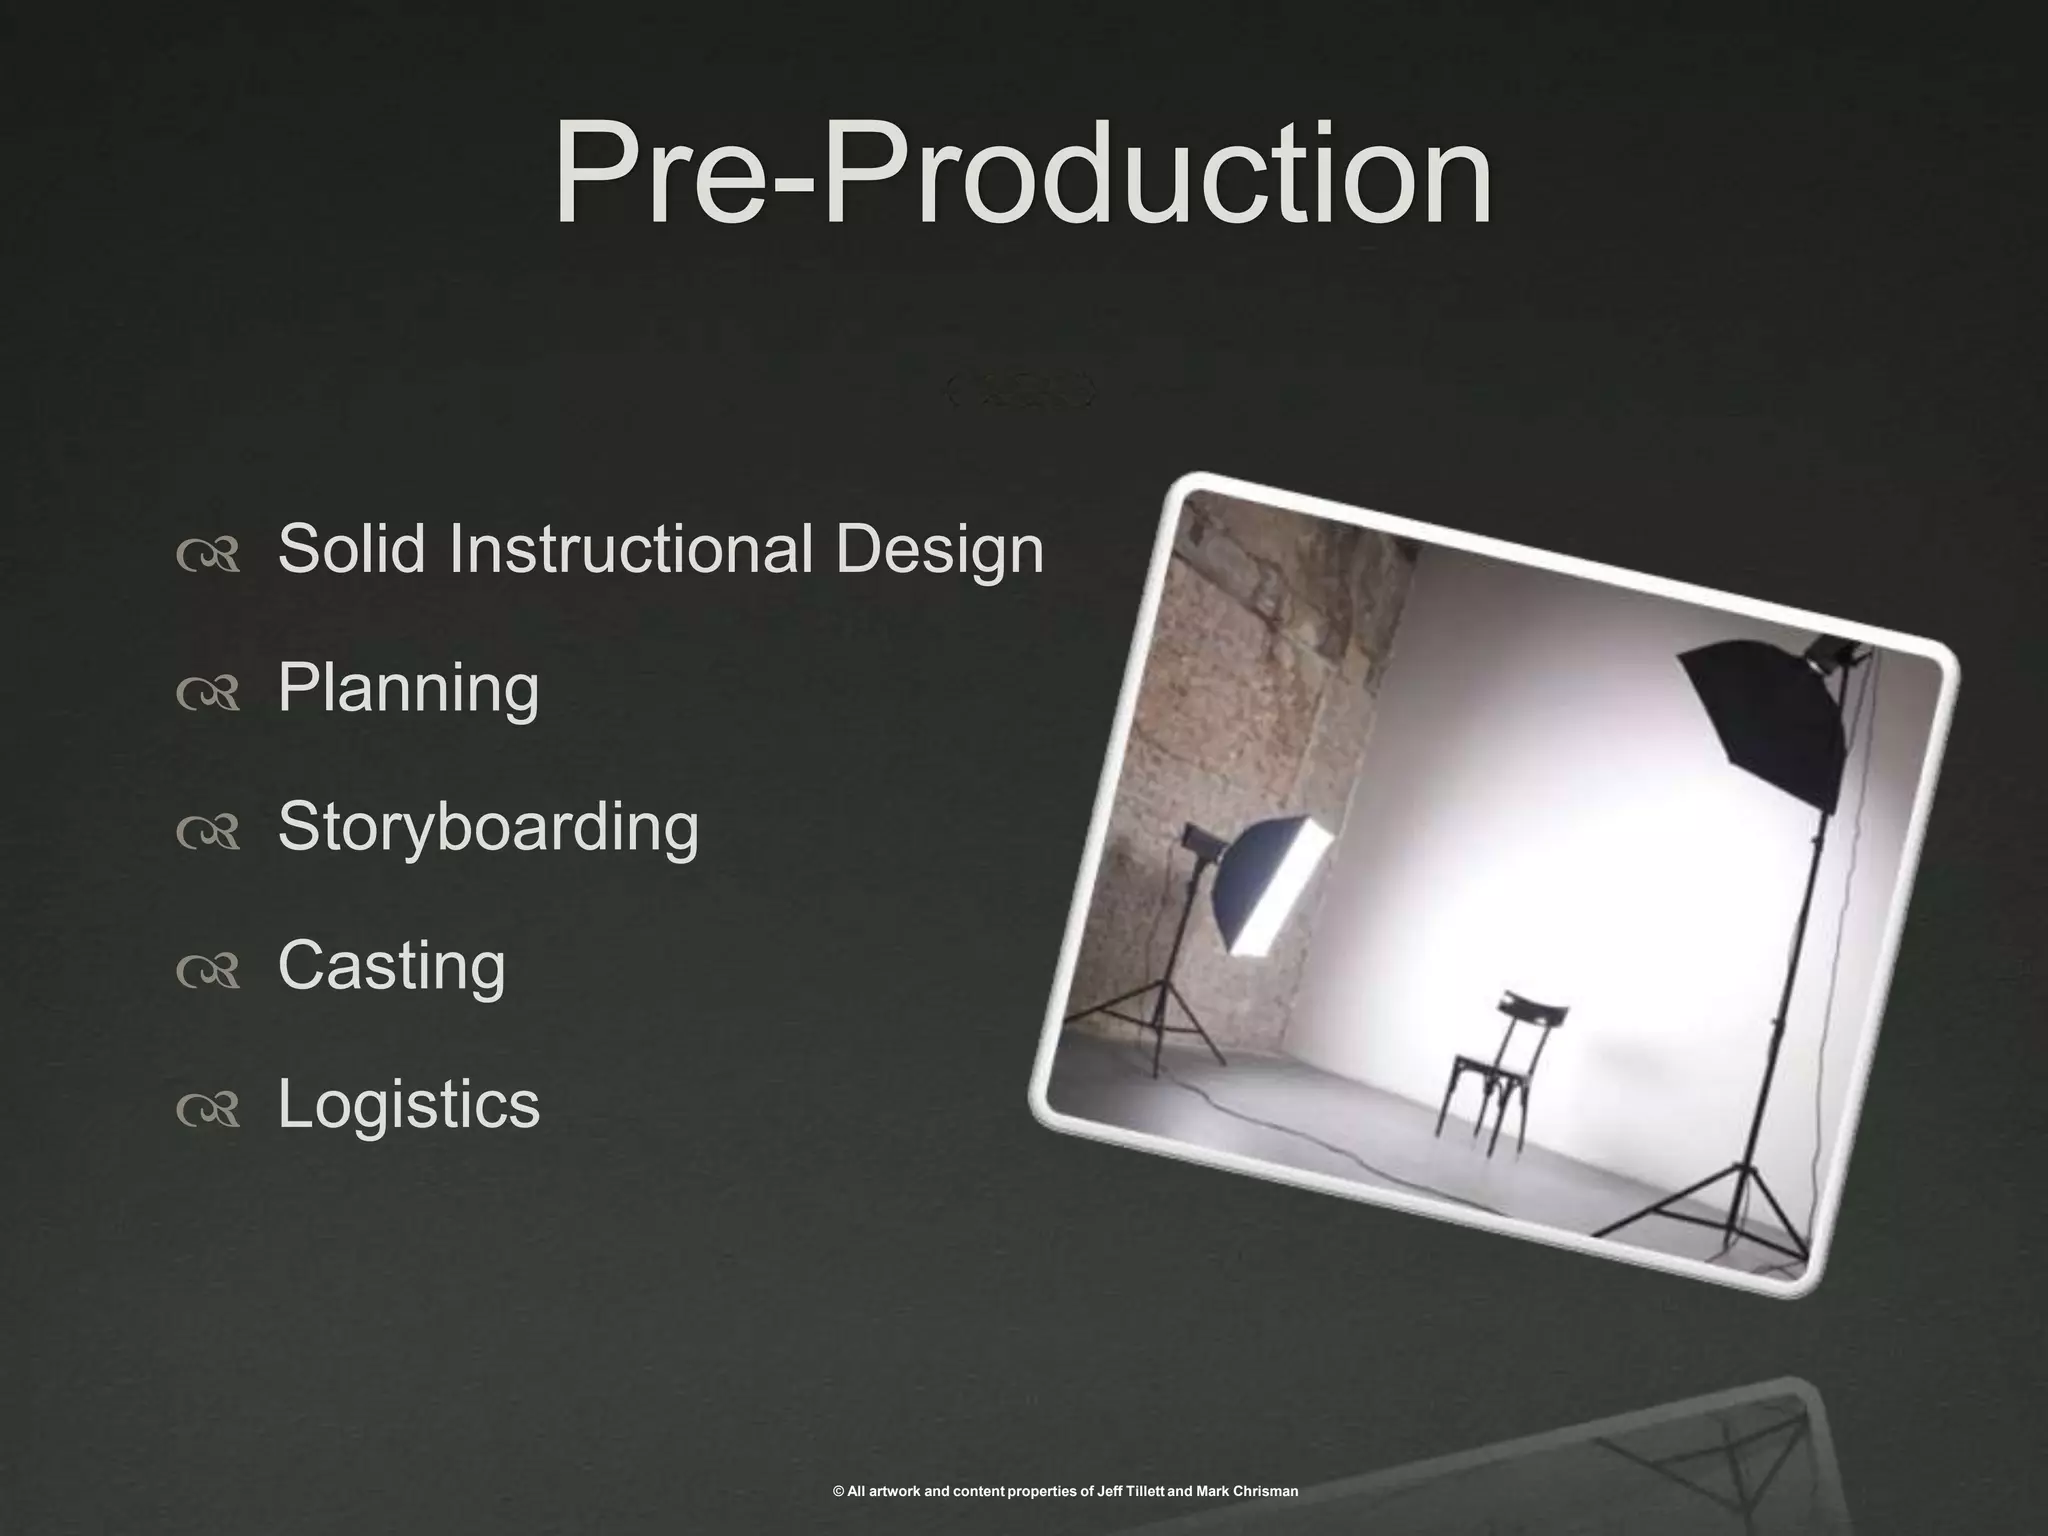
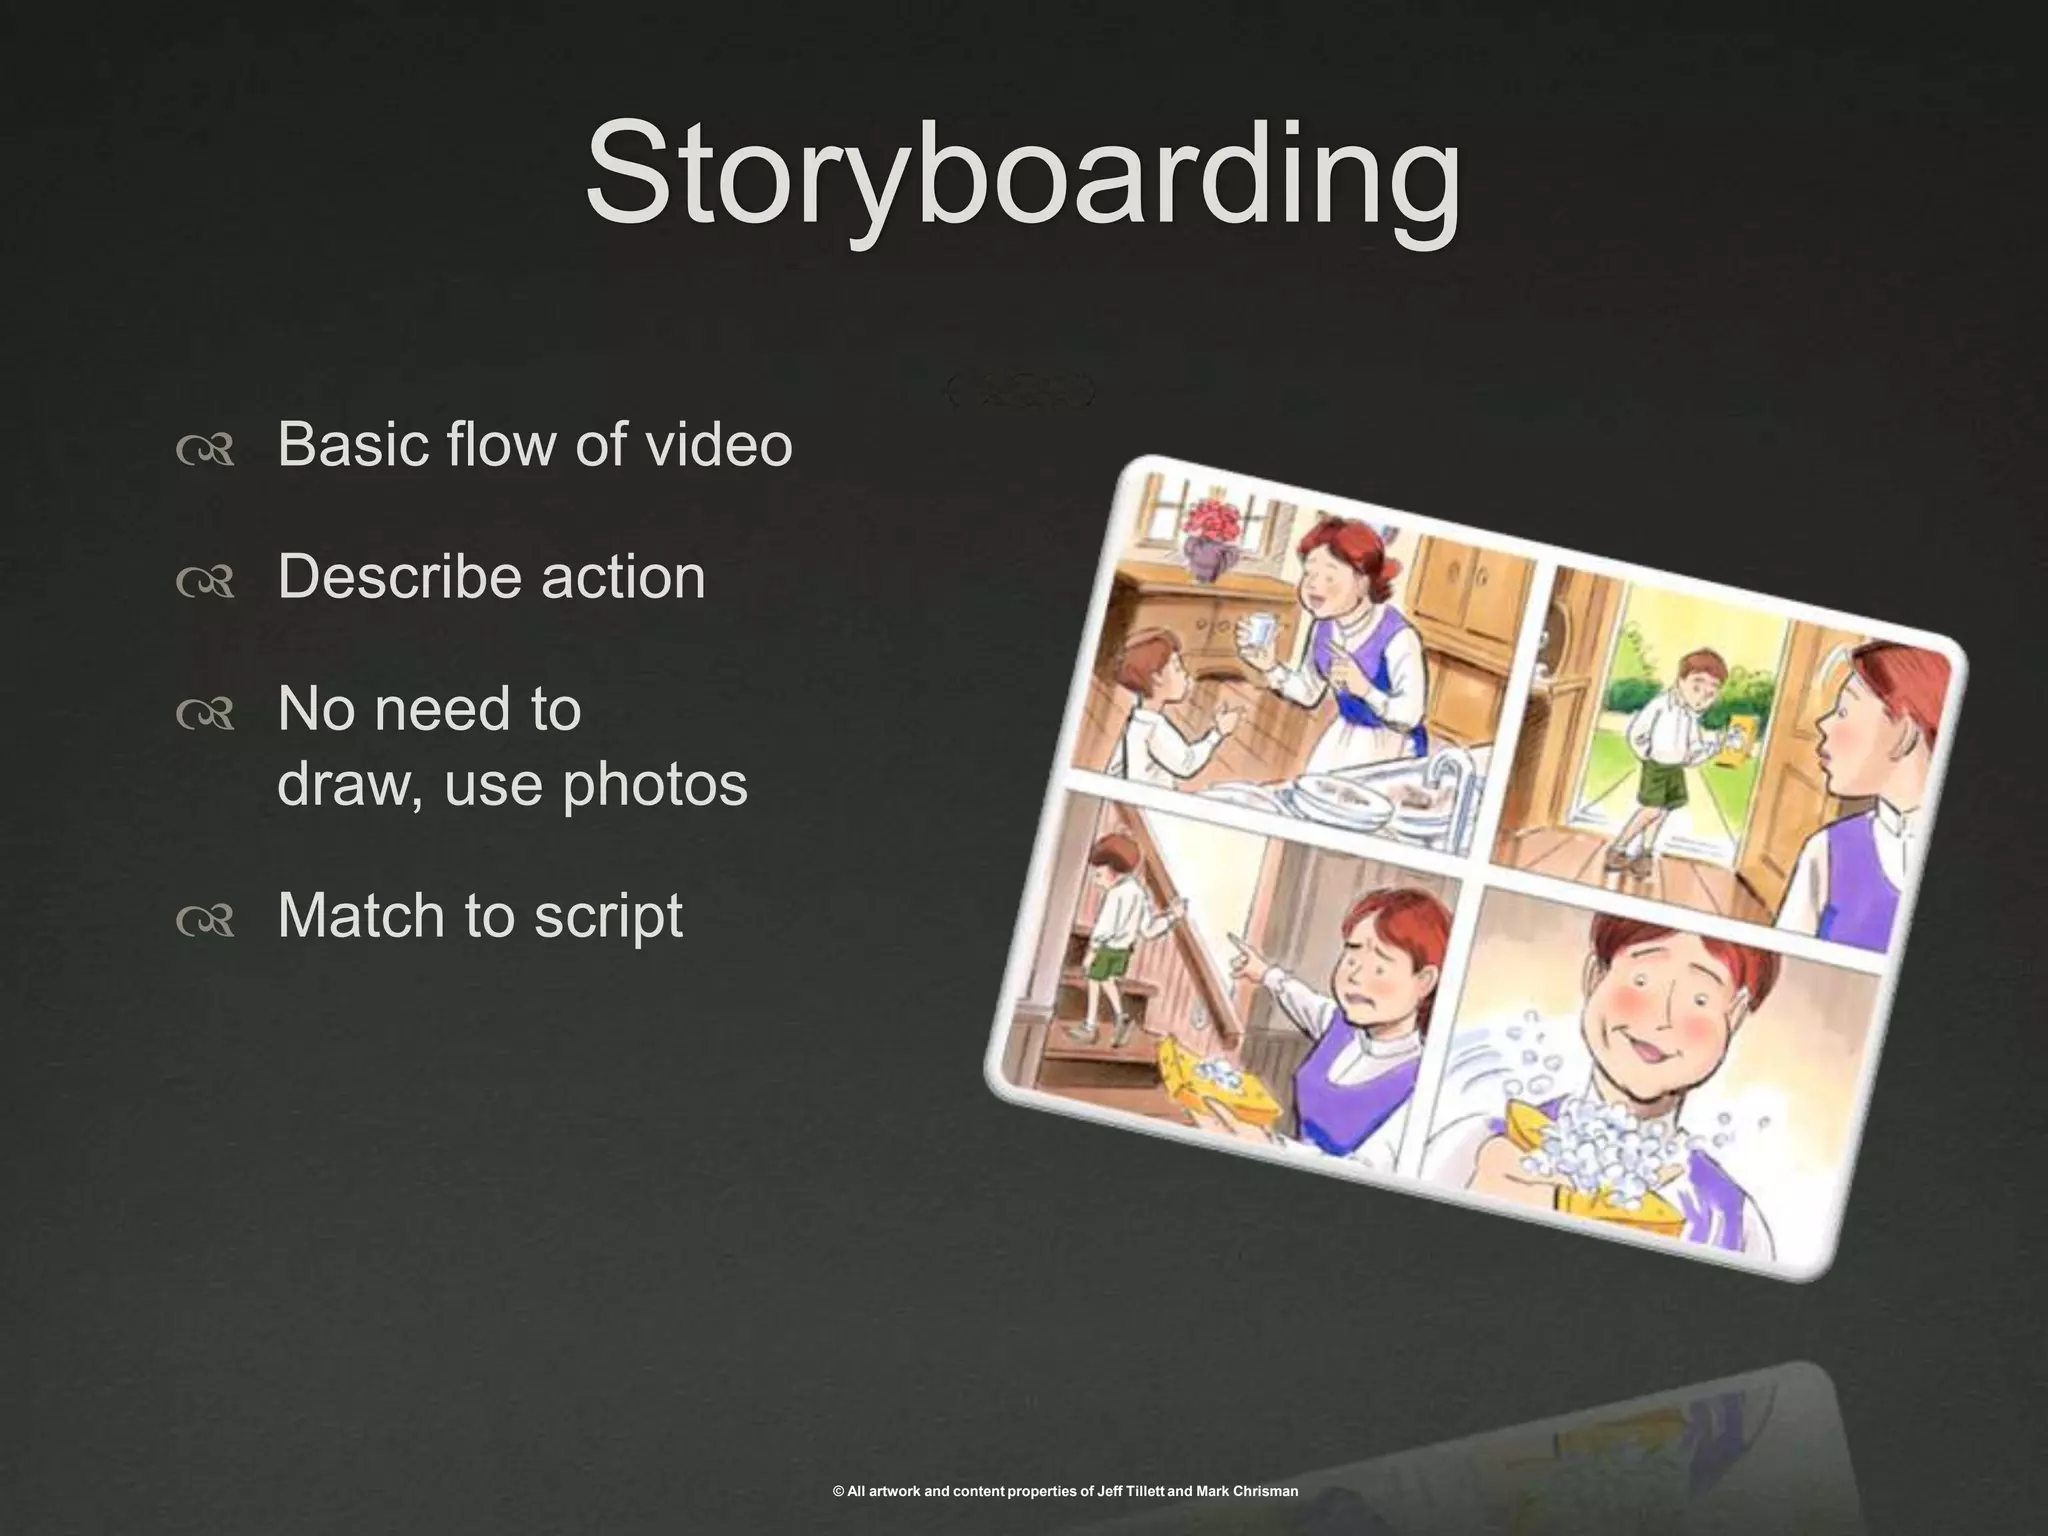
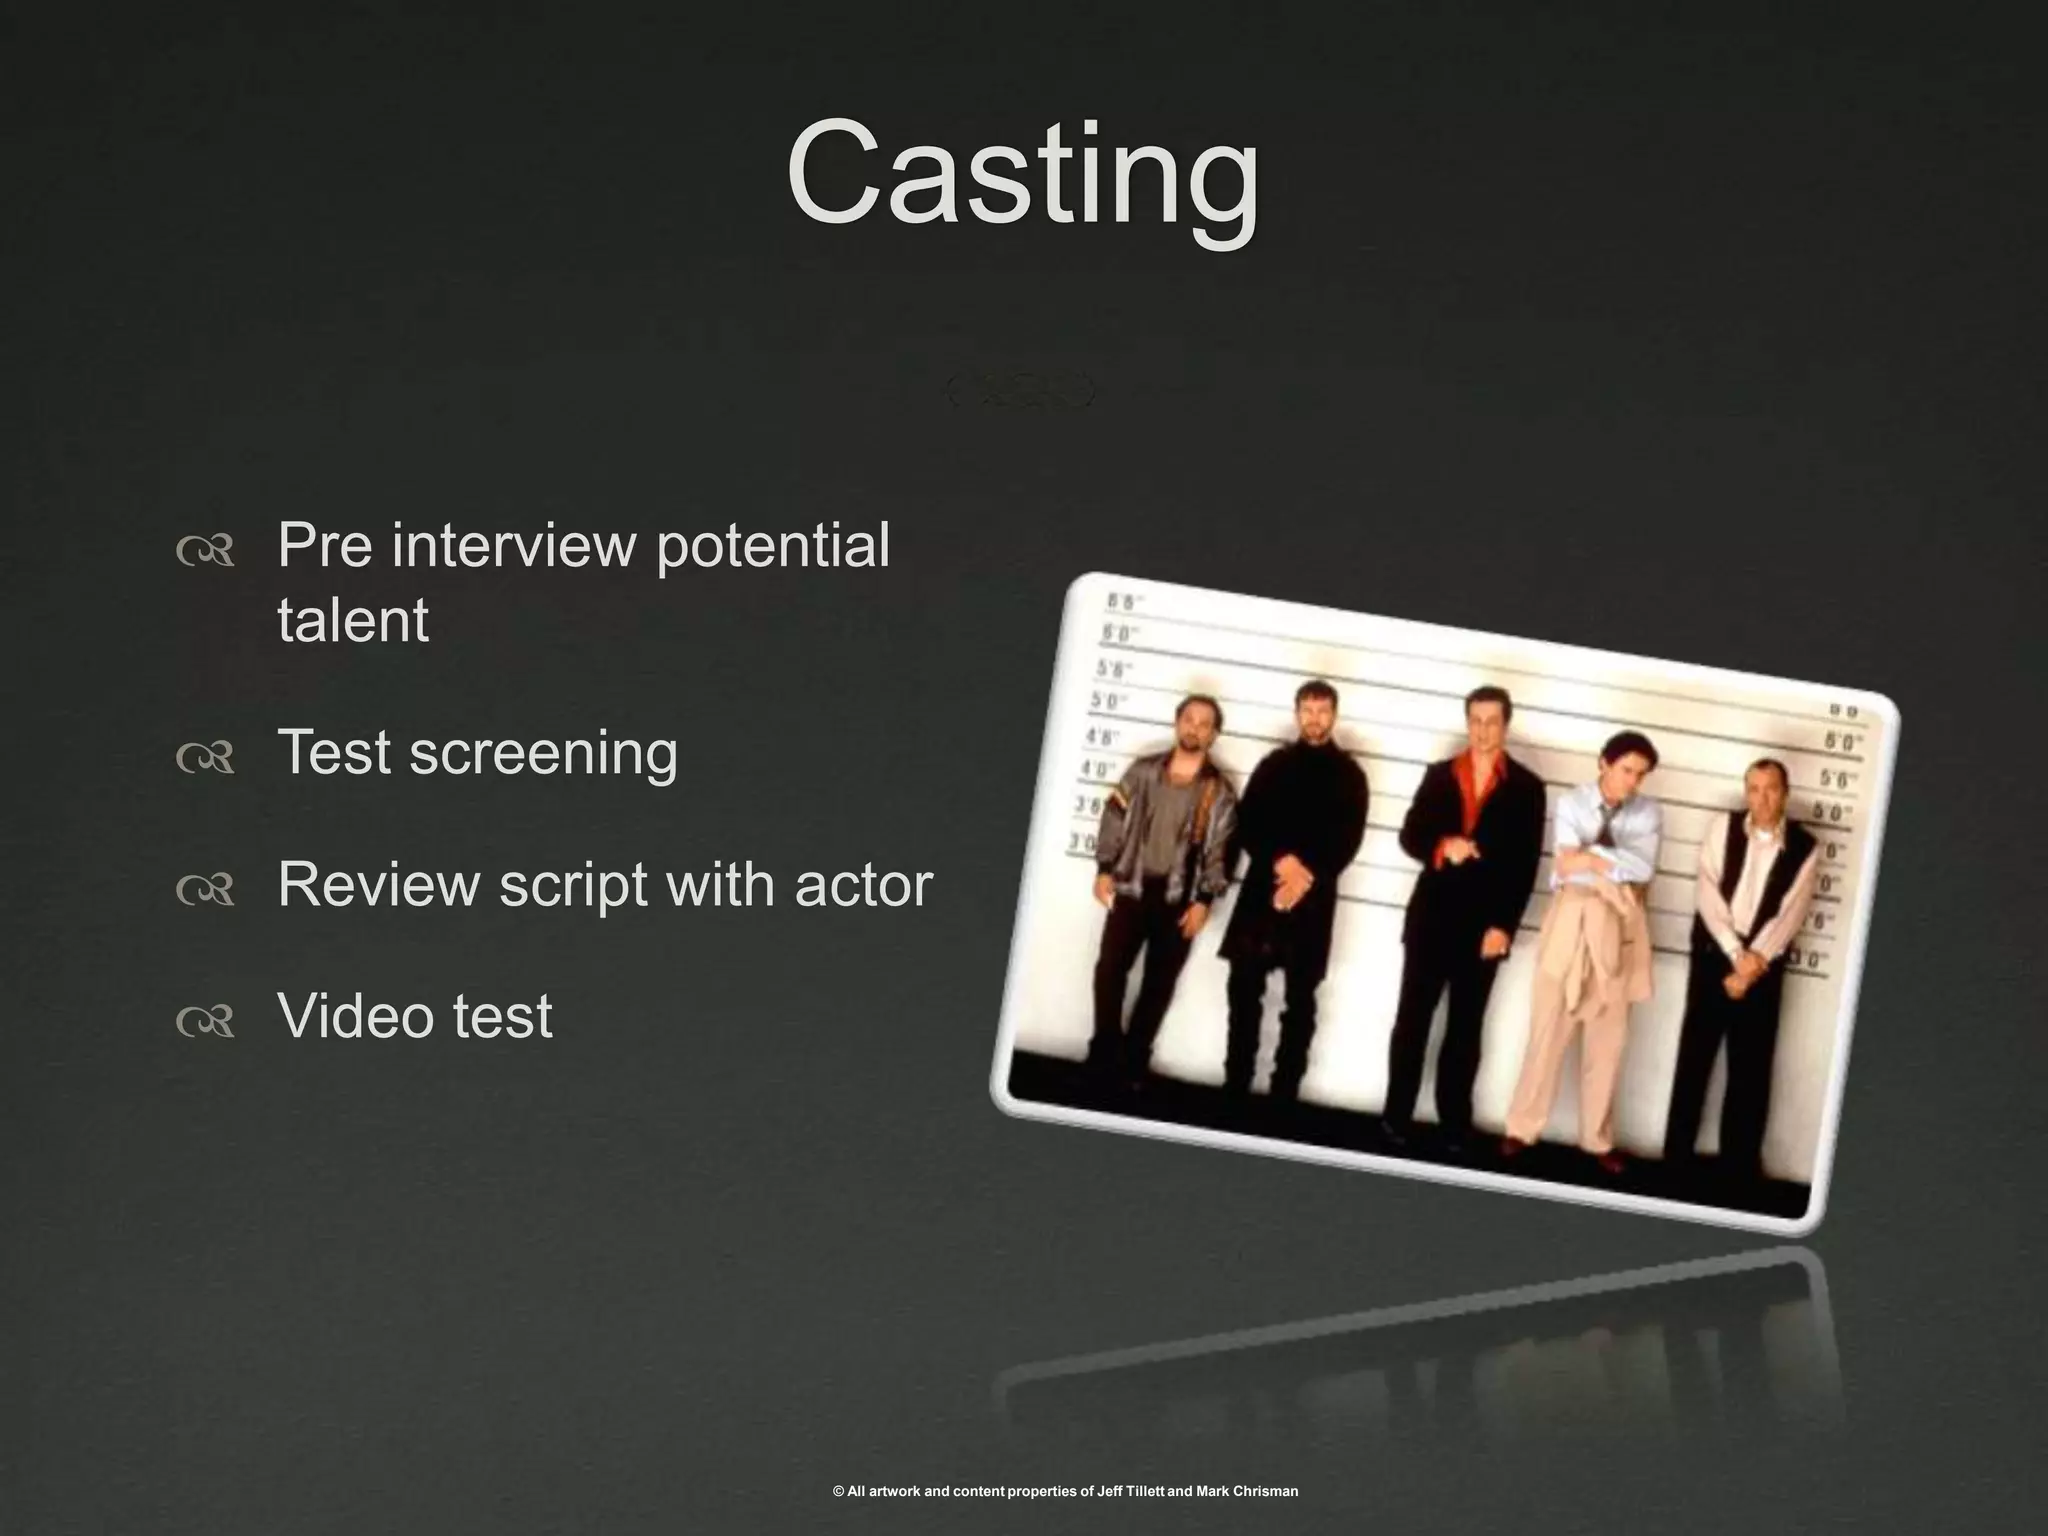
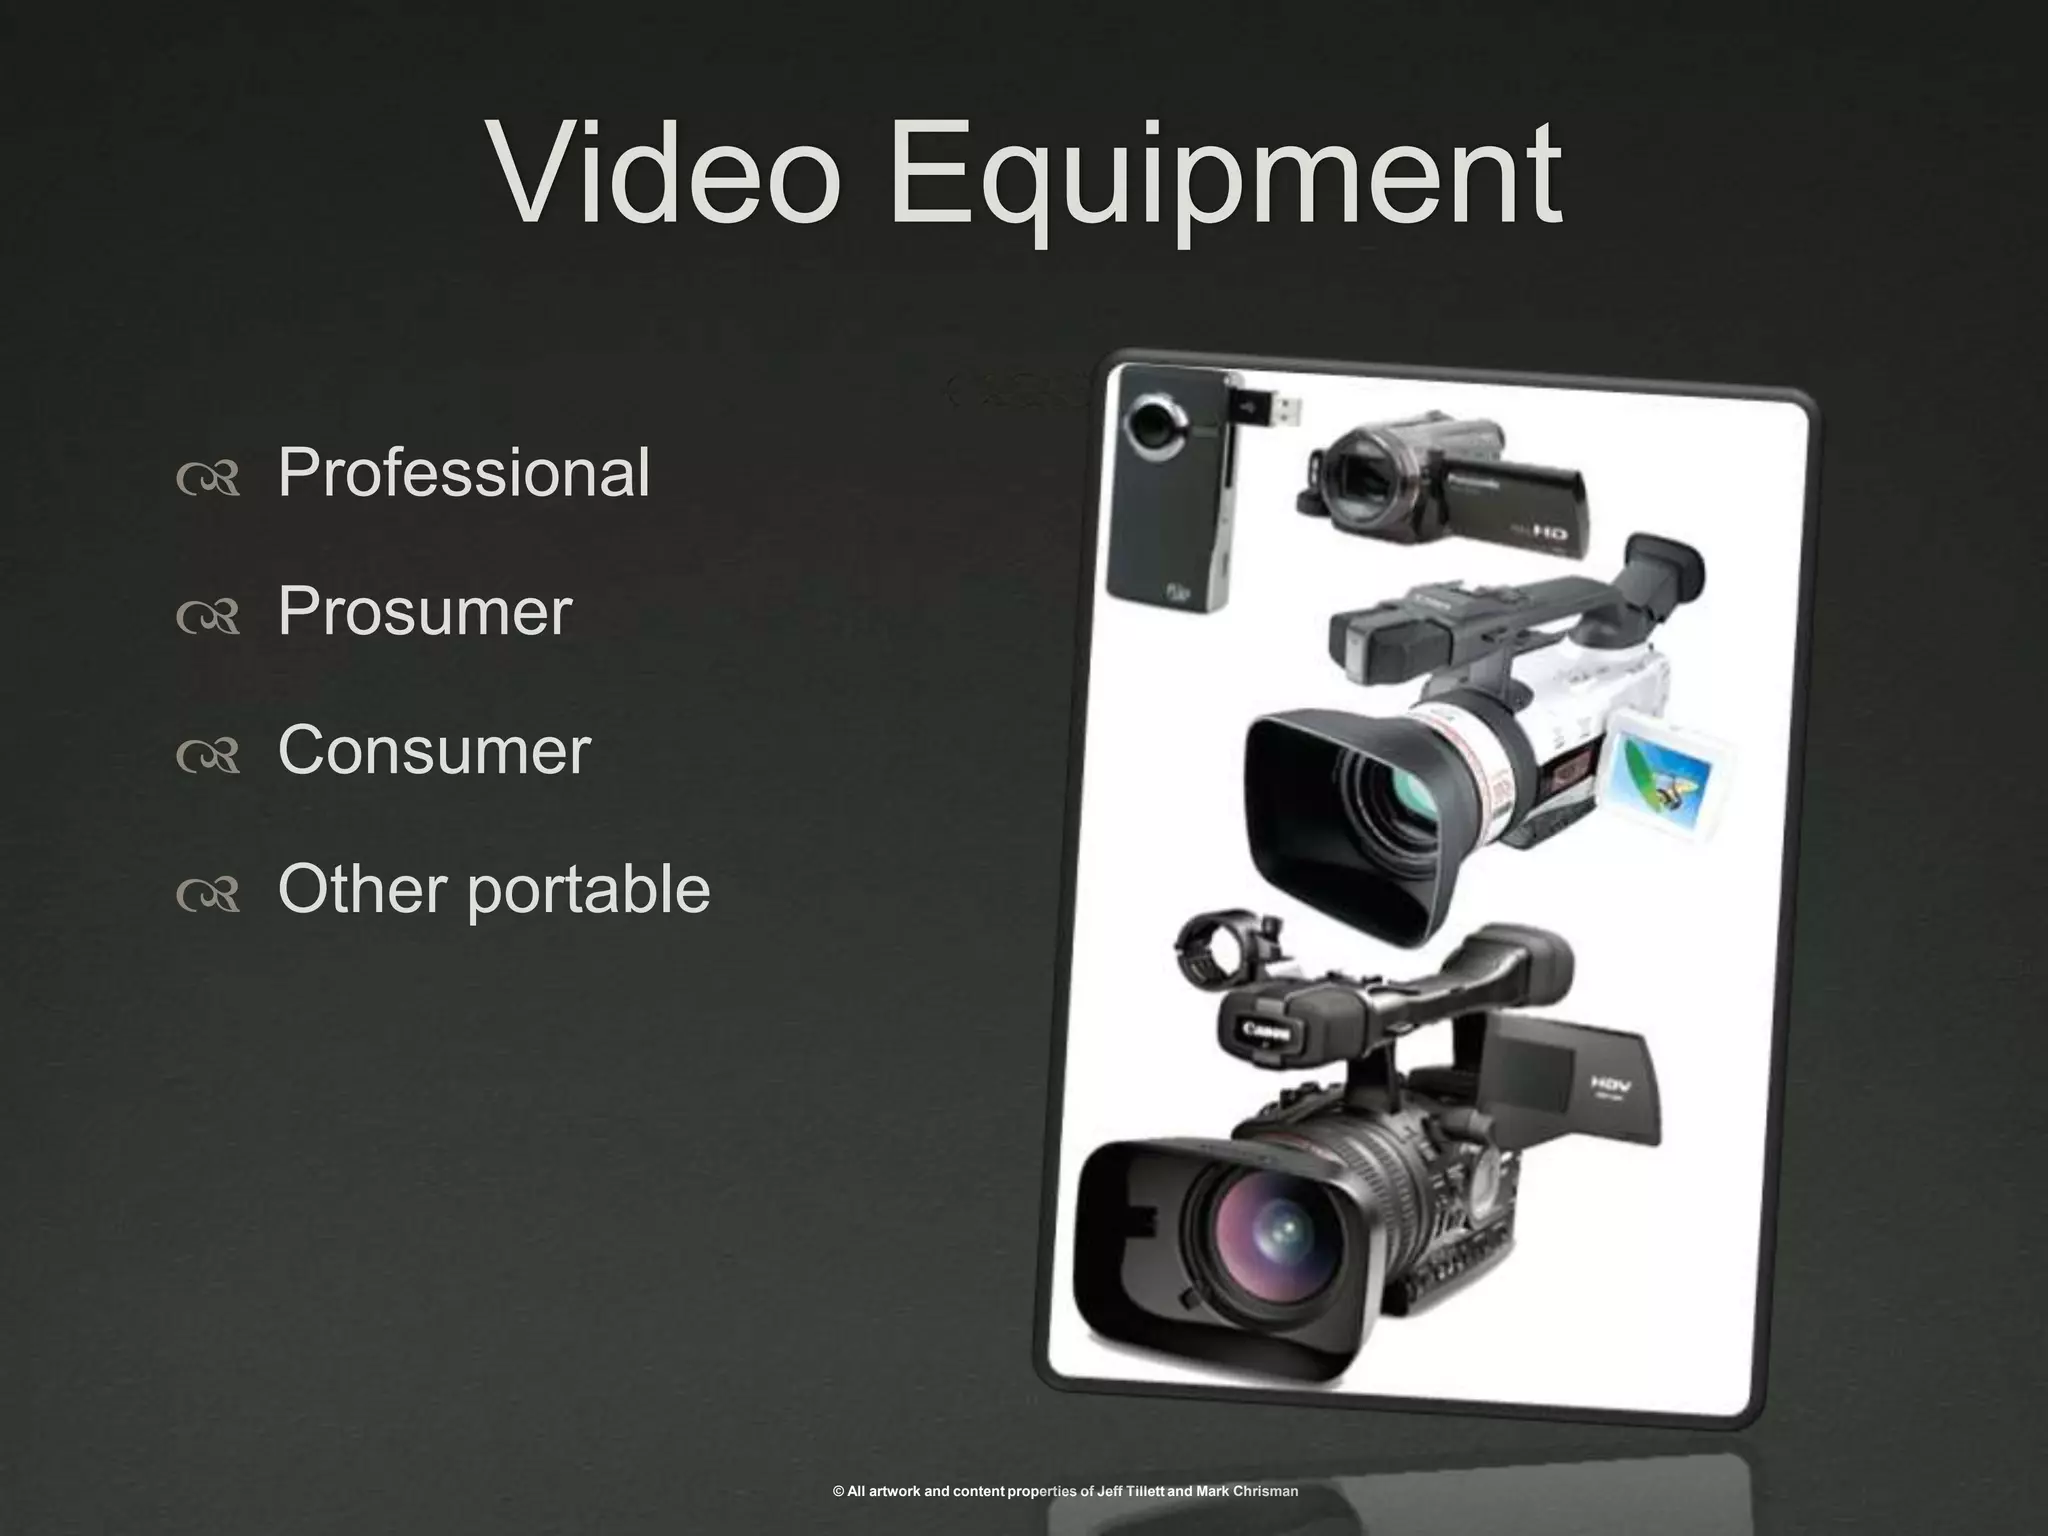
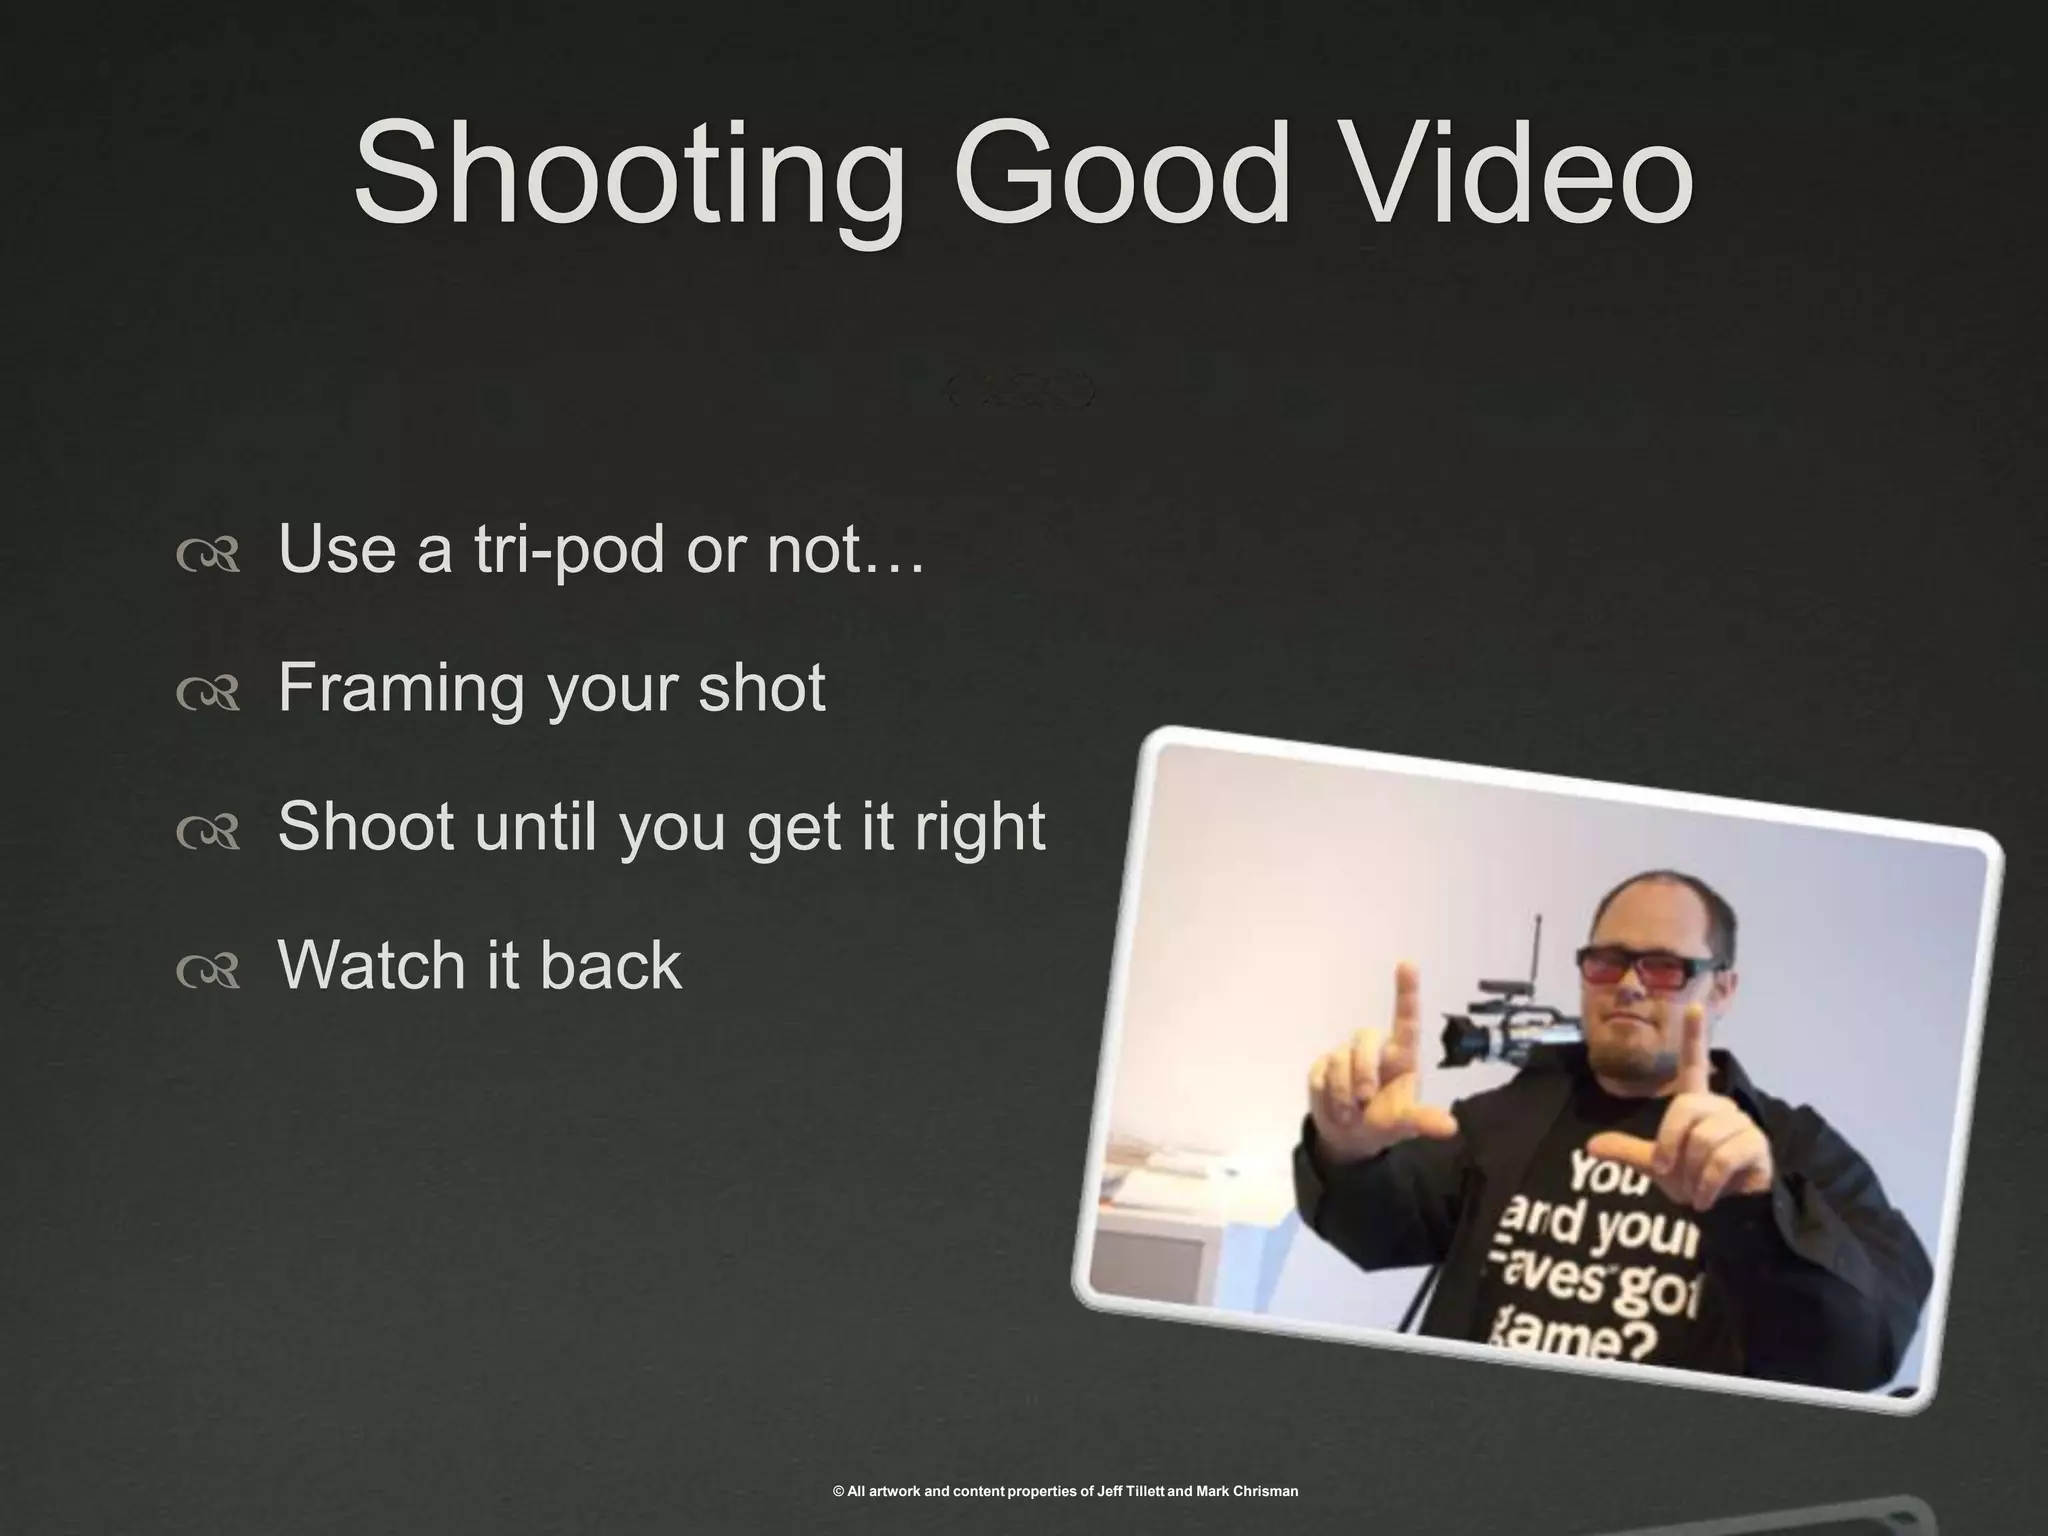
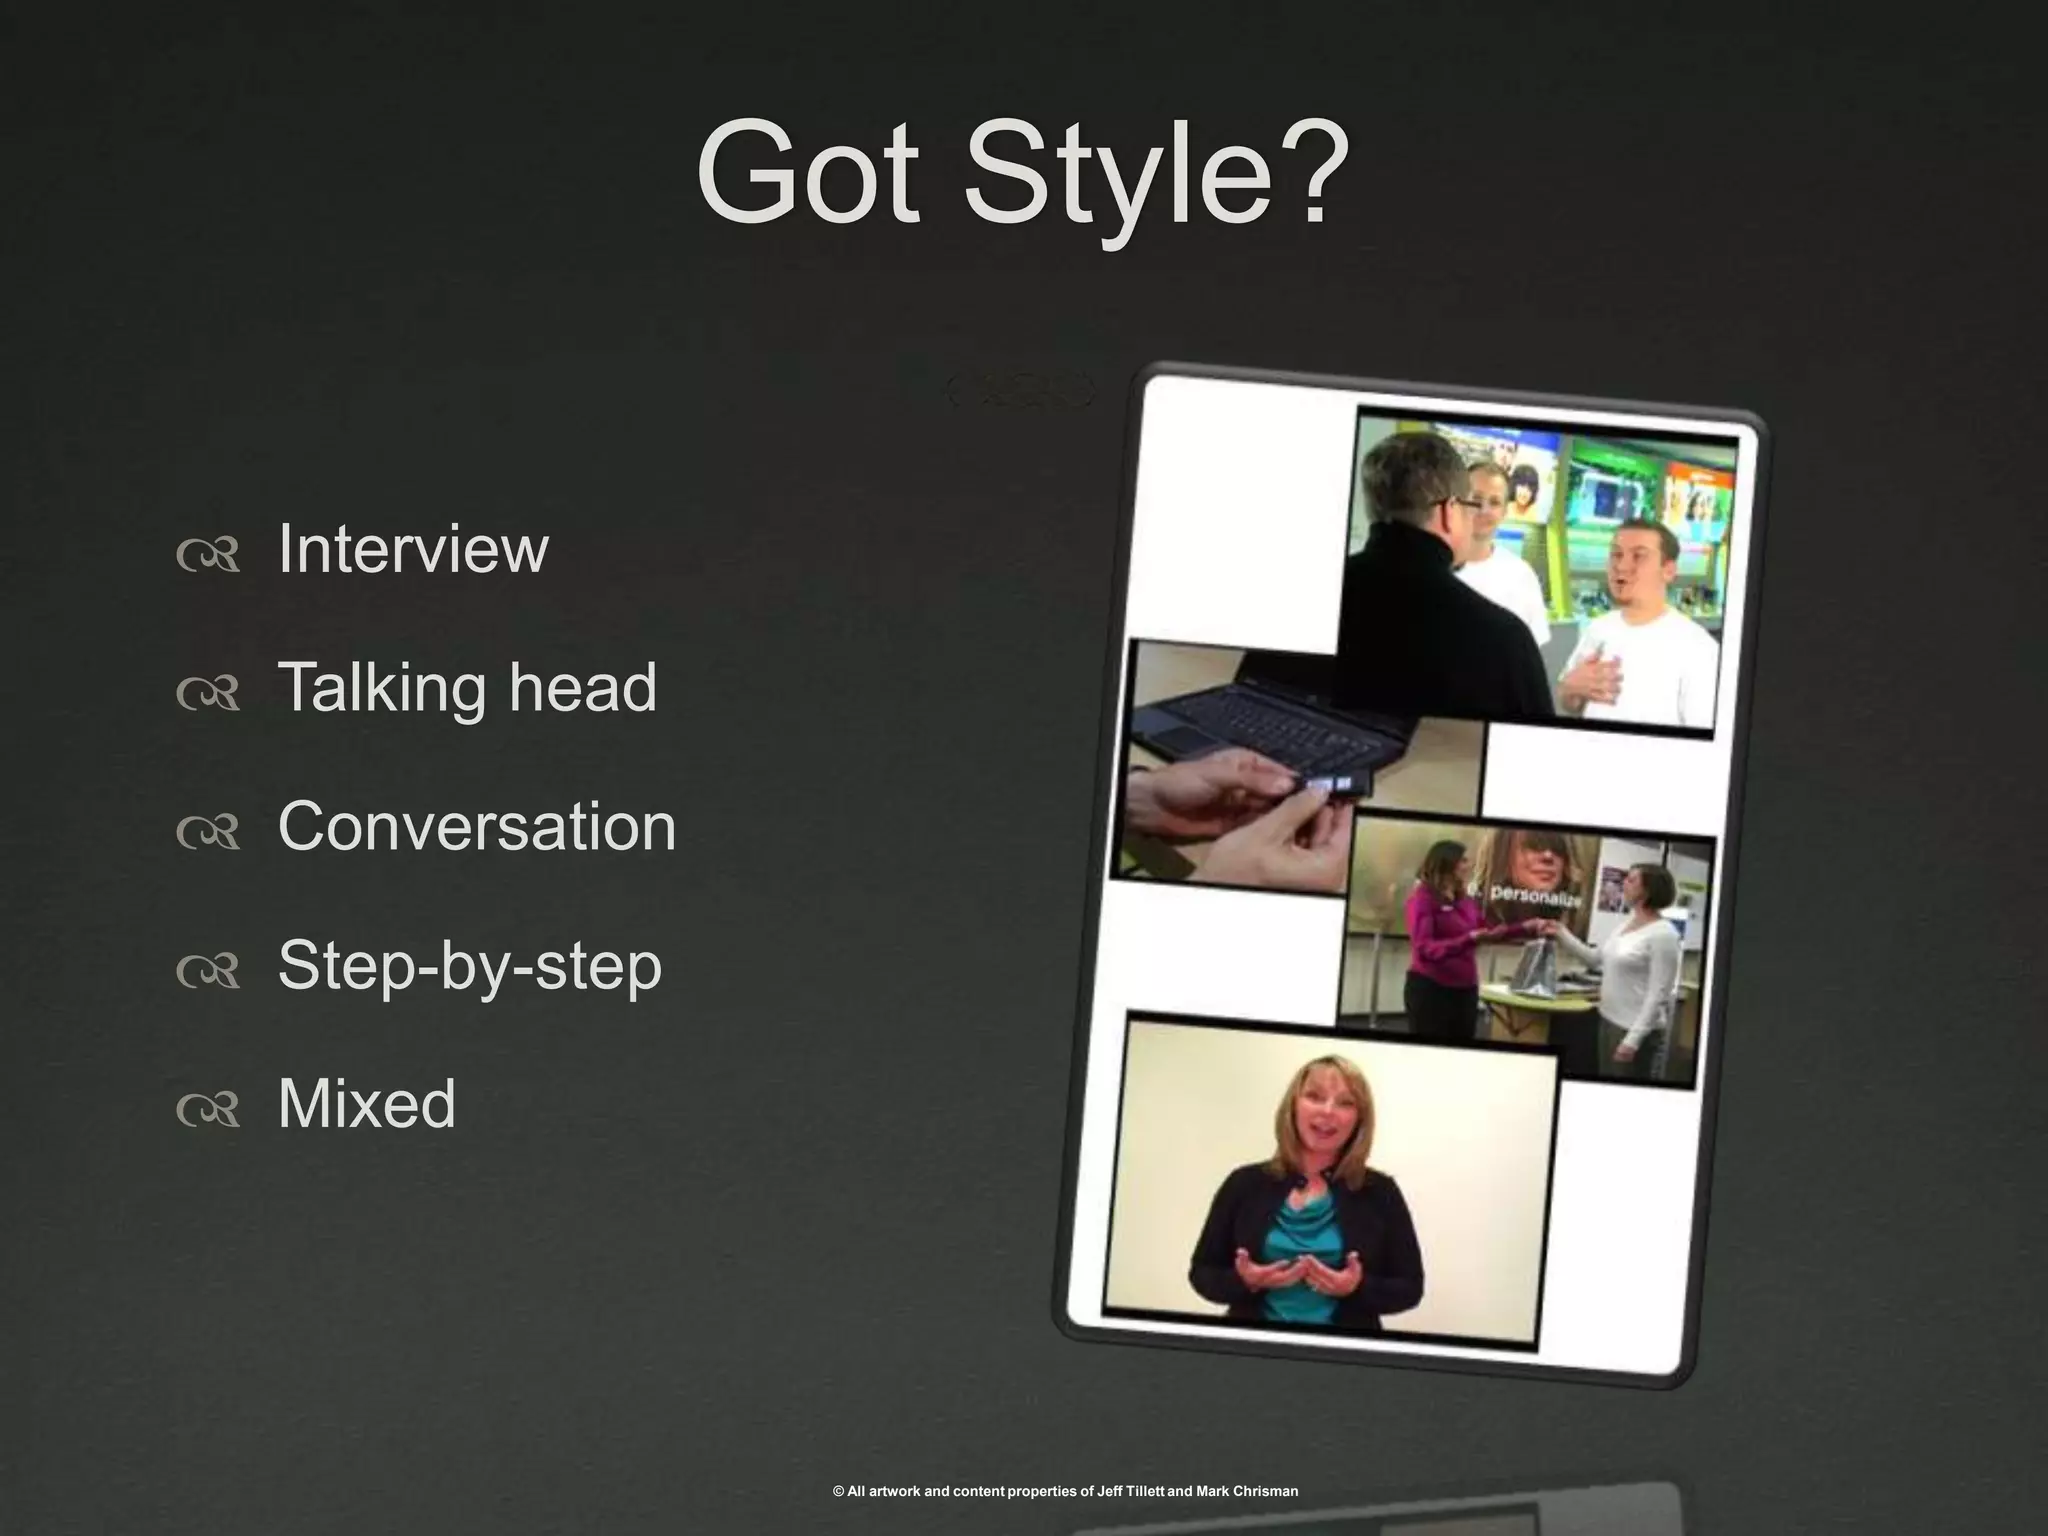
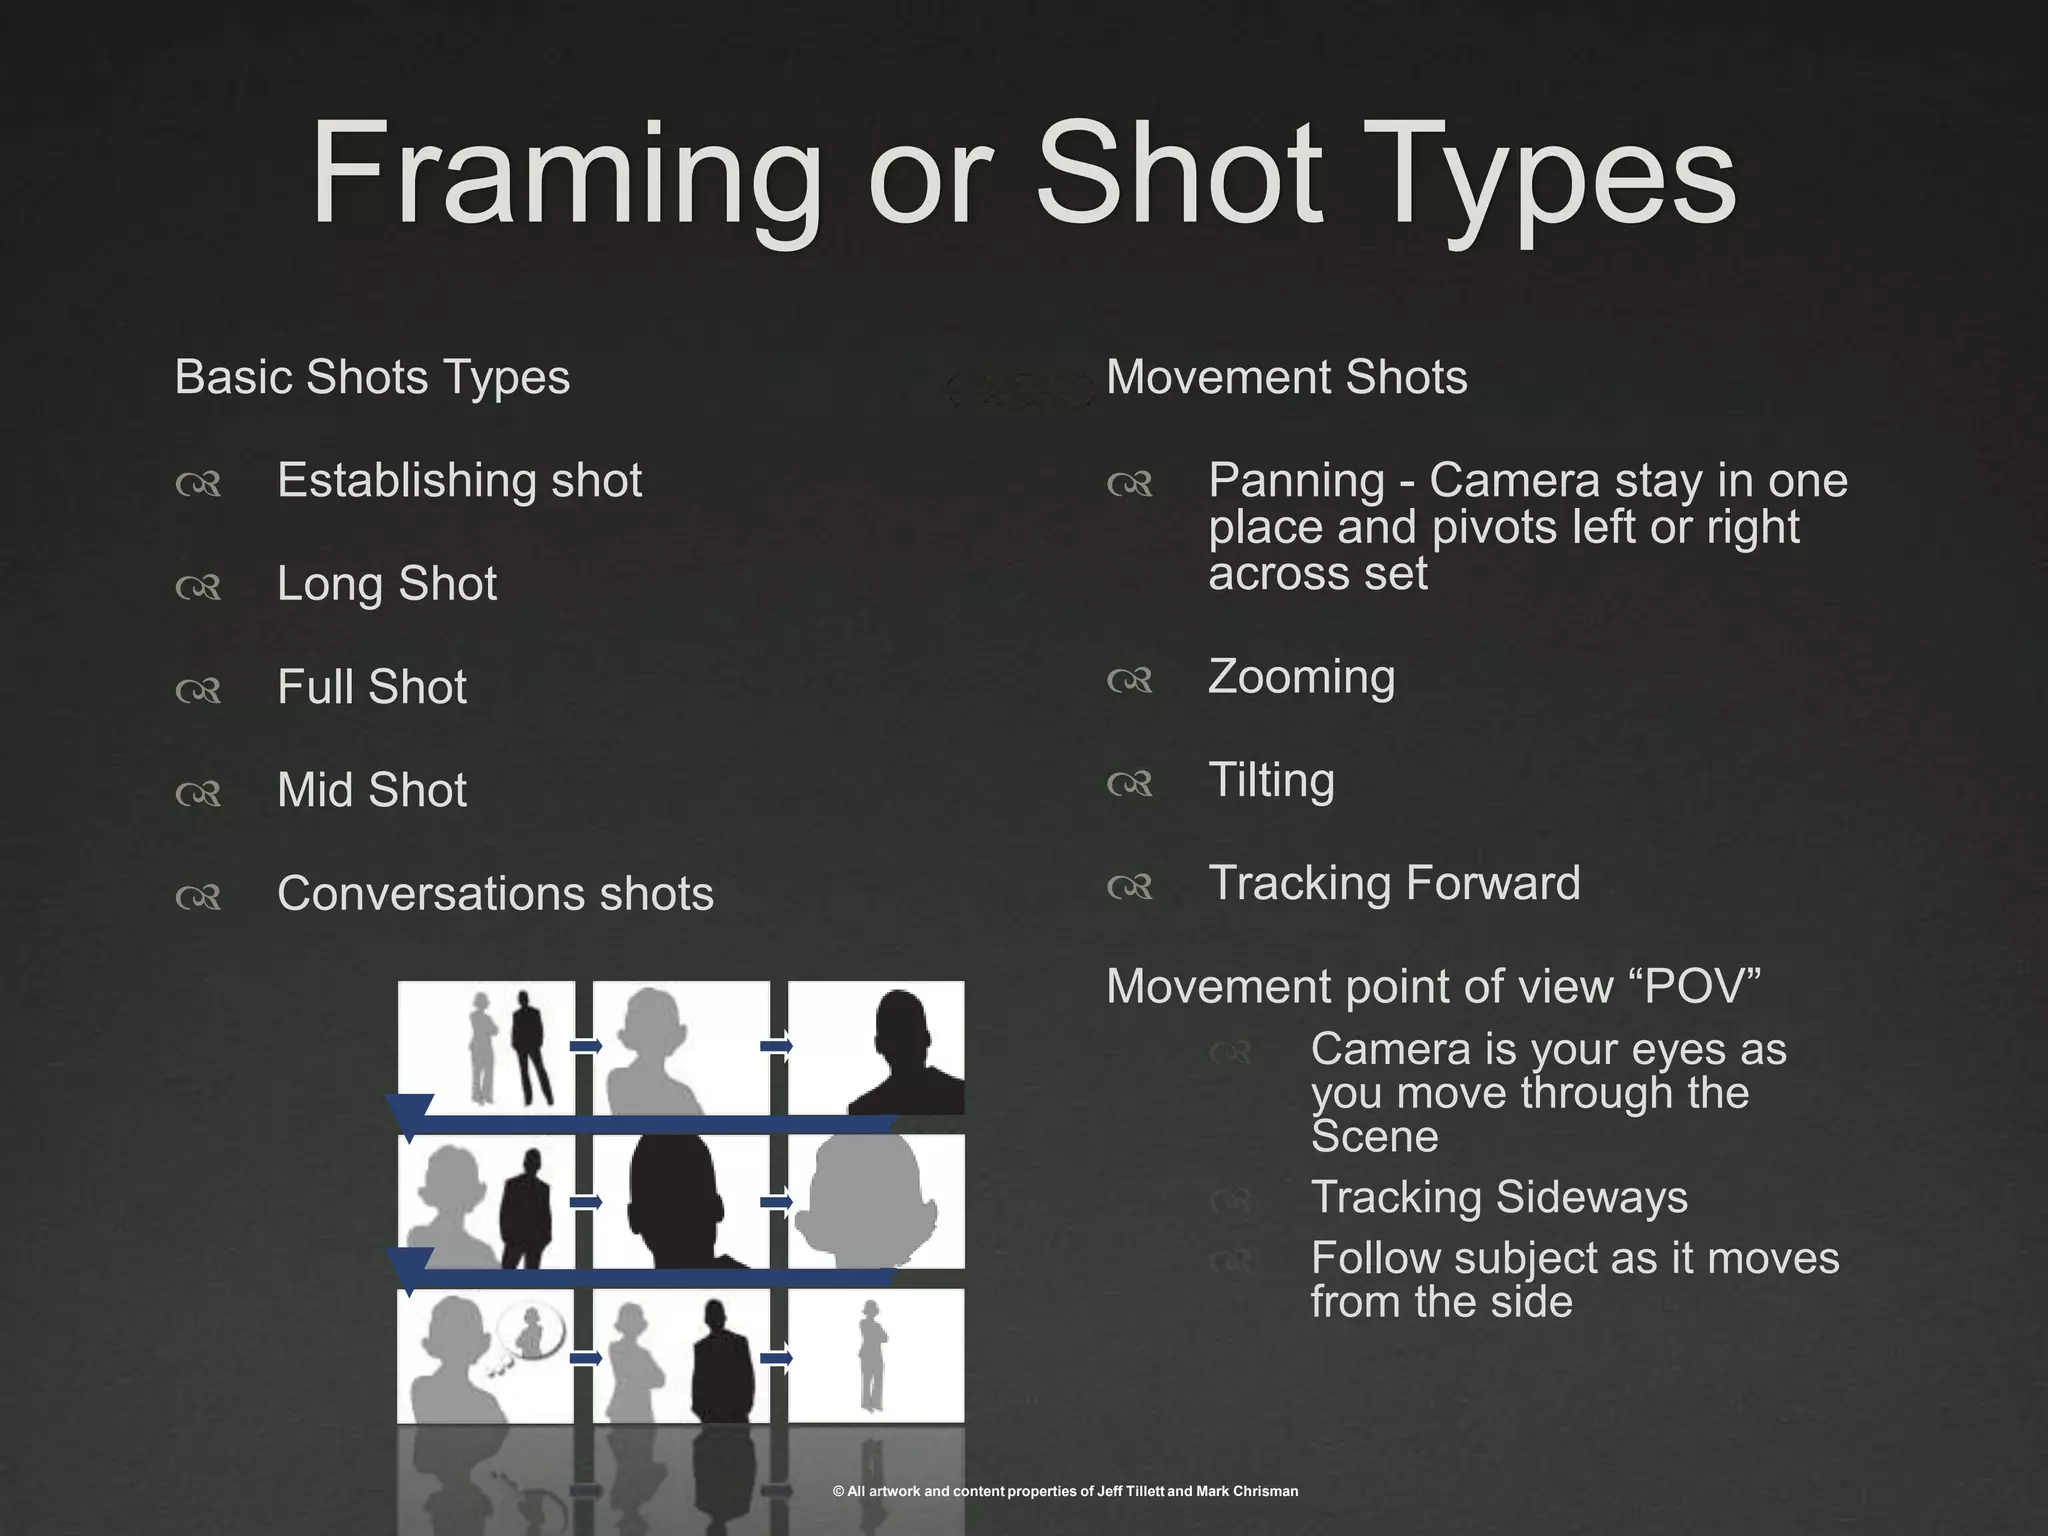
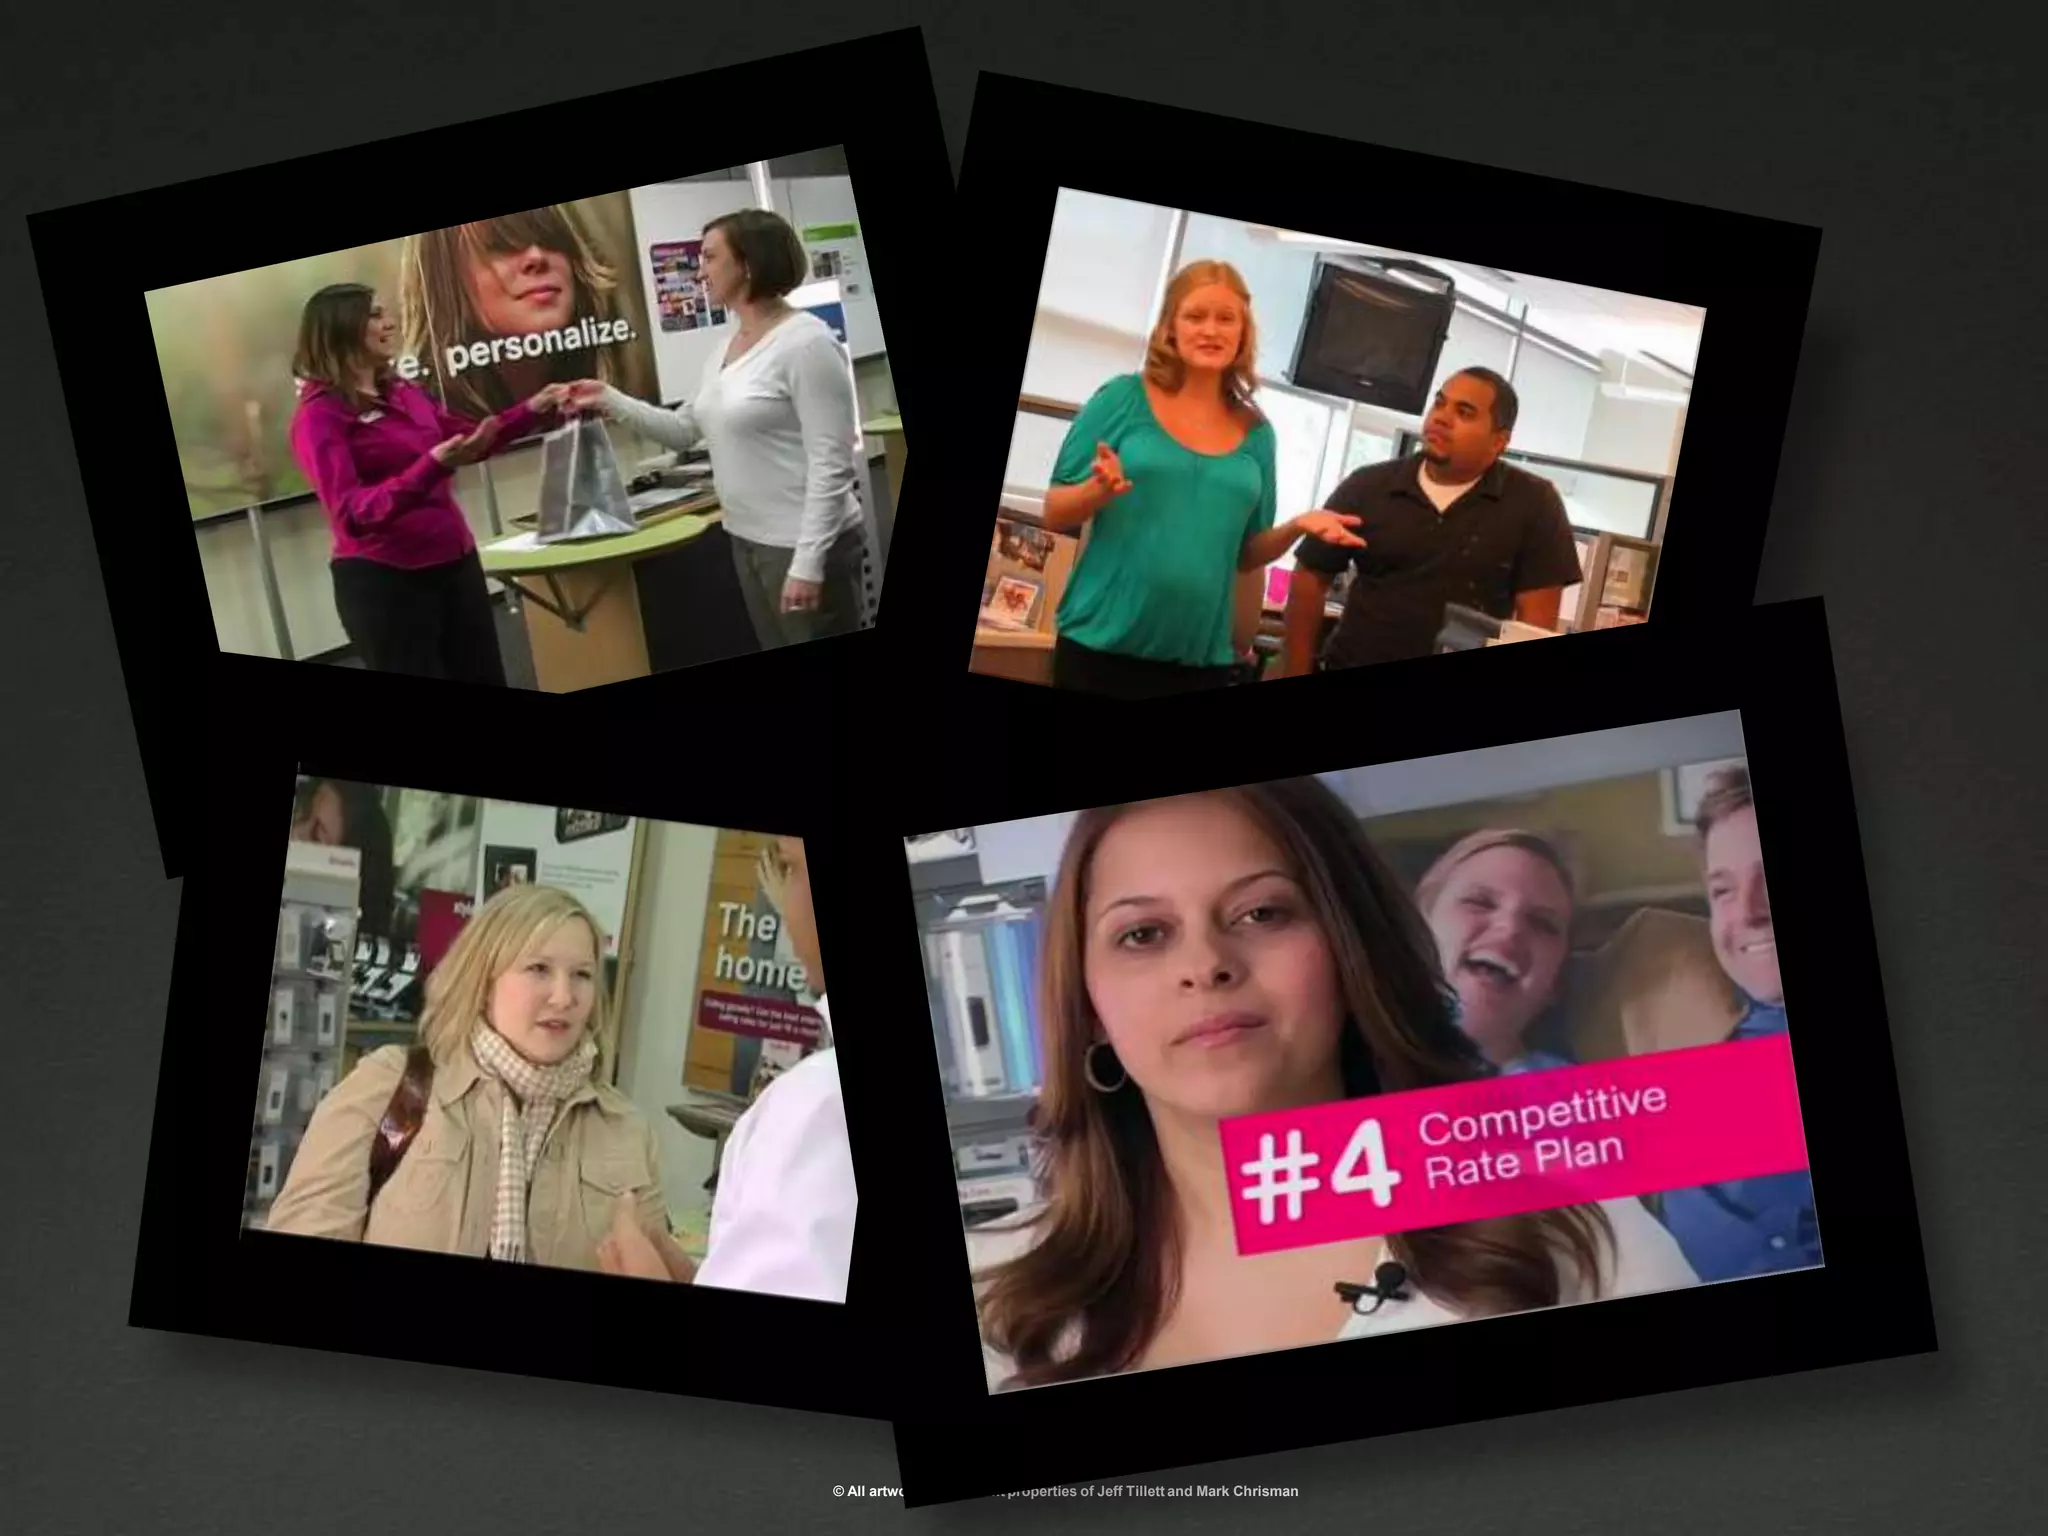
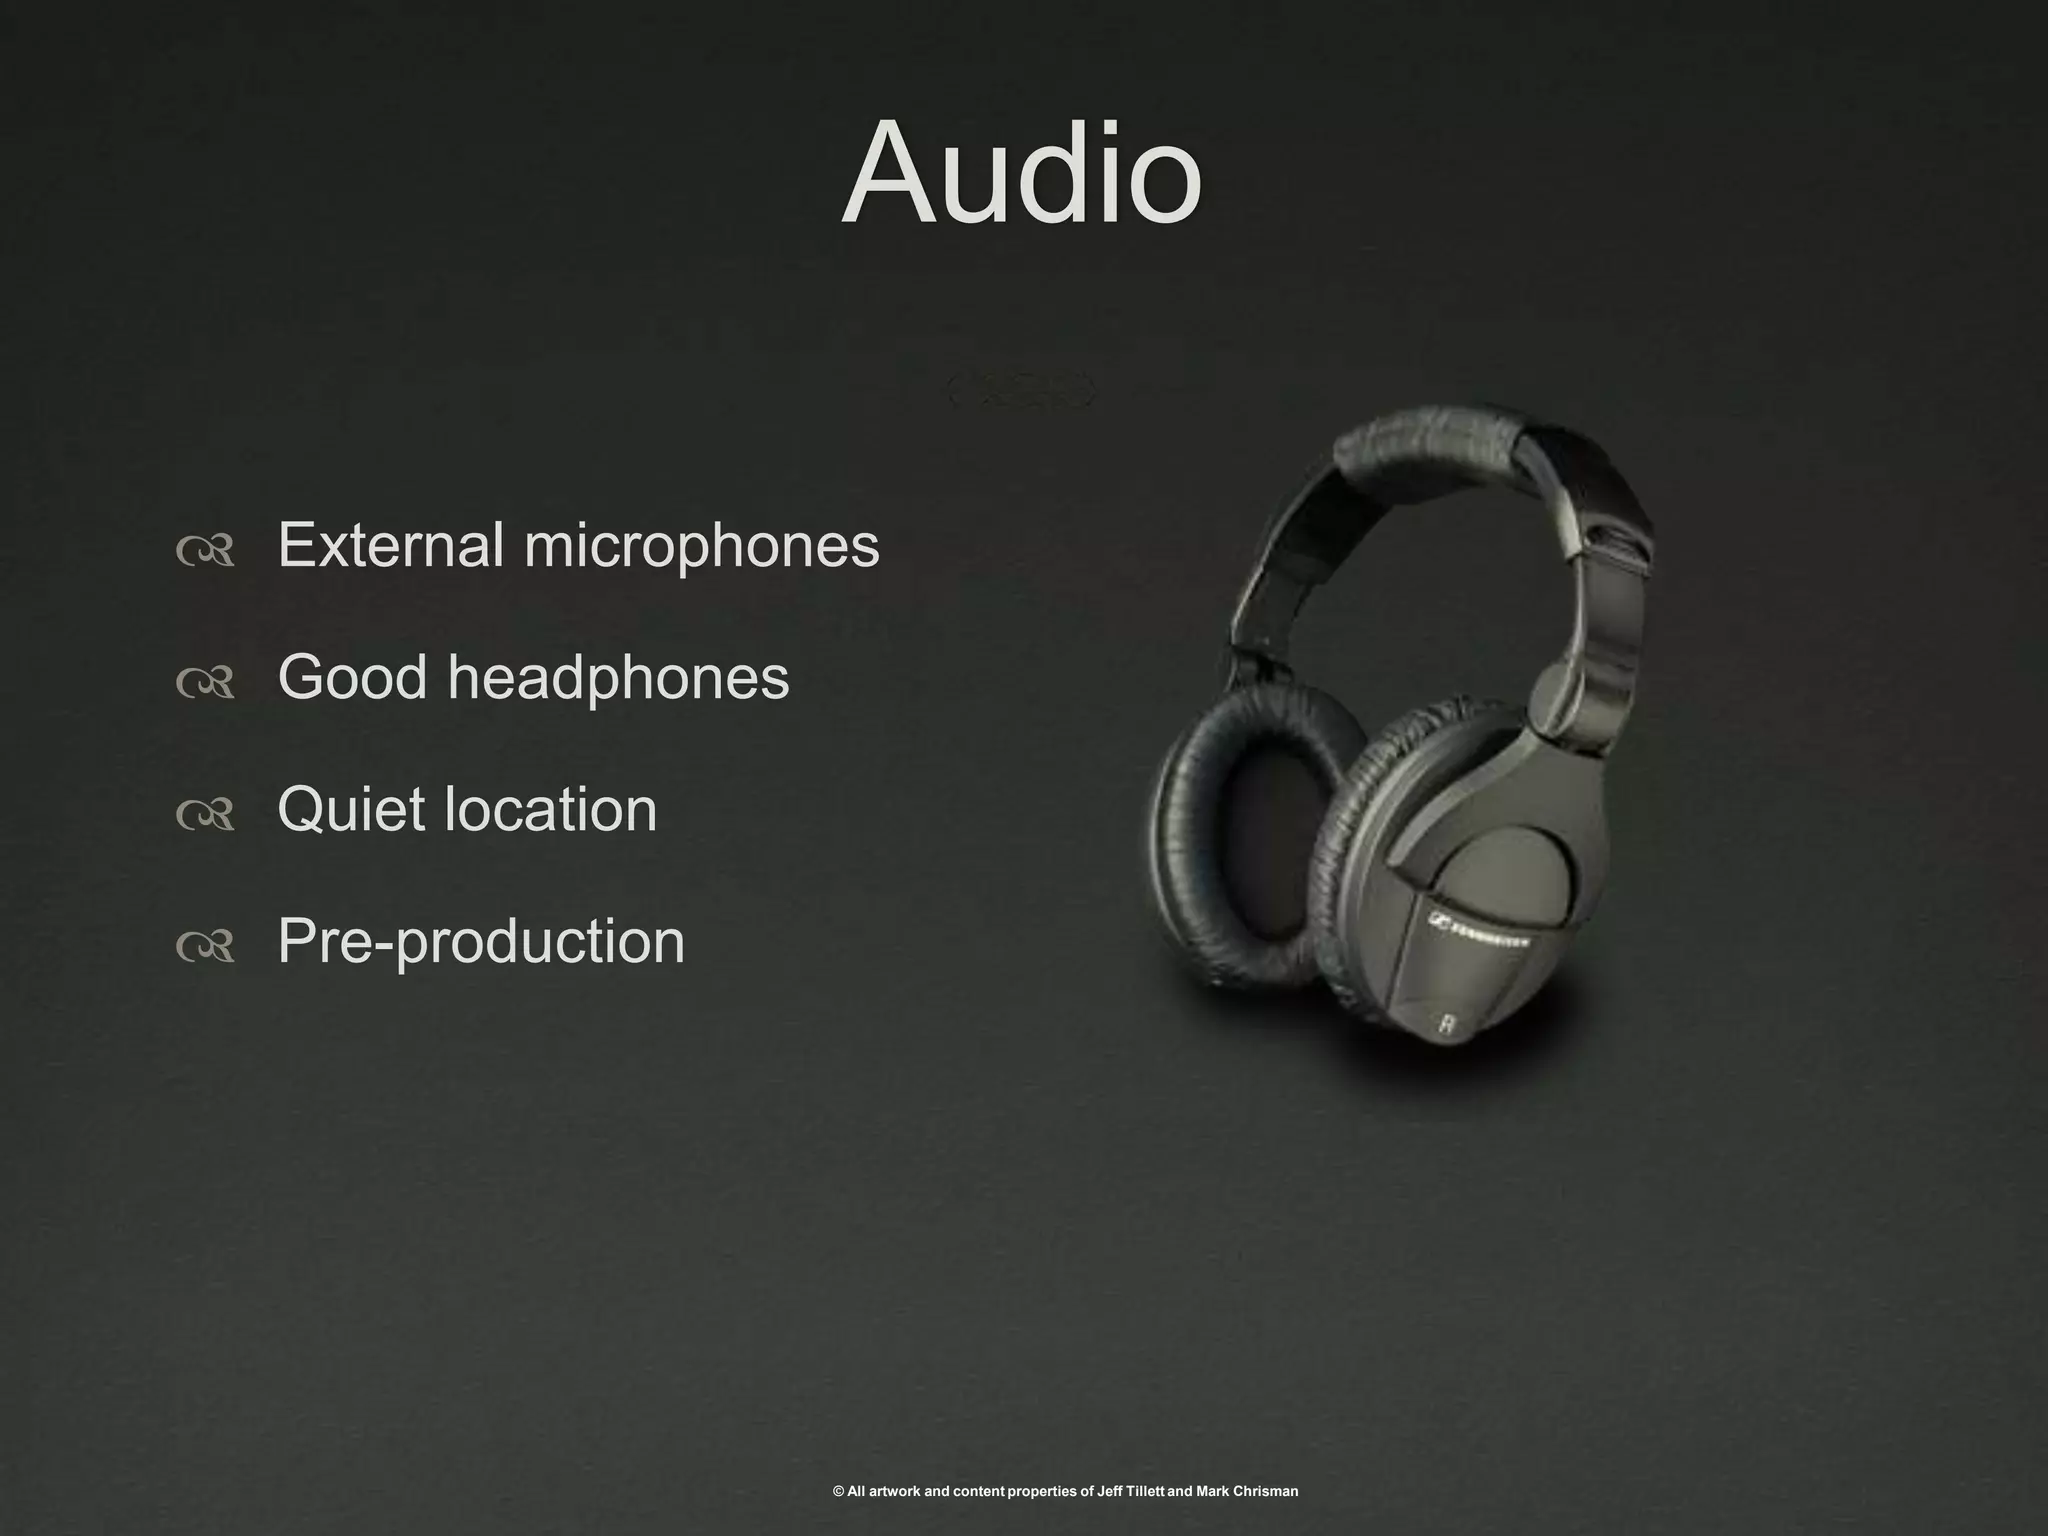
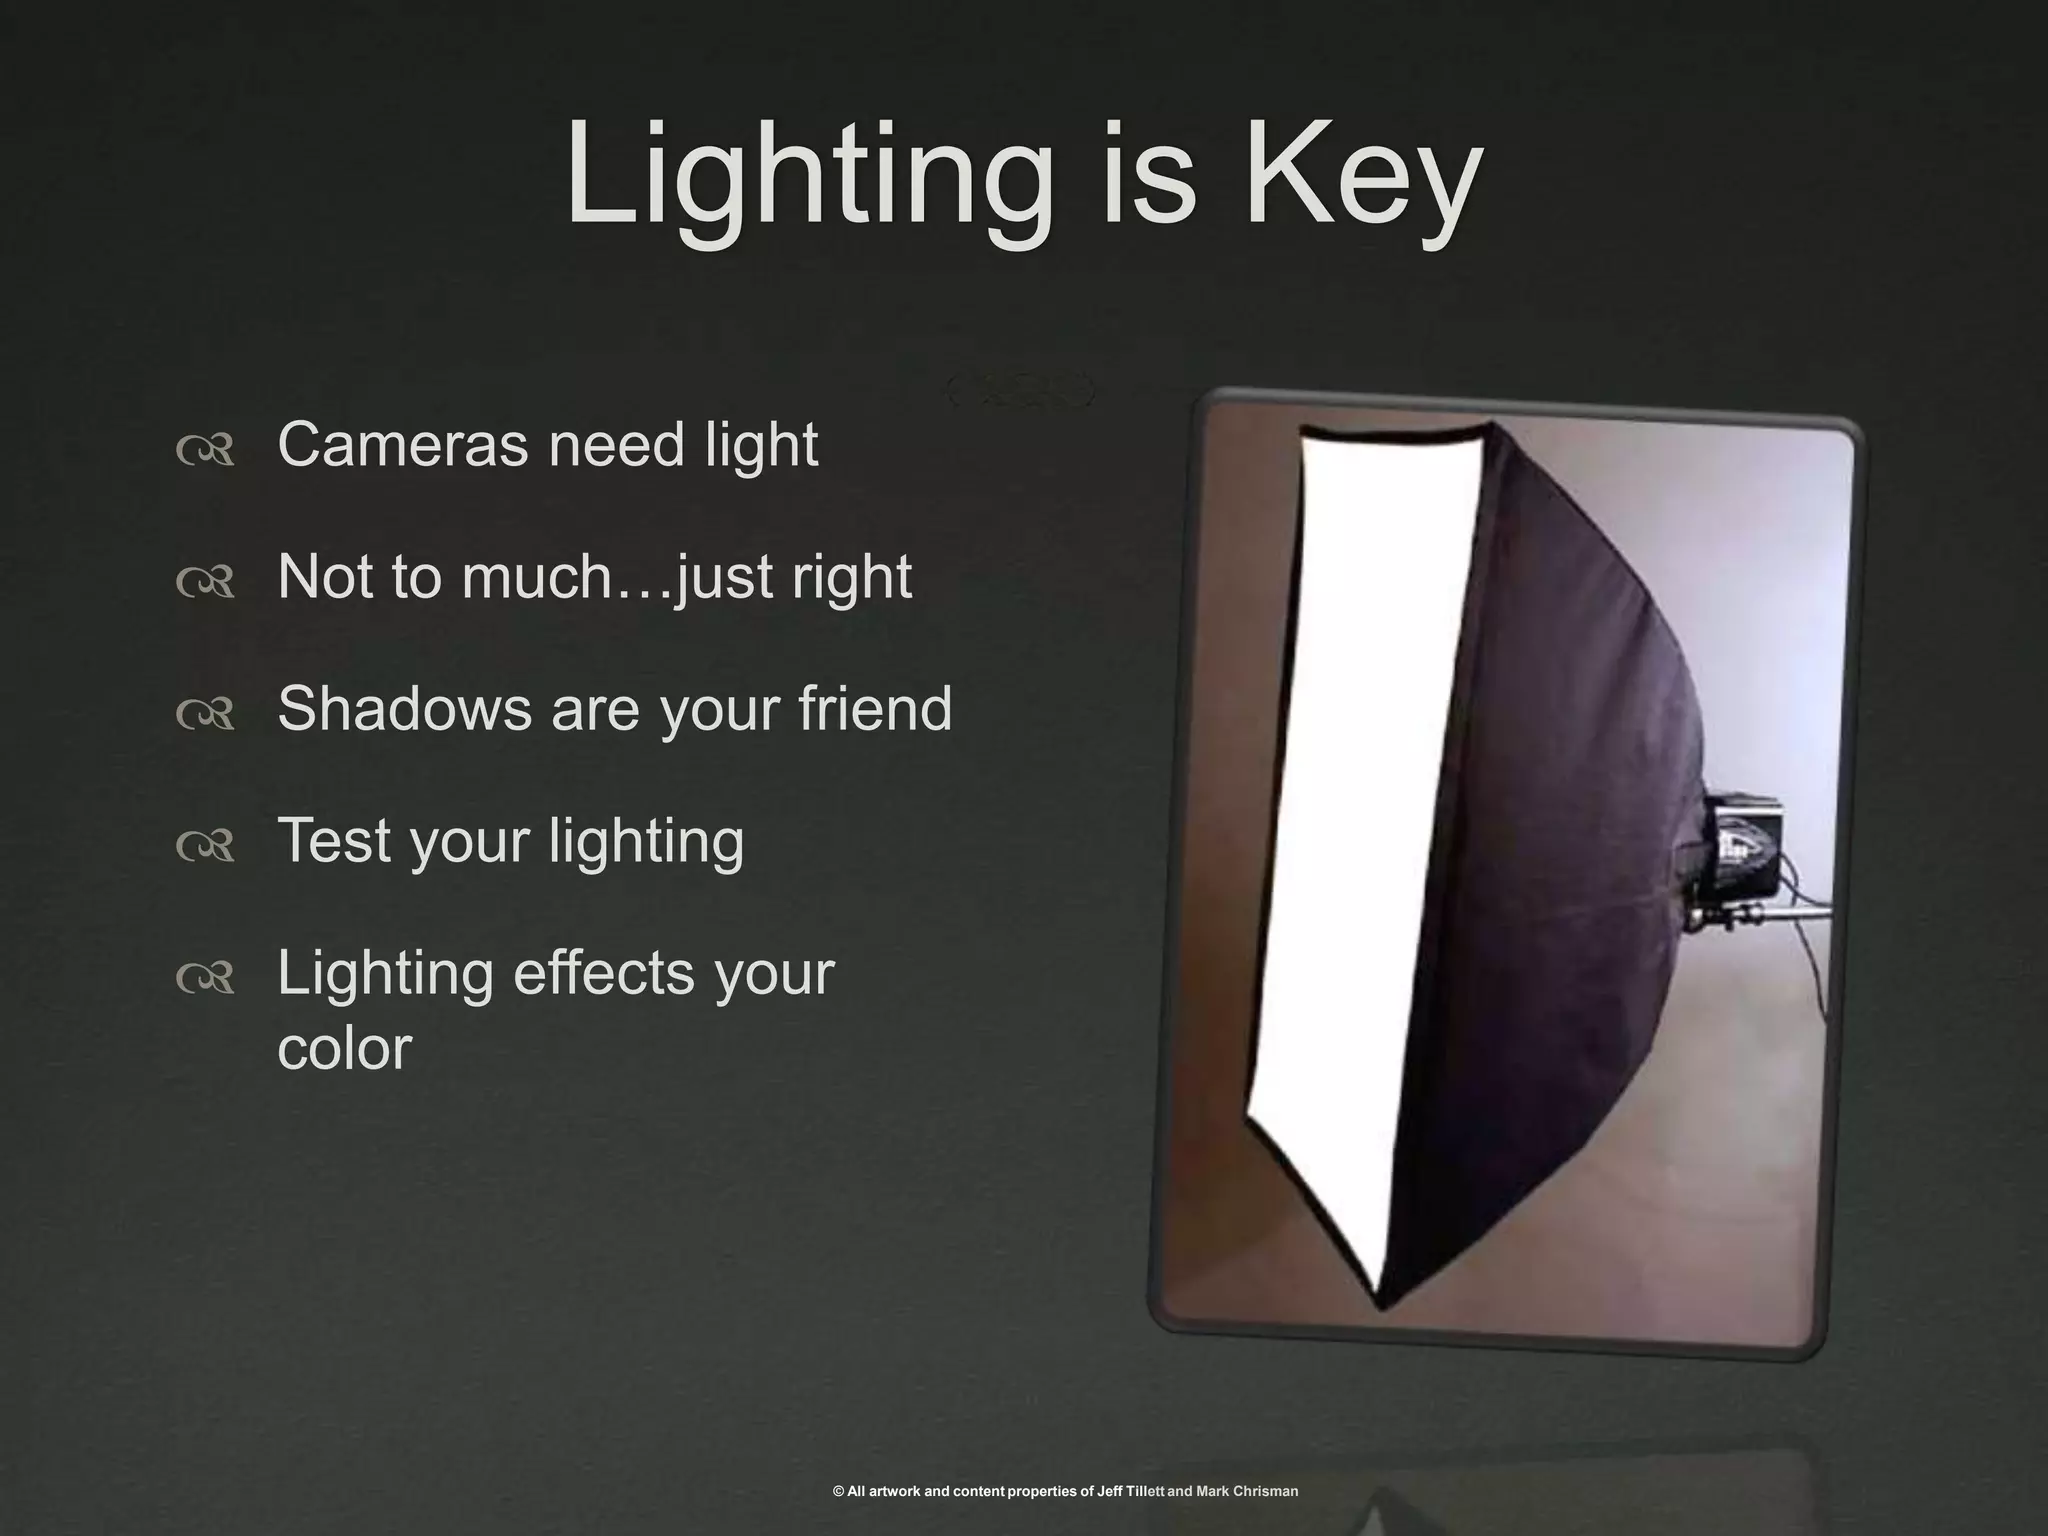
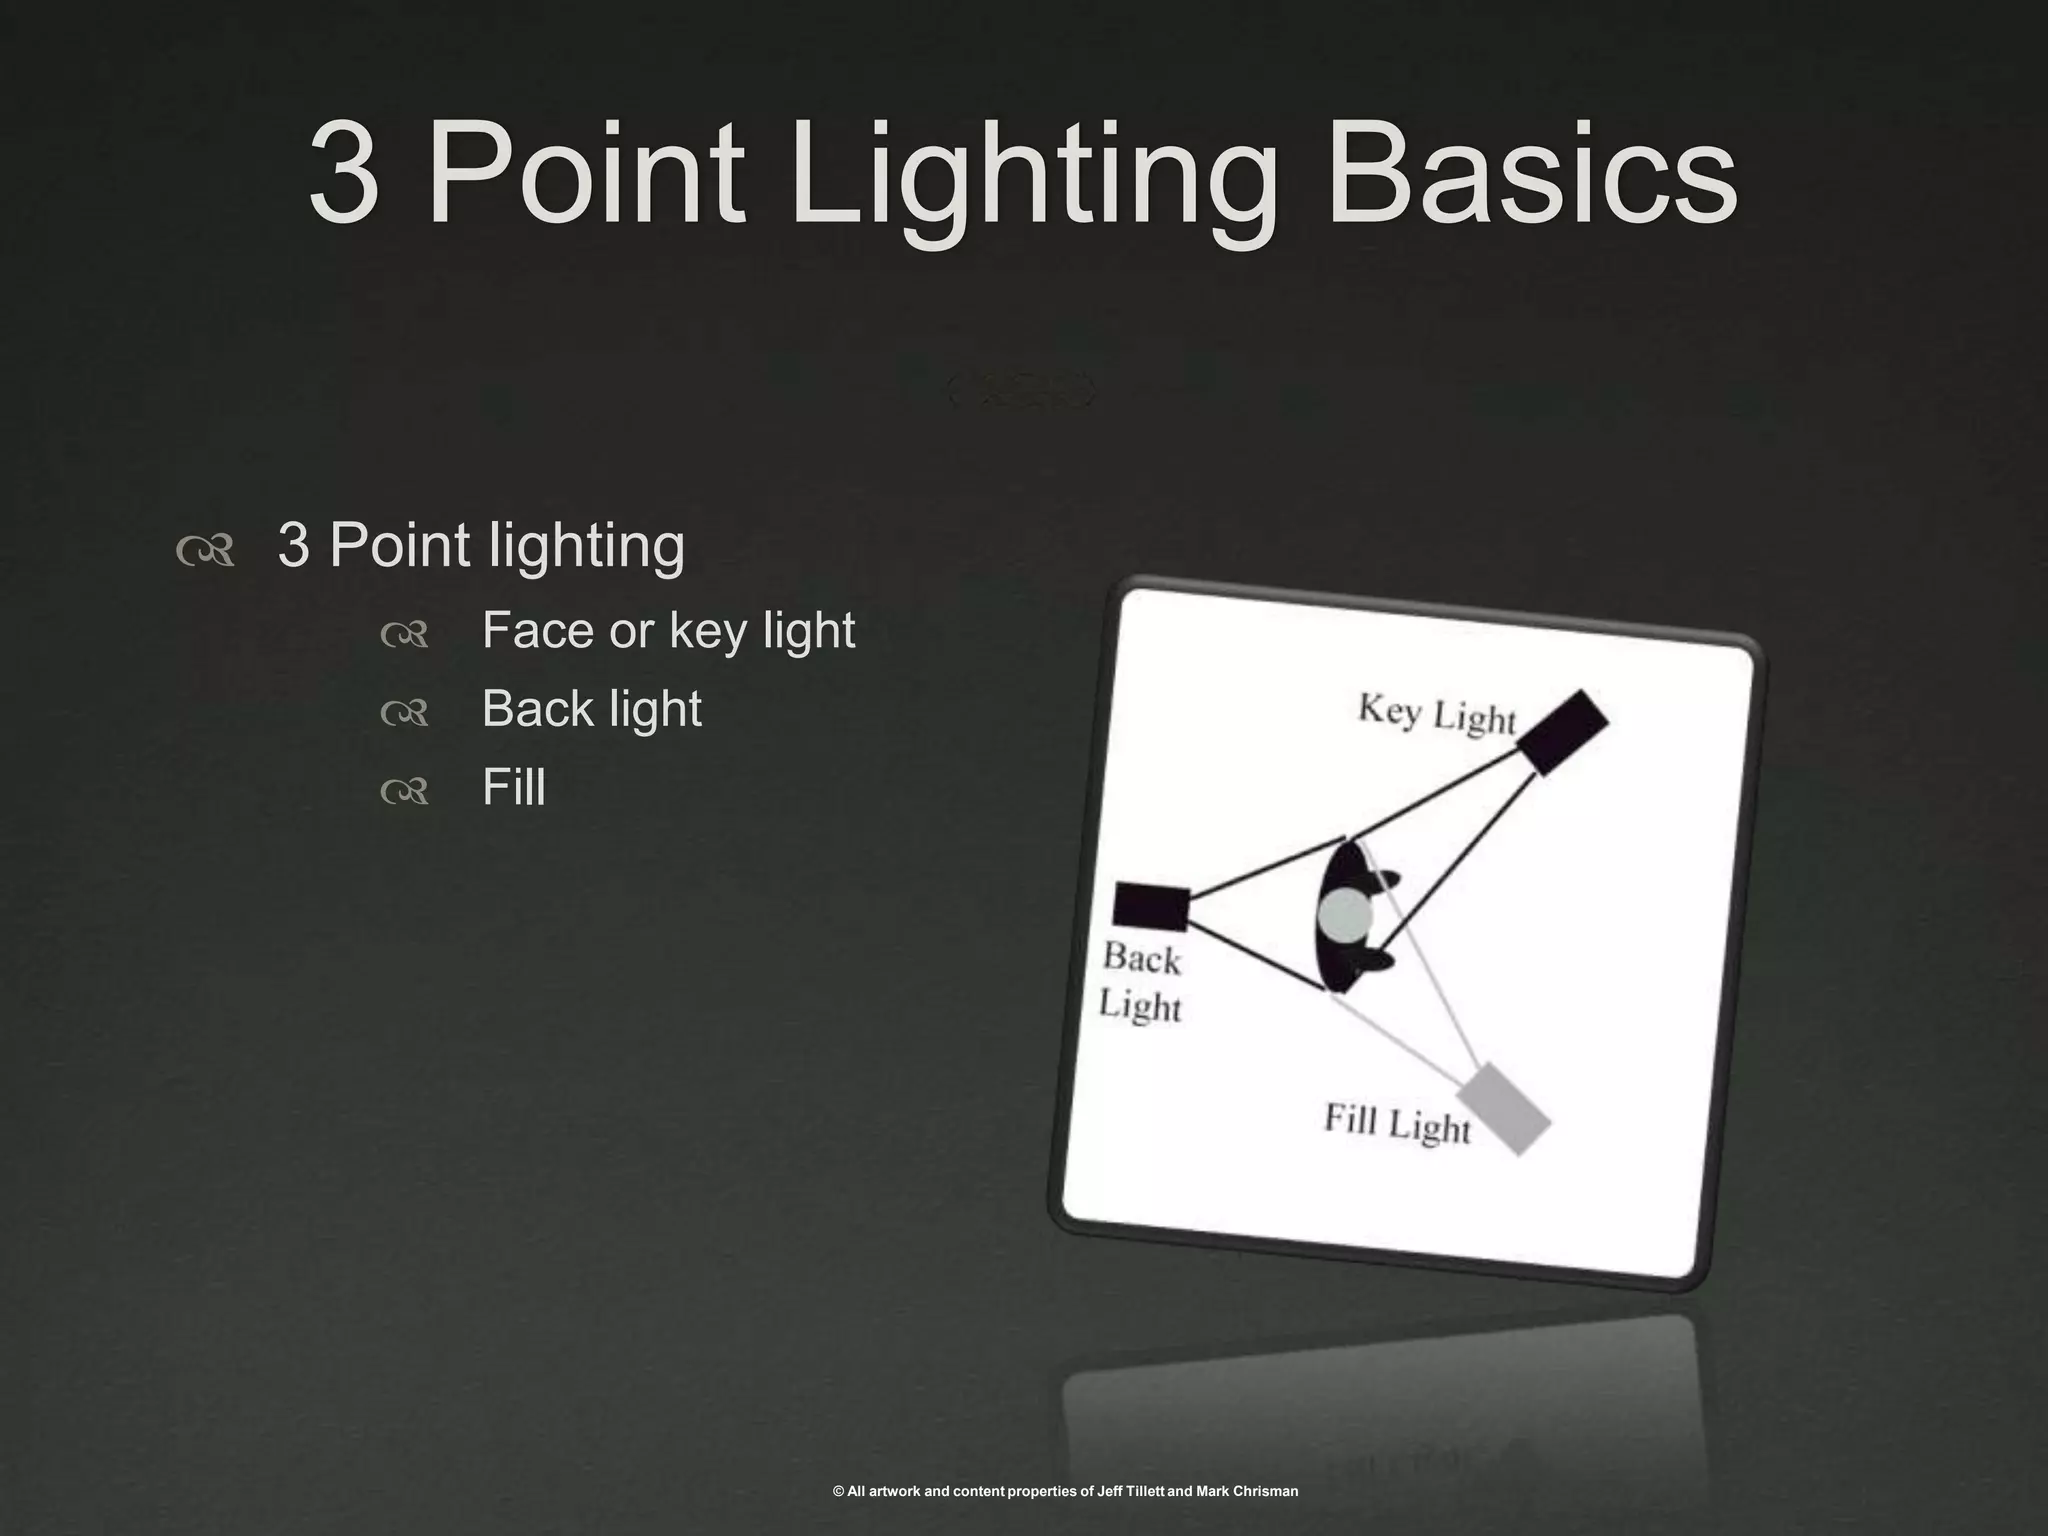
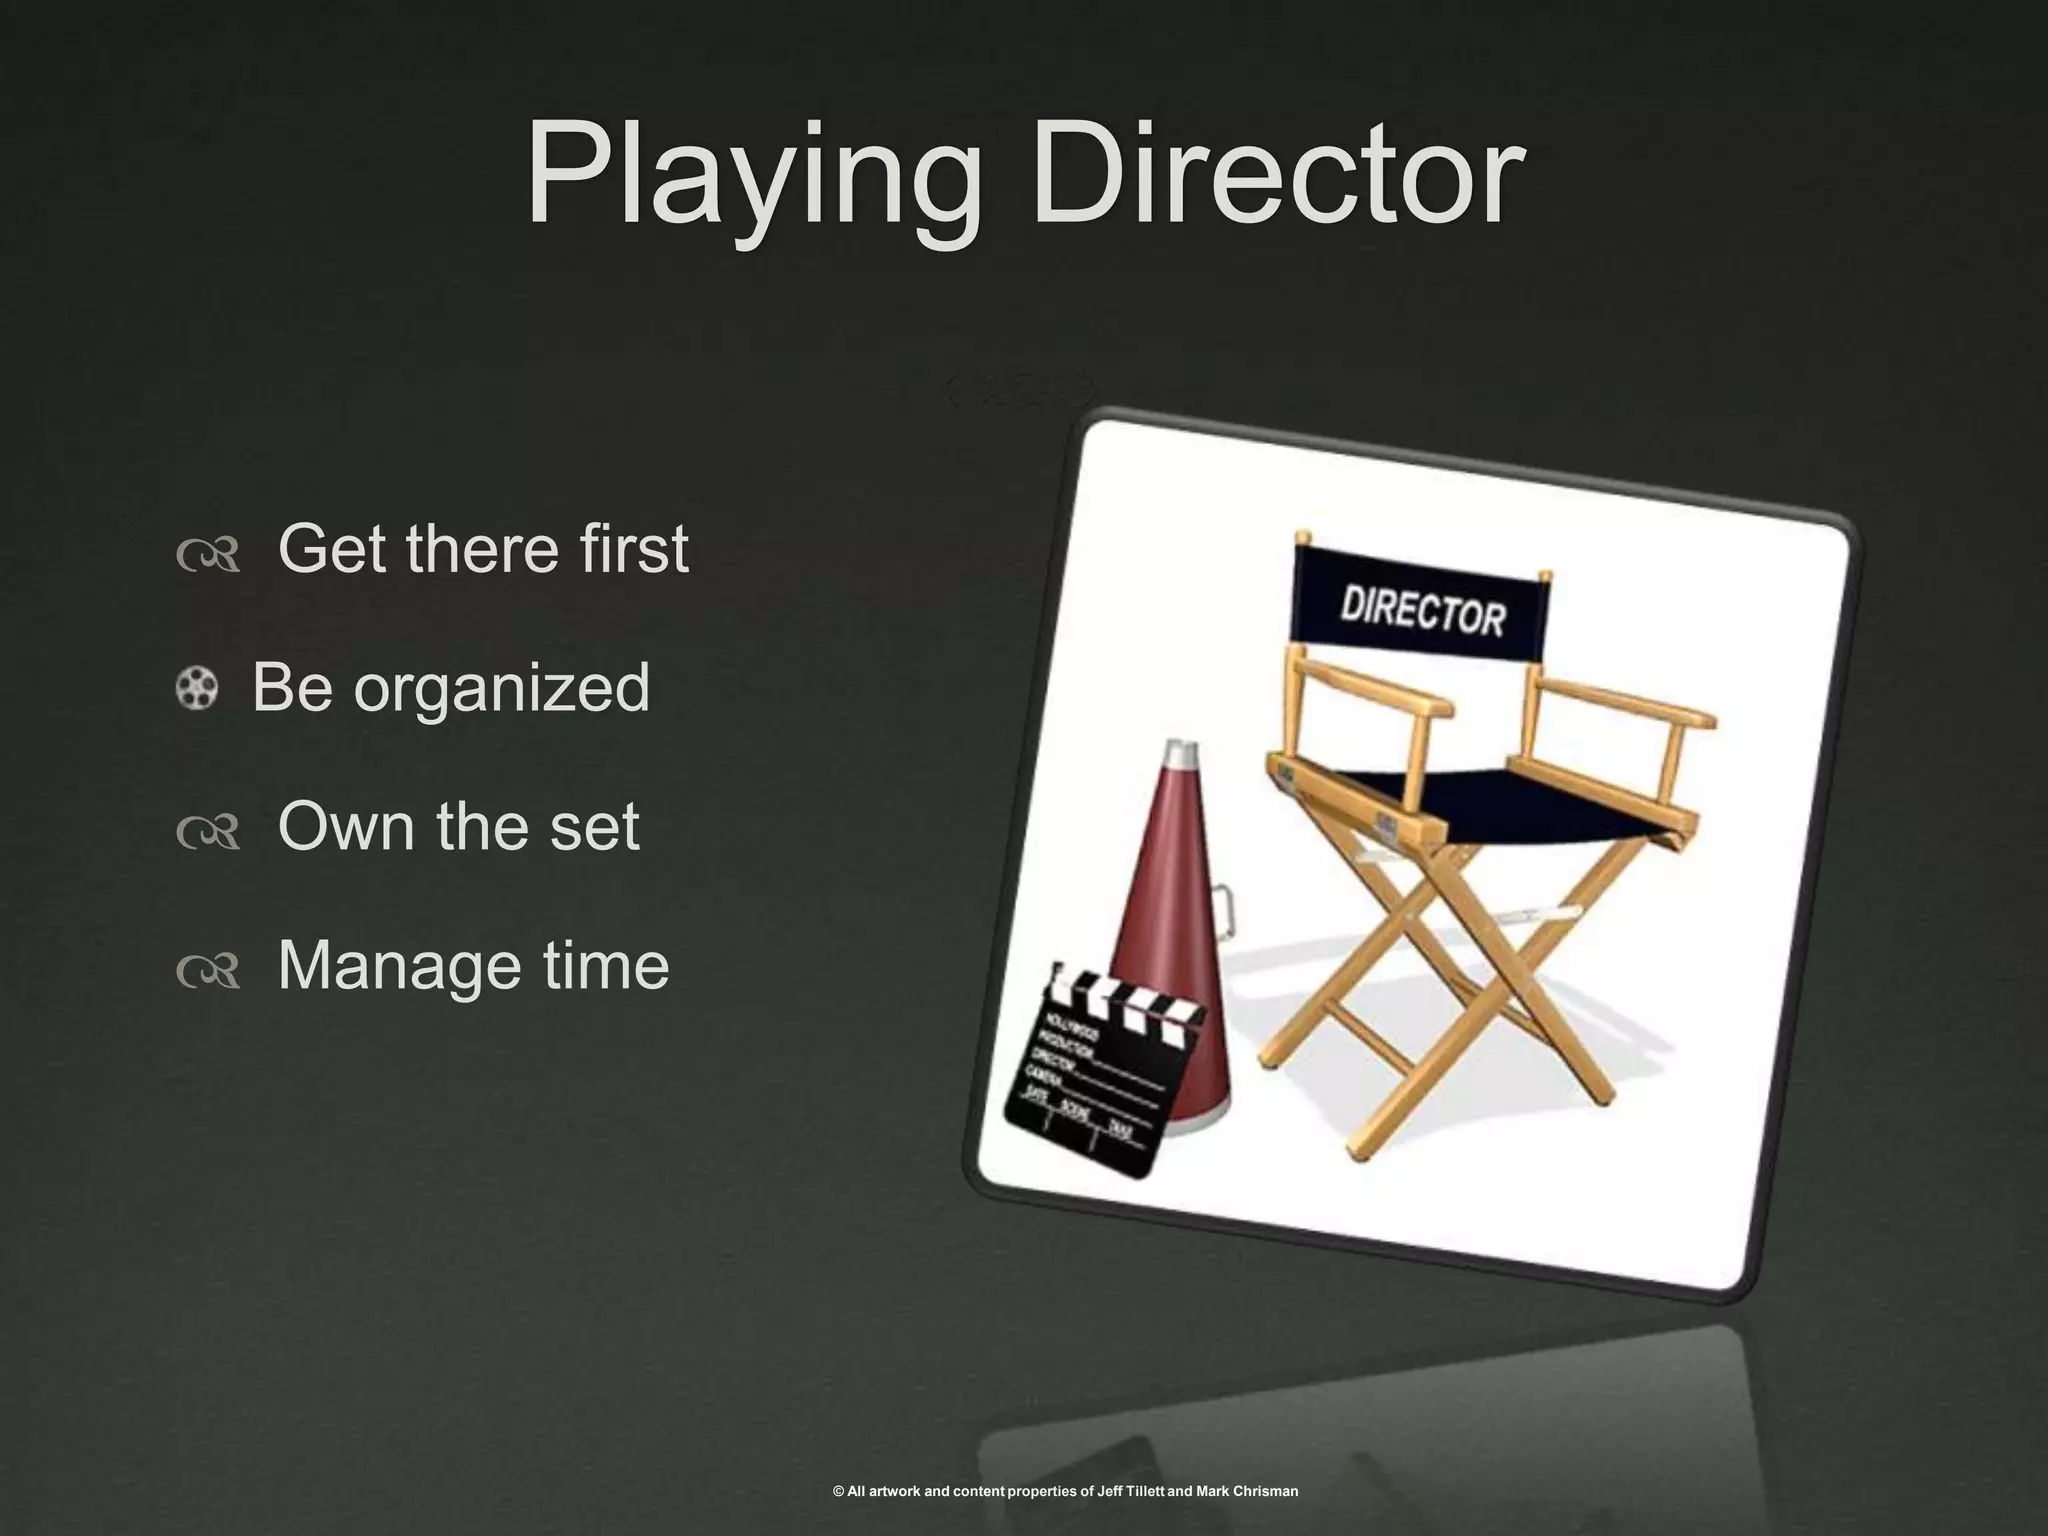
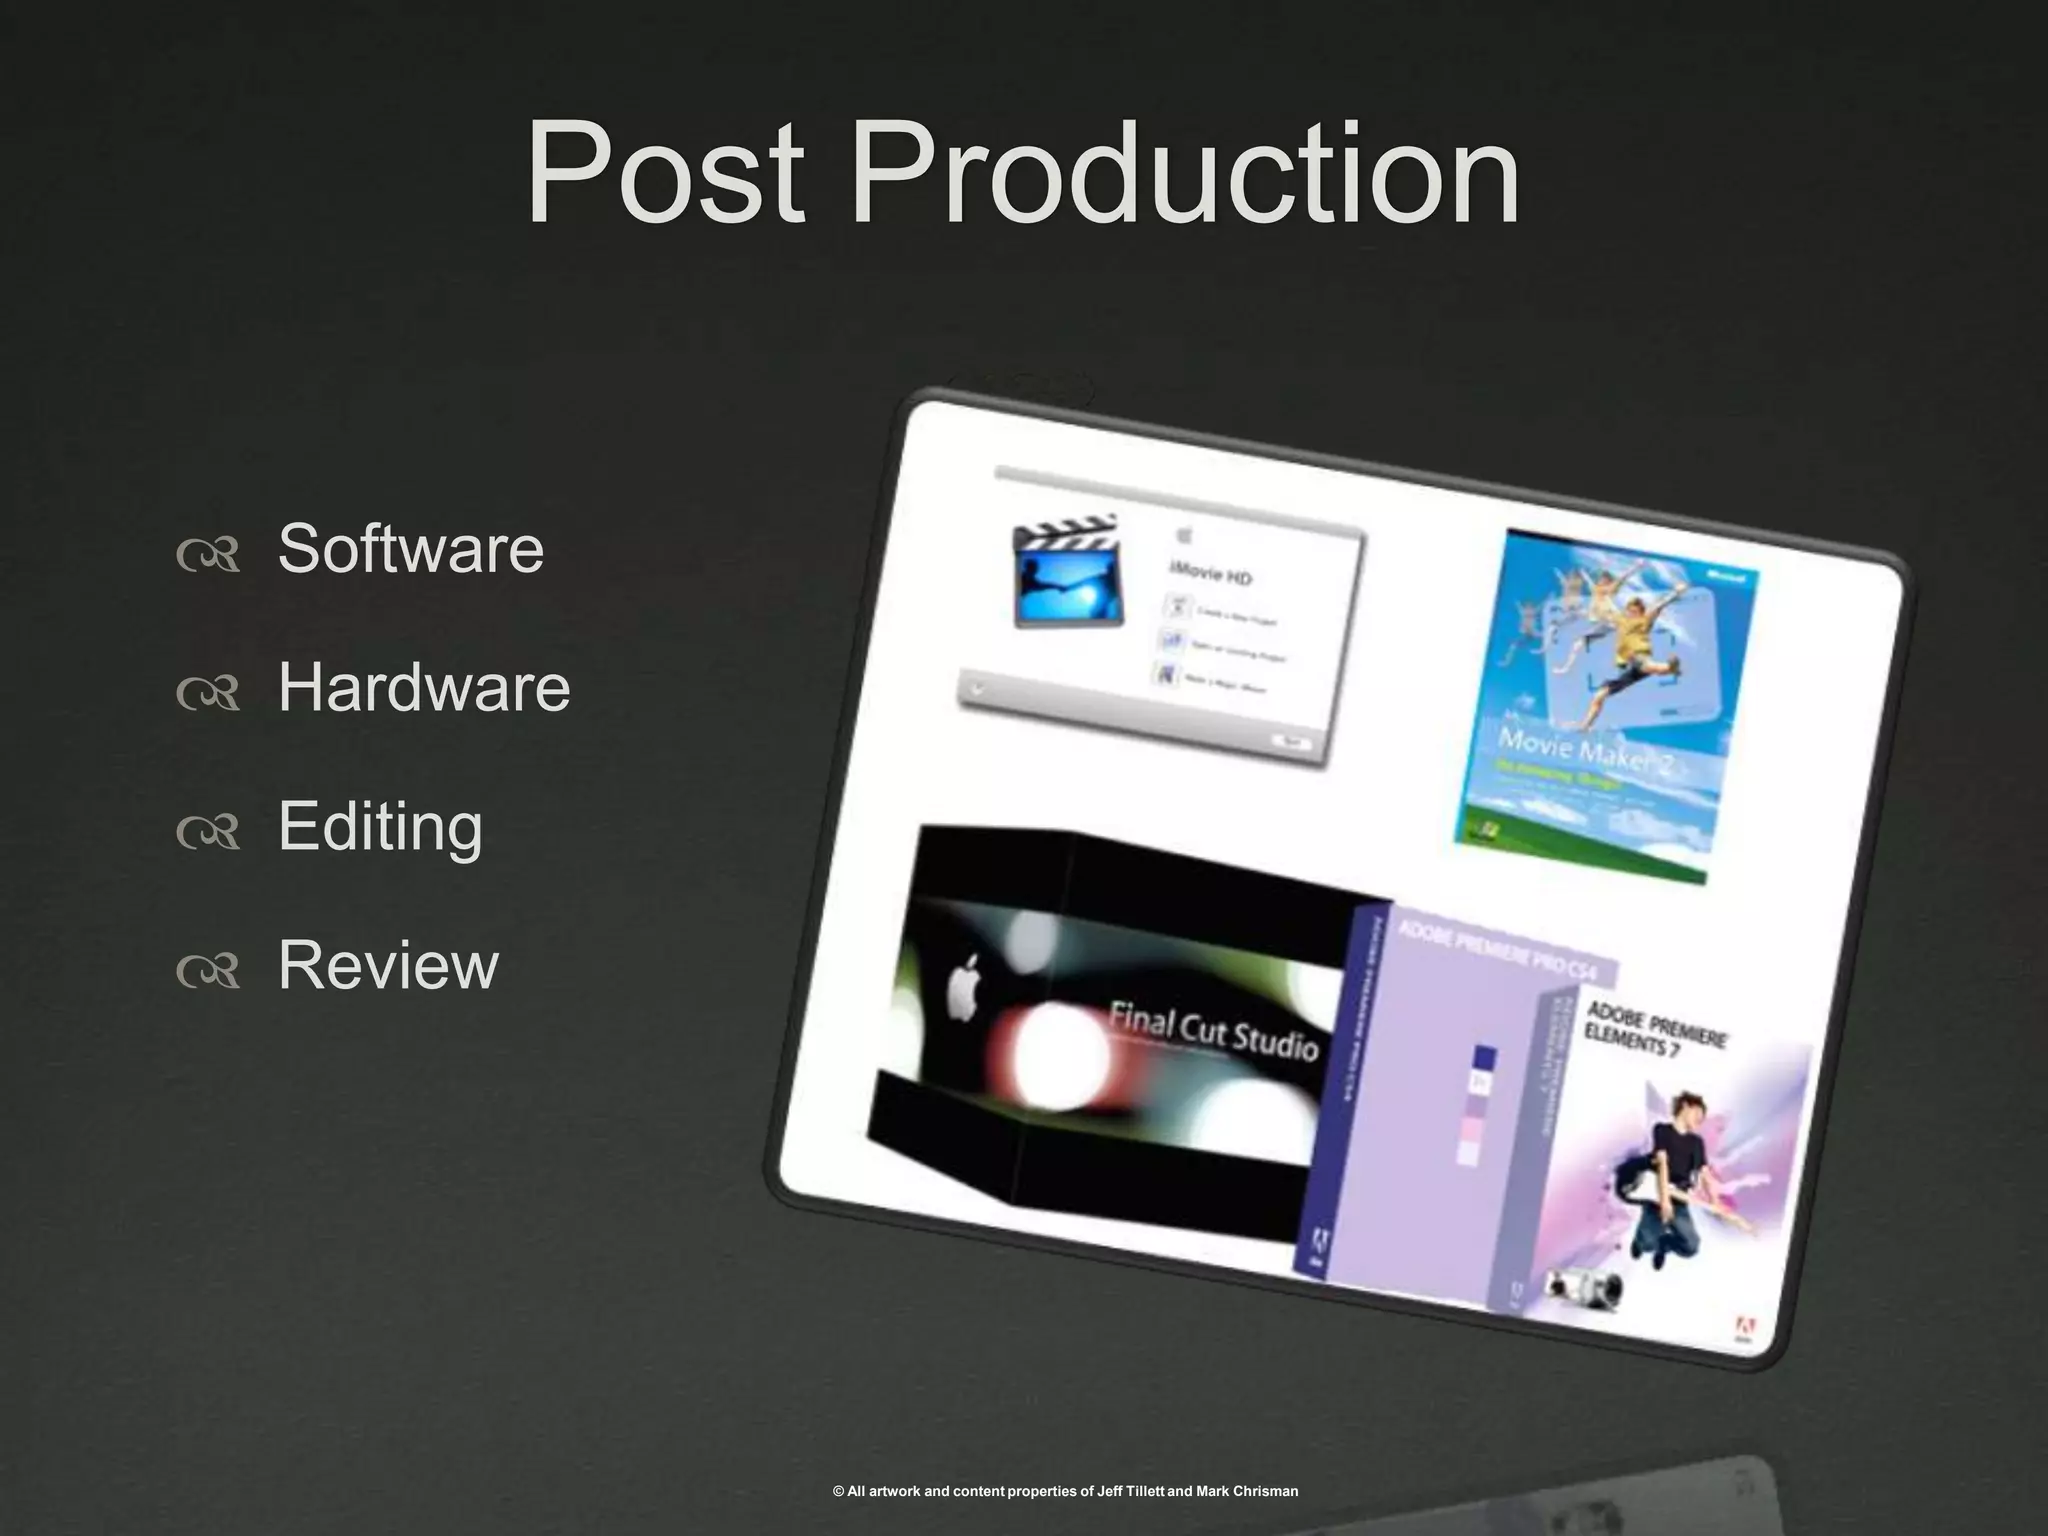
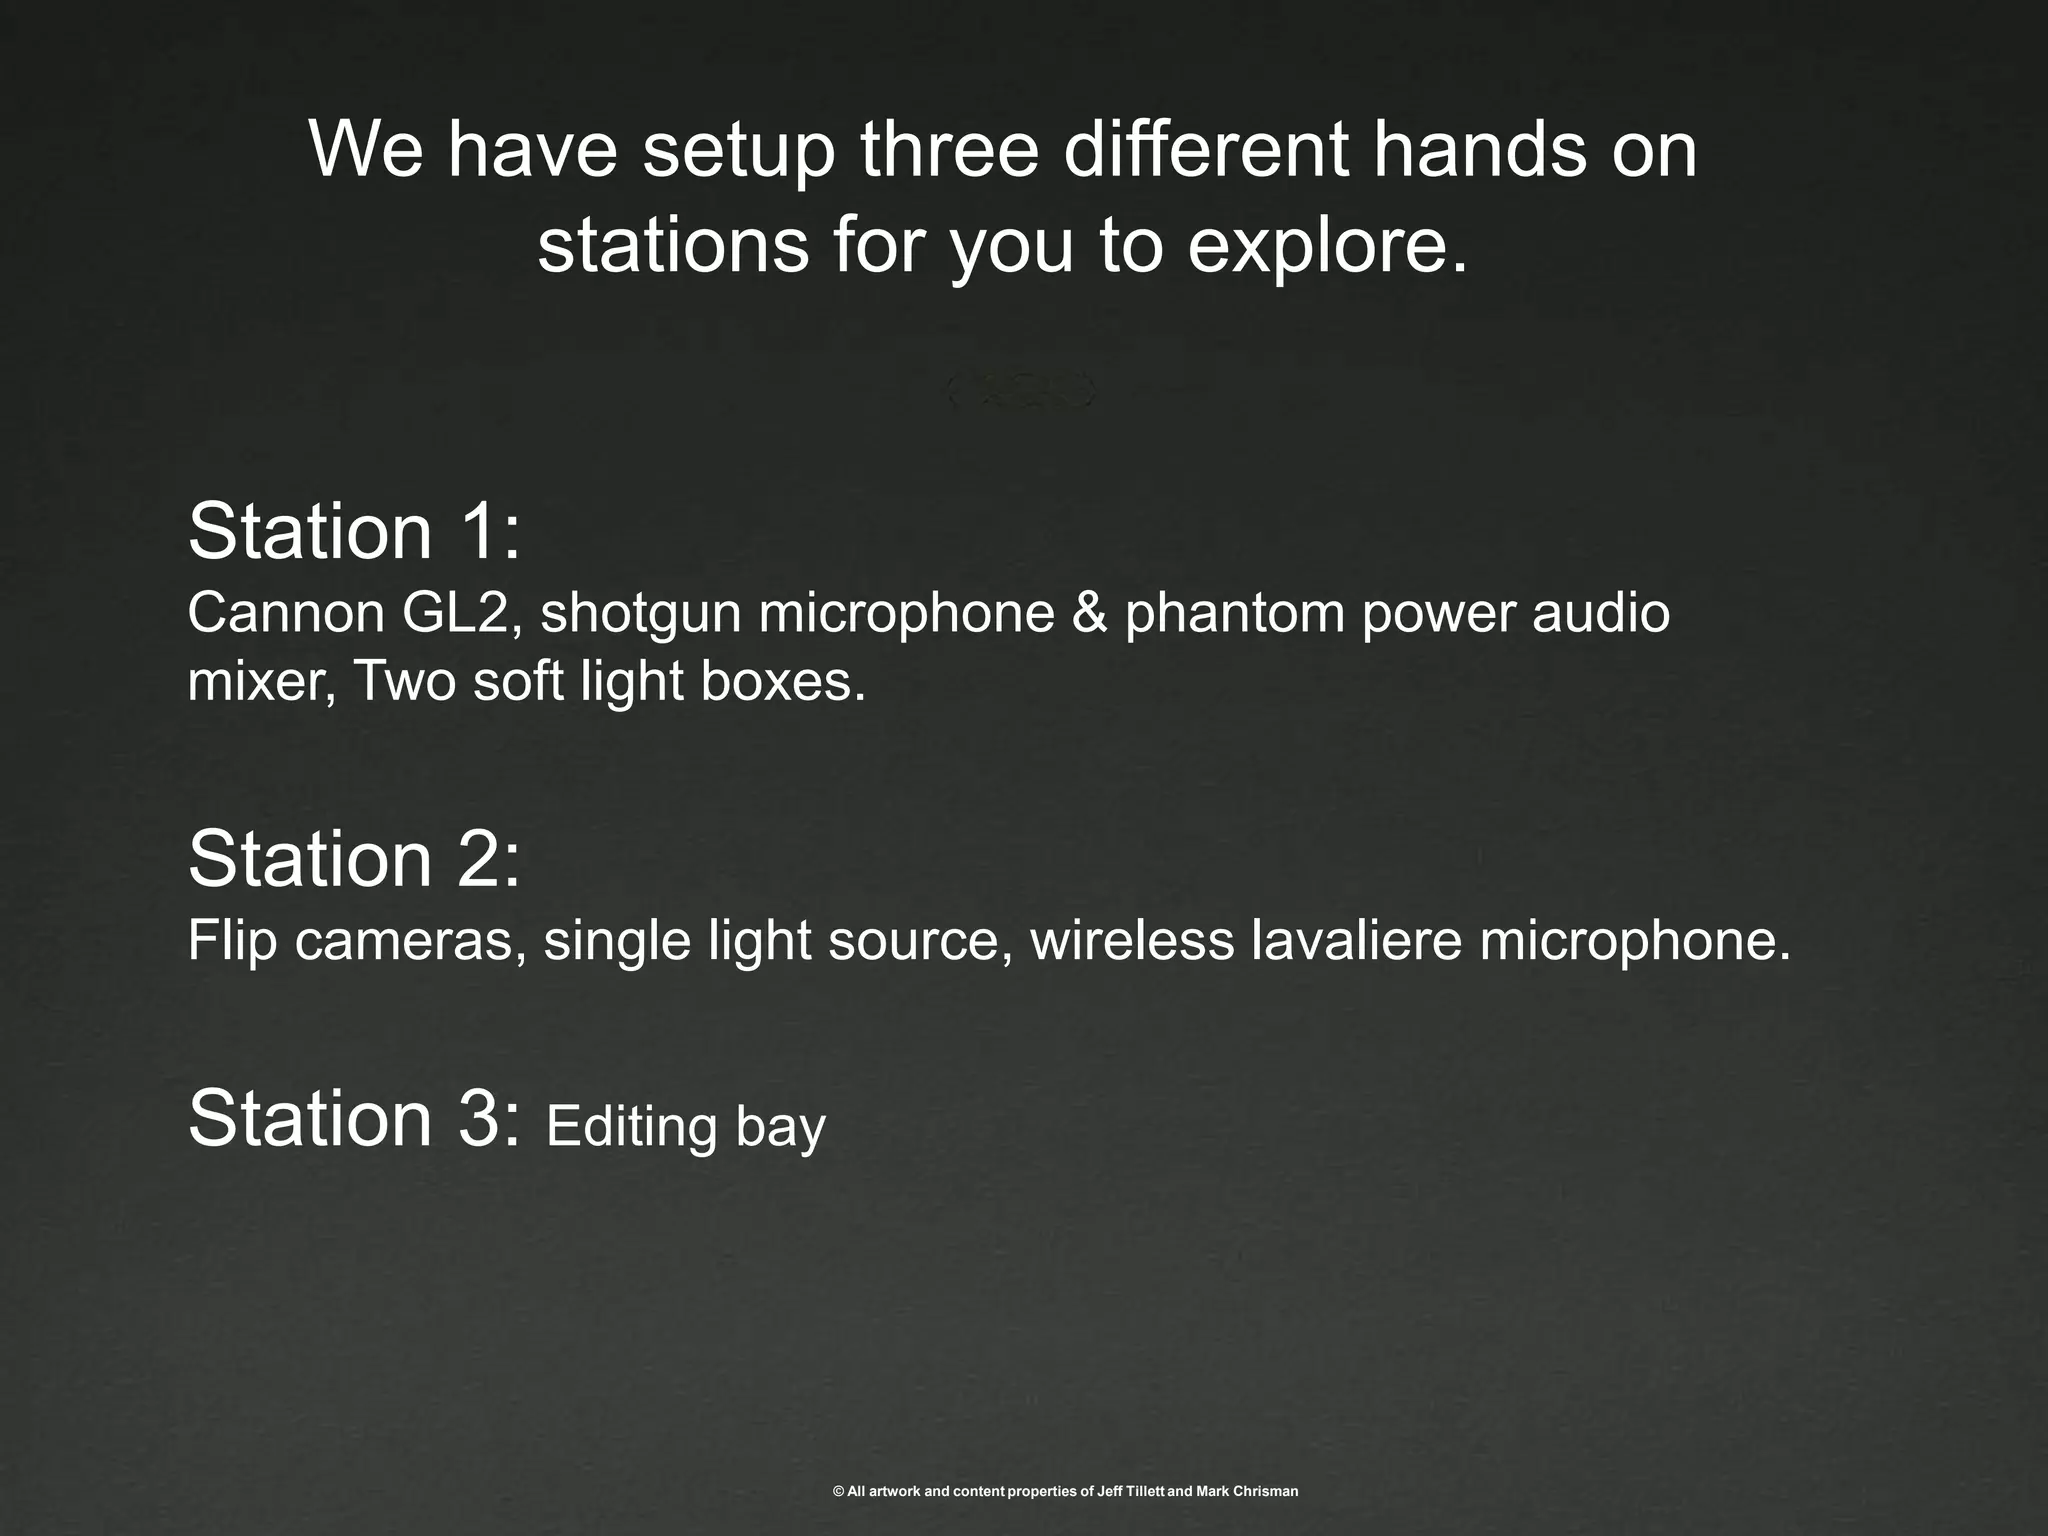
Using Rapid VideoGettin’ Hi-fi from Low-fi!Mark Chrisman & Jeff Tillett
About the DirectorsJeff TillettMark Chrisman            mark.chrisman@gmail.com @badsquarejeff@mojocat.com@mojotillett
Do you currently use video as a training tool?
Session OverviewIntroductionVideo Production Basics and Best Practices Recording DevicesExamplesWorkshop
Where Video WorksTraining the trainerLeadership messagingVirtual trainingSupplements to e-learningTraining librariesUser generated video
What Makes A Good VideoDoes it accomplish your objective?Good pictureClear audioGood talentEngaging
Video is easy as 1 2 3 Pre-ProductionThe Video ShootPost-Production
Pre-ProductionSolid Instructional DesignPlanning StoryboardingCastingLogistics
ScriptingStart with a wireframeBullet point each point to be taughtBe sure and get SME and stakeholder buy offConsider the audienceAvoid acronyms or other jargon that may confuse or distract learner
StoryboardingBasic flow of videoDescribe action No need to draw, use photosMatch to script
CastingPre interview potential talent Test screening Review script with actorVideo test
Video EquipmentProfessionalProsumerConsumerOther portable
Shooting Good VideoUse a tri-pod or not…Framing your shotShoot until you get it rightWatch it back
Got Style?InterviewTalking headConversation Step-by-stepMixed
Framing or Shot TypesMovement Shots Panning - Camera stay in one place and pivots left or right across setZoomingTiltingTracking Forward Movement point of view “POV”Camera is your eyes as you move through the Scene Tracking Sideways Follow subject as it moves from the sideBasic Shots TypesEstablishing shotLong ShotFull ShotMid ShotConversations shots
AudioExternal microphonesGood headphonesQuiet locationPre-production
Lighting is KeyCameras need lightNot to much…just rightShadows are your friendTest your lightingLighting effects your color
3 Point Lighting Basics3 Point lightingFace or key lightBack lightFill
Playing DirectorGet there firstBe organizedOwn the setManage time
Post ProductionSoftwareHardwareEditingReview
That extra touchMotion graphicsLogos & IntroTransitionsOverlaysStock footageSound effects Music
Resources  & Links bhphotovideo.comLinda.comYoutube.comkenstone.netvideocopilot.netkdenlive.orgAnimoto.comViddler.comstudio1productions.comMark Apsolon Video Guru
We have setup three different hands on stations for you to explore. Station 1:Cannon GL2, shotgun microphone & phantom power audio mixer, Two soft light boxes. Station 2: Flip cameras, single light source, wireless lavaliere microphone. Station 3: Editing bay
Thank You!Jeff TillettMark Chrismanmark.chrisman@gmail.com@badsquarejeff@mojocat.com@mojotillett

Rapid Video Astd10

Editor's Notes

  • #6 Training the trainerLeadership messagingVirtual trainingSupplements to e-learningINTERACTIVE Videos – Knowledge check show then reactShort clips demonstrating an activitySoft SkillsDemonstrating stepsDeliver important messages
  • #7 Regardless of your resources for creating video there are some strategies and techniques that will make a great videoProof of concept
  • #9 Good video starts before the camera is turned on.Preproduction is arguably the most important part of video
  • #10 Read it out loudLess is more…better!If it is steps based walk through the steps
  • #11 No need to be an artist Use photos then describe the action Create a template in Word or PowerPoint
  • #12 SME’s and stakeholder are not always the best choicePublicity Release FormAlways keep your eyes out for potential talentYou may want to speak with them about future availability in case of reshoot of video that will match this one
  • #13 There are a lot of options for camerasSome key features are external microphone inputFirewireTryPod
  • #15 Don’t forget Youtube style Sometimes I go for that style intestinallyPaula Lantini oops blinking record lightLocation Studio , conference room
  • #16 Avoid the zoom zoom
  • #18 Use a lavaliere microphone preferably wirelessI you can afford or have access to a shotgun or boom microphone works great especially for more than one actor or if you need to pick ambient soundMonitor your sound in headphonesFor some video you may want to record narration over the top of your video Also some headset with build in microphones work great that’s what I use when doing voiceovers
  • #19 Lighting is key to getting a good quality imageOne of the key differences between an expensive camera and a inexpensive one is their ability to adjust and take in light its all in the lens
  • #20 I recommend a three point lighting techniqueThere are inexpensive kits available – B& HLimit Your Light SourcesWork lights will do in a pinchreflector sadjust your white balance accordingly
  • #21 Be ready for anythingWater and snacks if long shoot.If working on location create a Portable Kit Gig bag – magiverGaff tape or painters tape – not stickFirst aid tape ToolsCough drops
  • #22 Adobe Premiere Pro Adobe Creative Suite 4 Production PremiumAdobe Premiere Elements 7 about $150Windows Movie Maker Free Imovie freeQuicktime – Pro $30http://www.kdenlive.org/ open source editor
  • #23 TO make your videos look more professional you could pay someone to produce the motion graphicsThis also will give you project a consisting look and feel Titles and credits. You might want to add a title at the beginning of your movie that tells people a little bit about your movie, such as when, where, and what happened. And you can add credits at the end of your movie to tell the world who created and starred in it (just like you see in movie theaters and on DVDs). For more information about adding titles and credits to your movie, see Add movie titles and credits.Transitions. To make your movie look nice when one video or picture ends and another begins to play, add transitions between pictures, videos, and titles on the storyboard. There are more than sixty different transitions in Windows Movie Maker to choose from, so play around and use the transitions that look nice to you.Effects. Finally, you might want to add some special effects to videos and pictures on the storyboard that’ll give your movie the appearance you want. For example, add one of the Film Age effects make it look like an old-time movie. For more information about using transitions and effects in Windows Movie Maker, see Add transitions and effects to pictures and video.
  • #24 Public Domainhttp://www.oreillynet.com/pub/a/mac/2003/06/13/dv_tips.html