Download to read offline
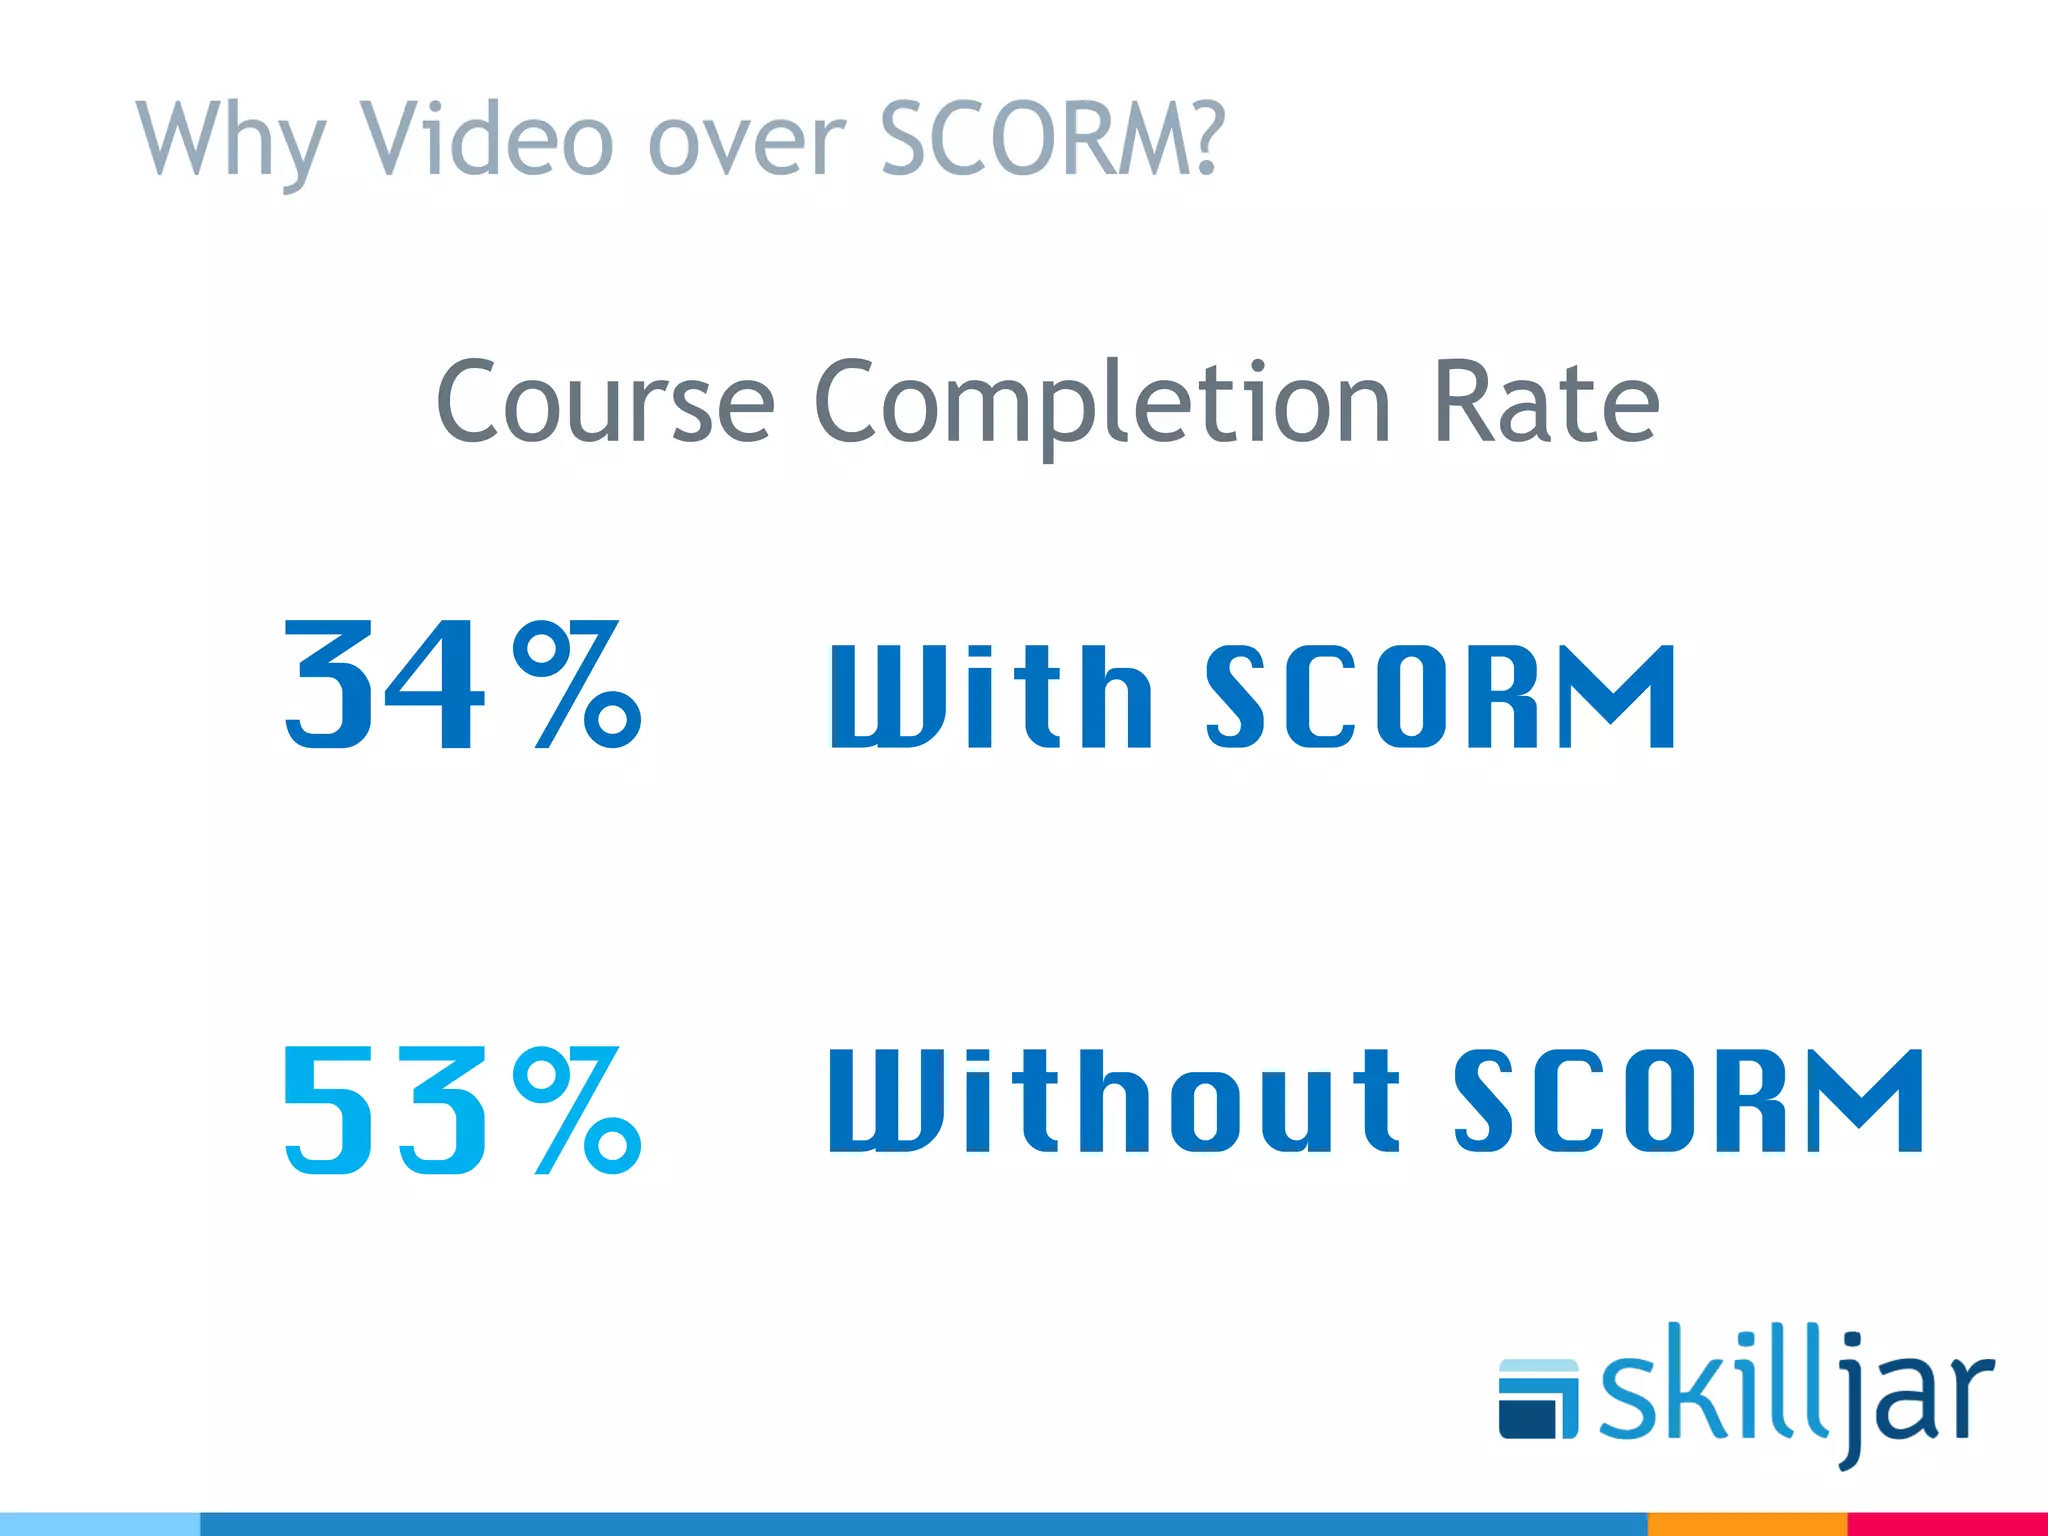
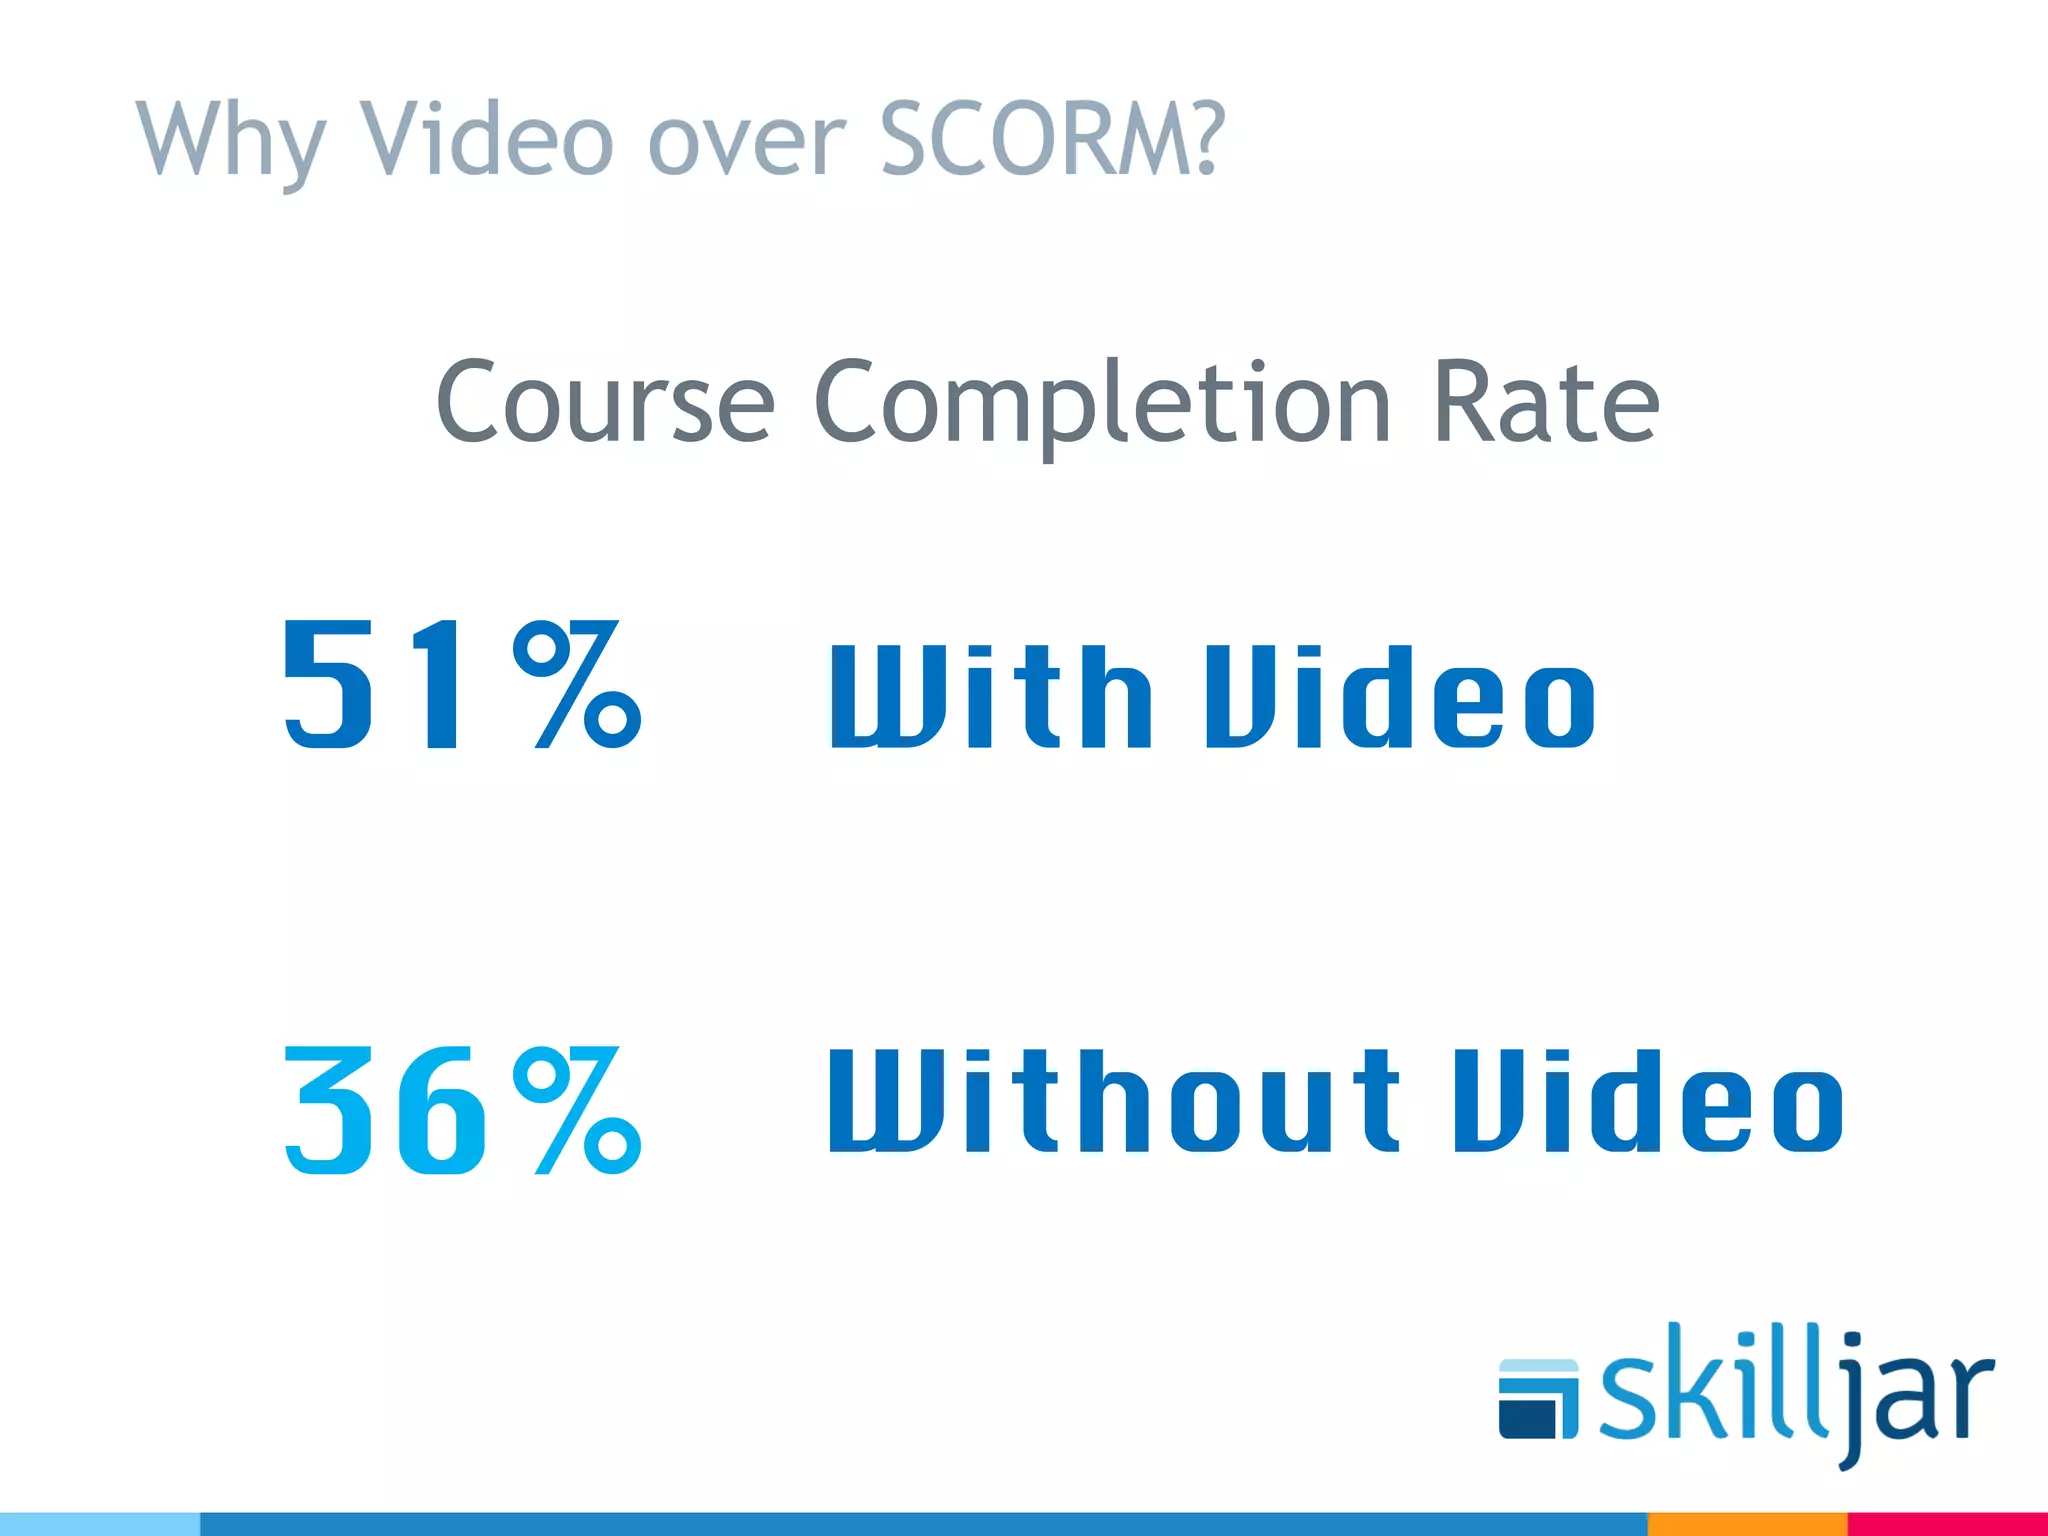


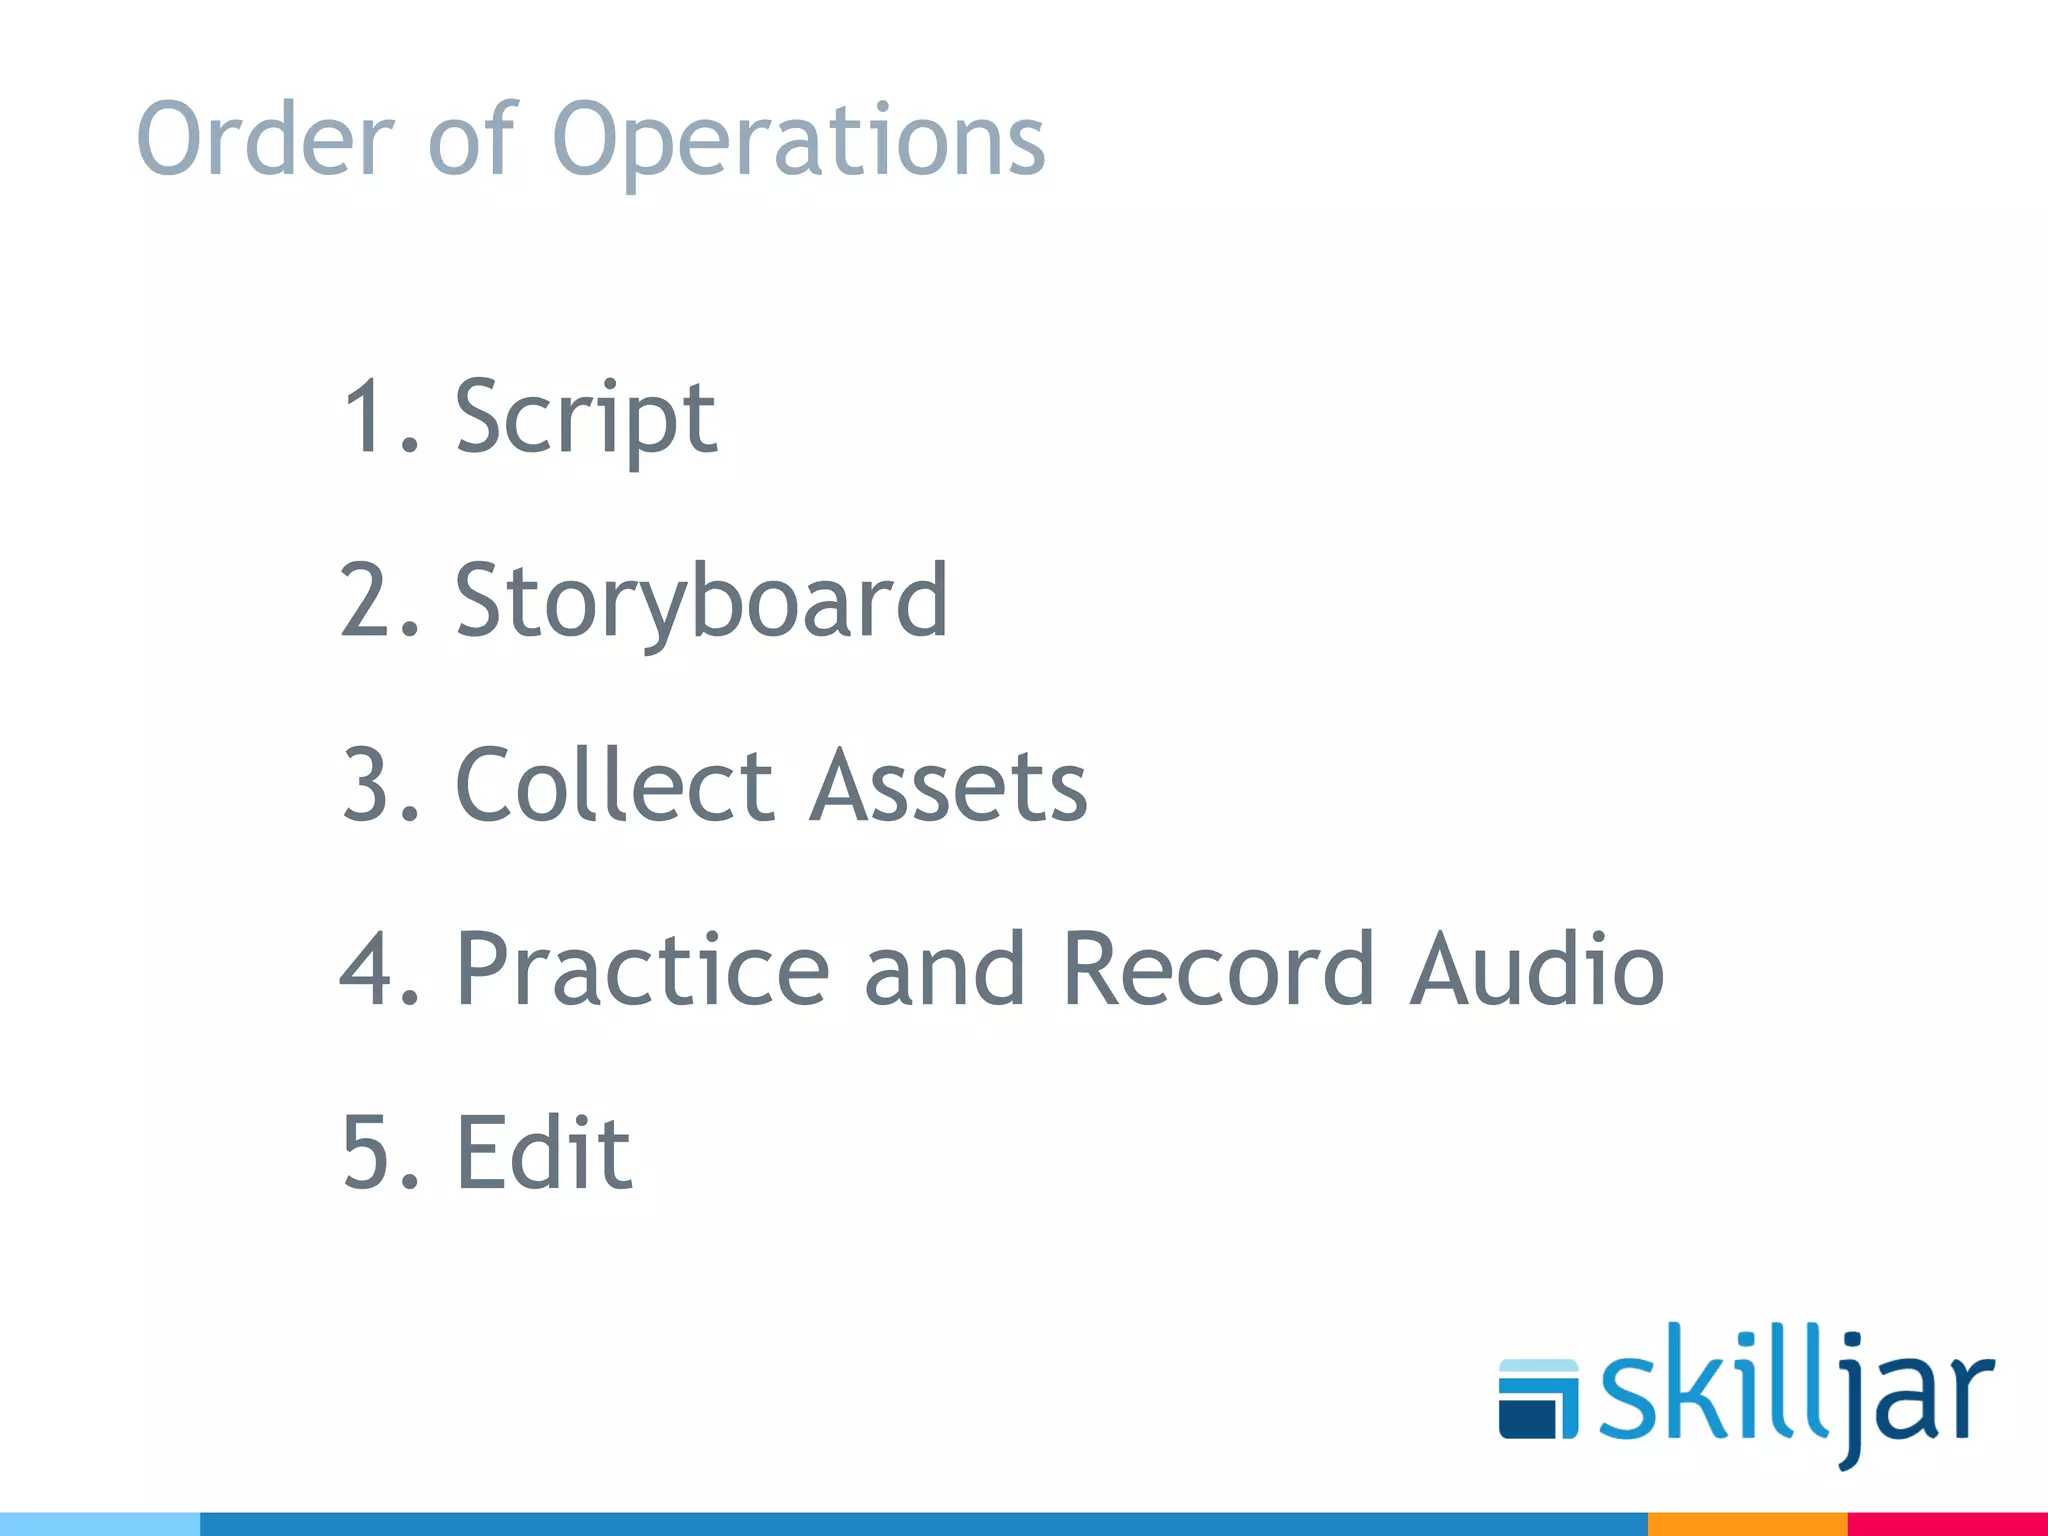

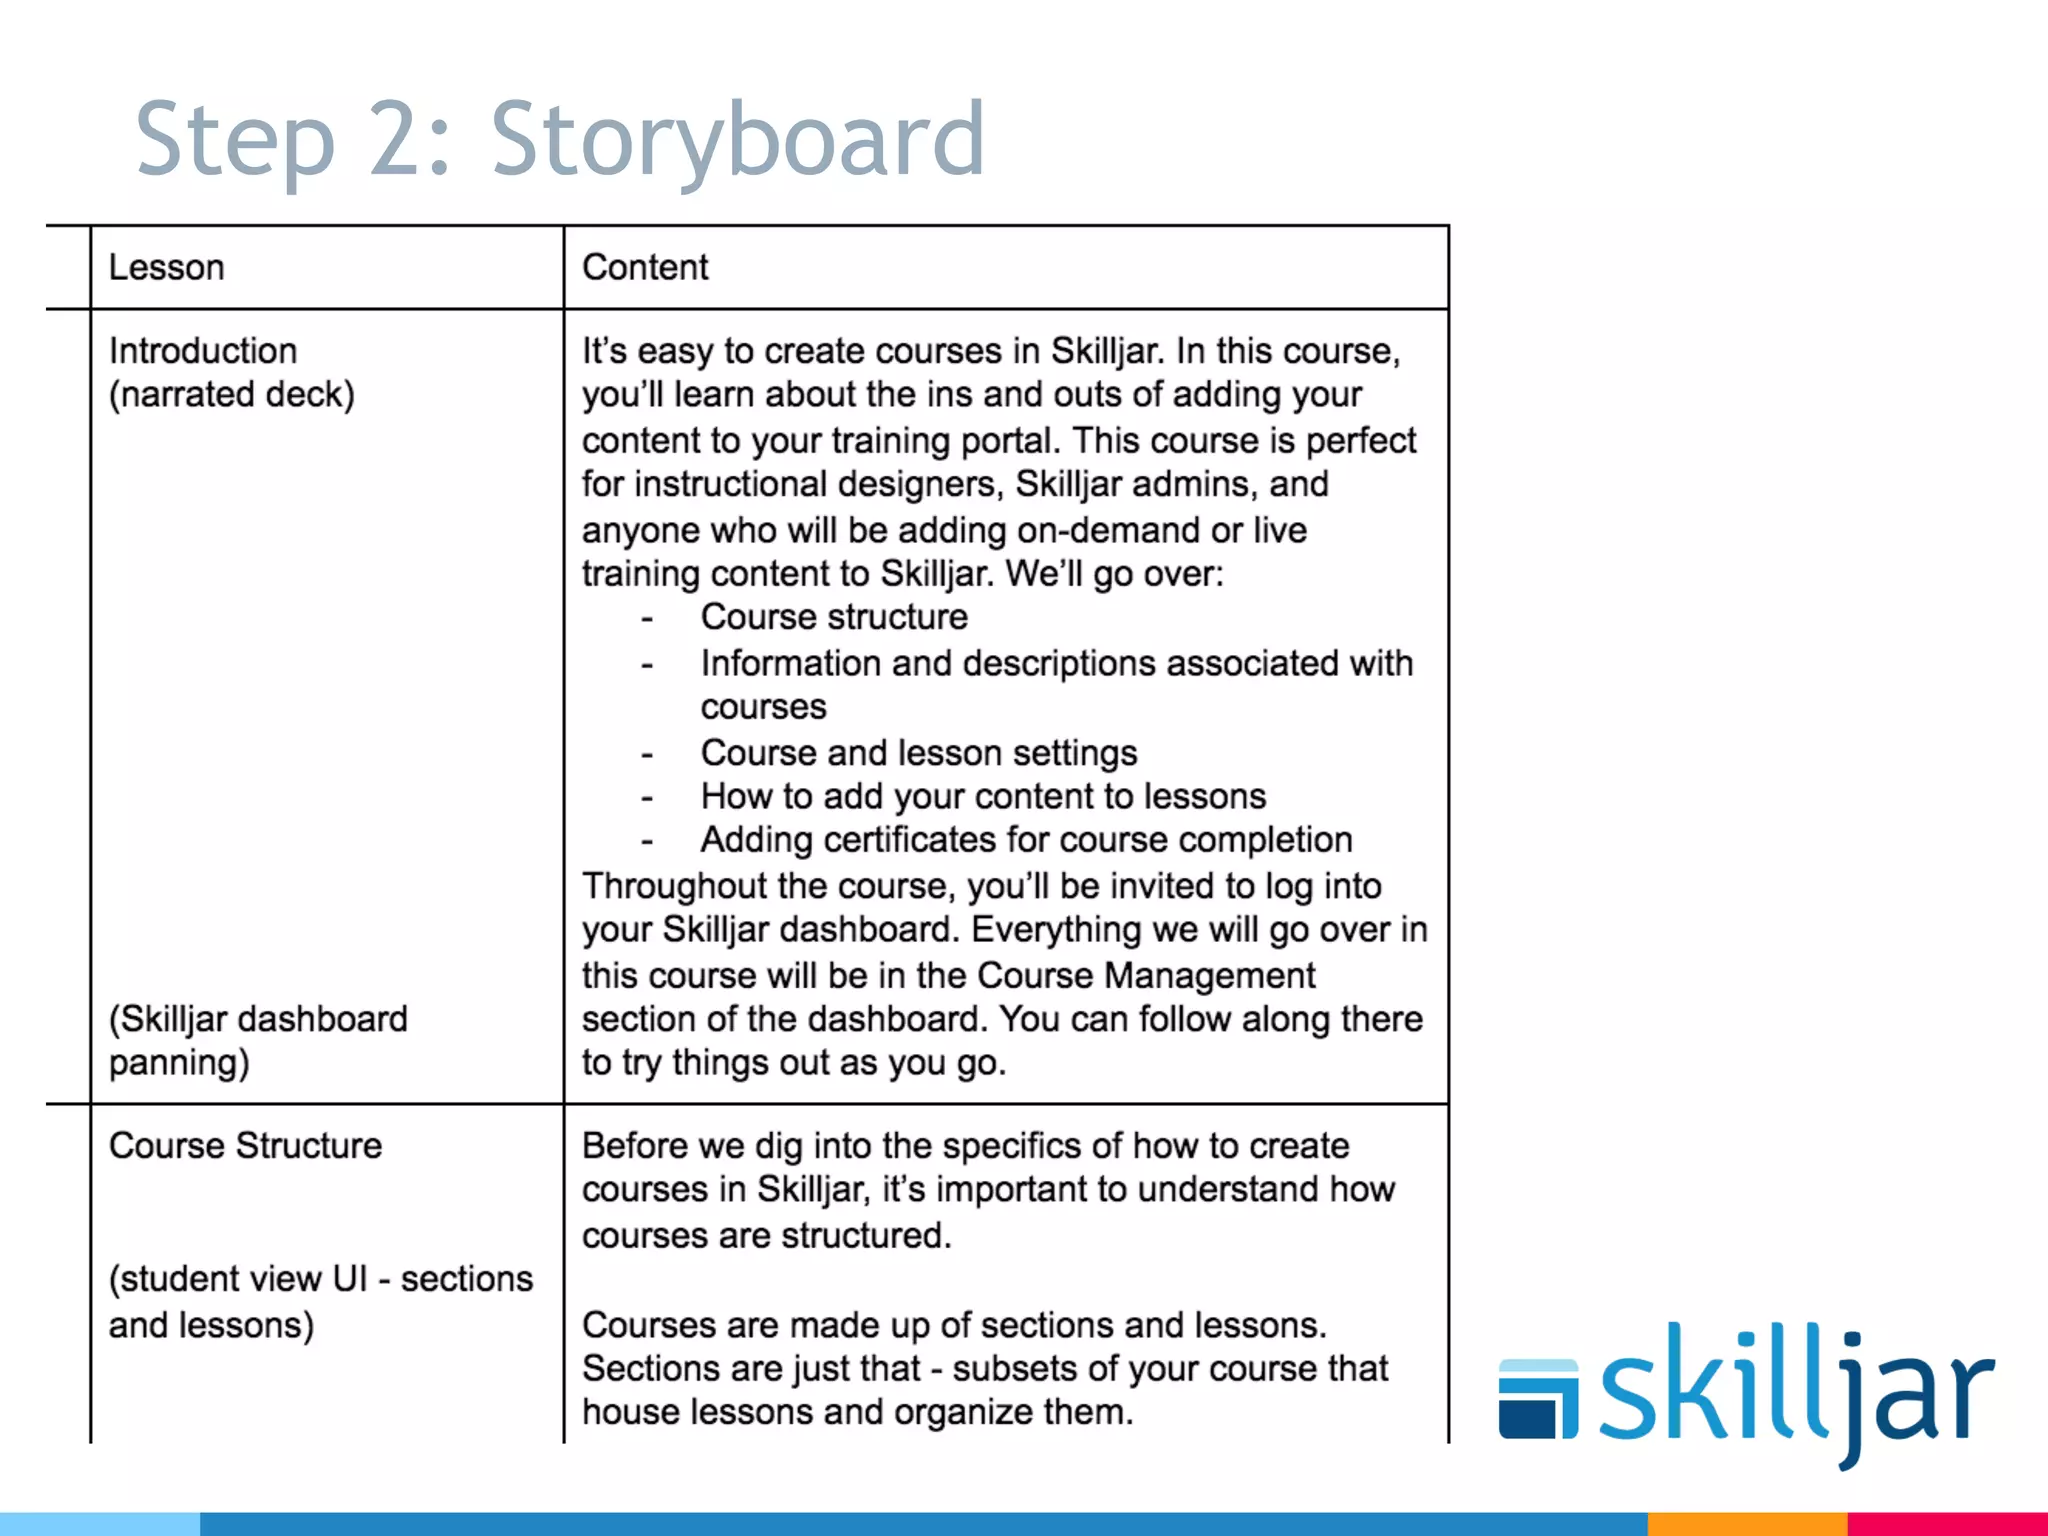


The document outlines five steps for creating high-quality software tutorials, emphasizing the importance of organization and minimal expenses. Key steps include scripting, storyboarding, asset collection, audio recording, and editing, with tips for each stage to enhance efficiency and engagement. It also highlights the necessity of using video over SCORM, given its higher course completion rates.


