This document provides information on taking radiographic views of the thoracic spine, including:
- Common clinical indications that would warrant thoracic spine x-rays such as compression fractures or scoliosis.
- Instructions for setting up three standard views - the AP, lateral, and oblique positions. For each view, it describes the clinical indications, patient positioning, part positioning, and technical factors.
- For the AP view, it instructs to position the patient supine or erect with their midline and midsagittal plane aligned and to direct the CR to T7. For the lateral view, it describes positioning the patient laterally with their spine parallel to the table and directing the CR to T

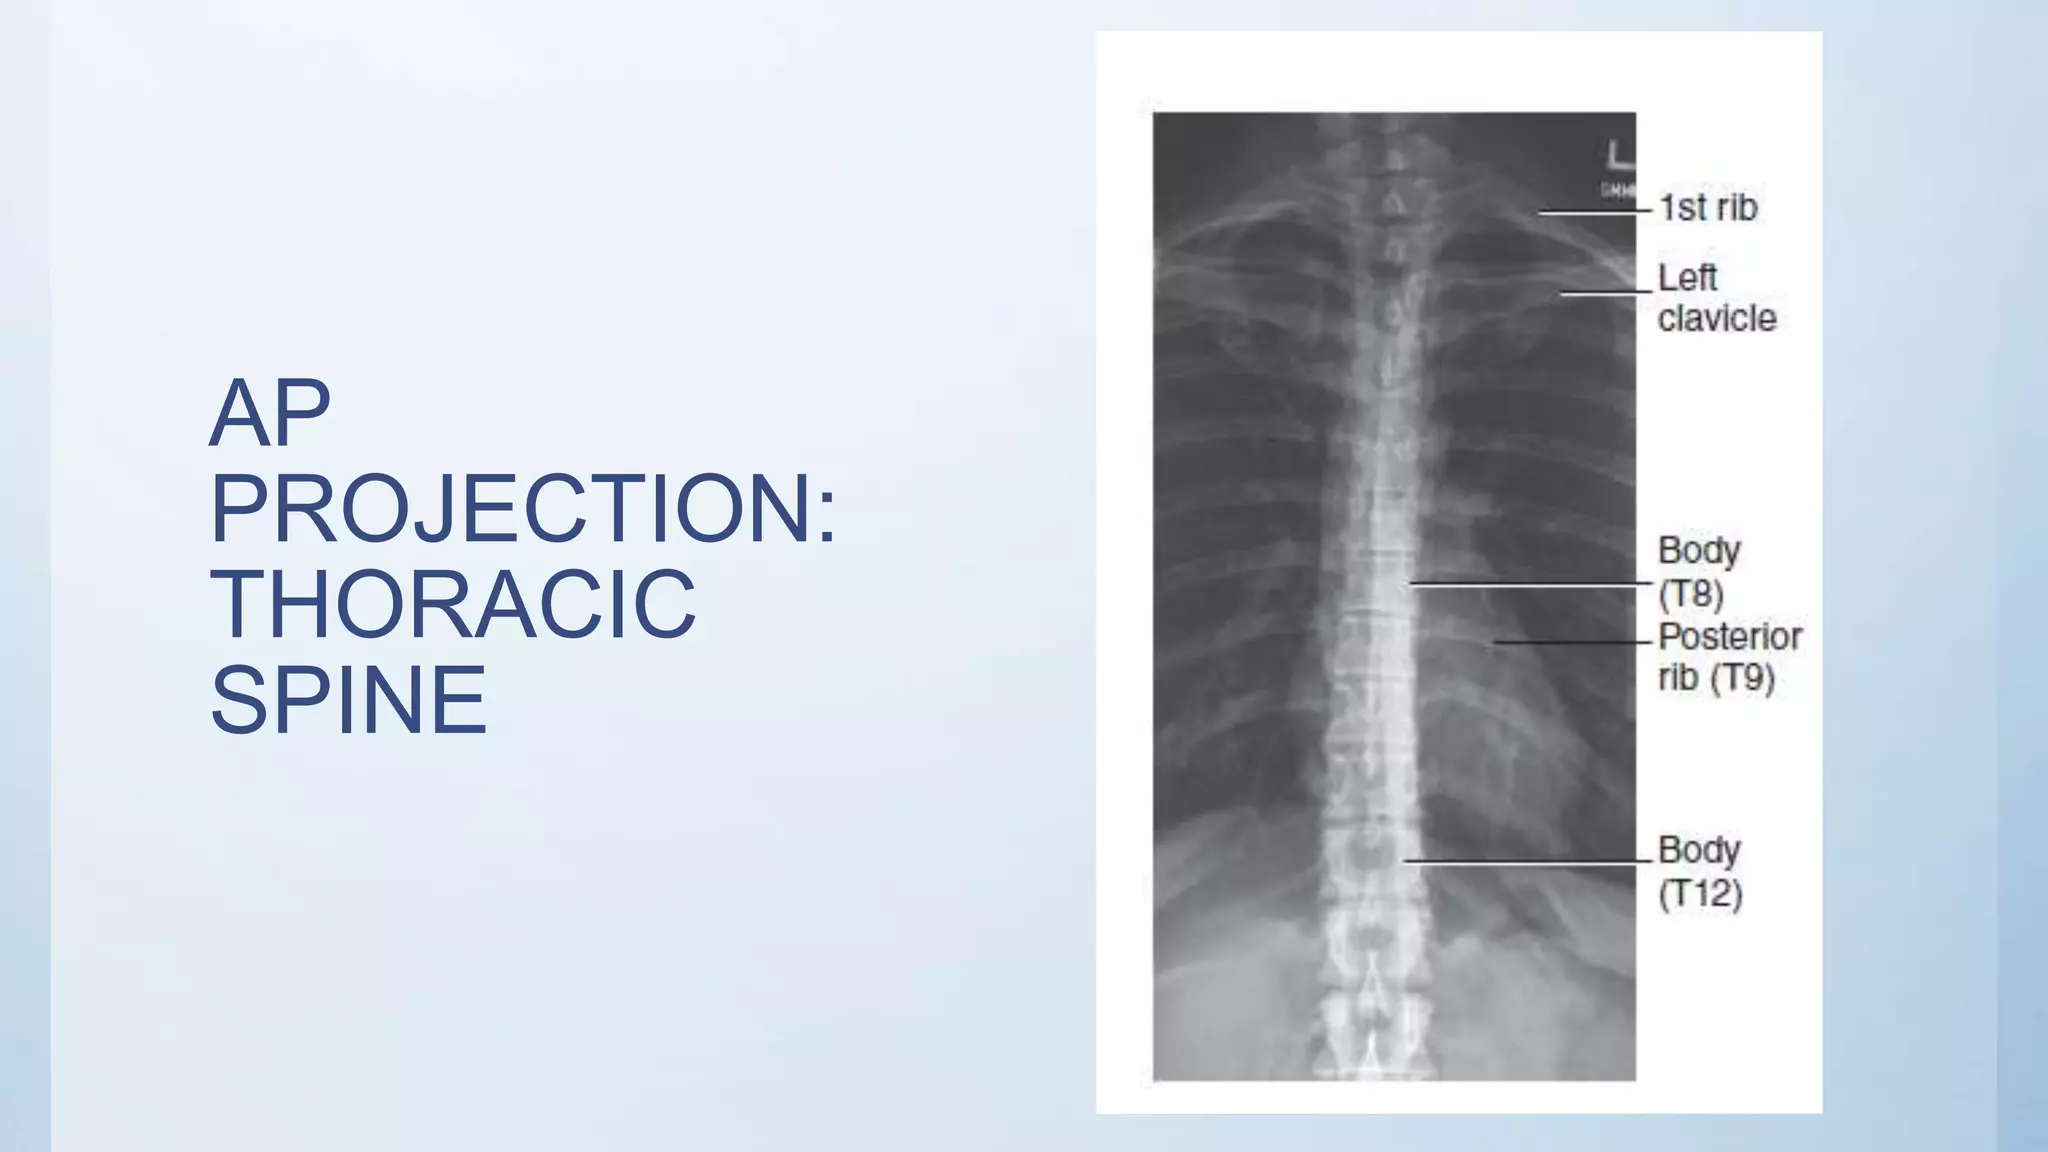
![AP PROJECTION: THORACIC SPINE
• Pathology involving the thoracic spine, such as
compression fractures, subluxation, or kyphosis
• Patient Position—Recumbent and Erect
Position
• Position patient supine (preferred) with arms at
side and head on table or on a thin pillow.
• If patient cannot tolerate the supine position,
place erect with arms at side and weight evenly
distributed on both feet.
• Part Position
• Align midsagittal plane to CR and midline of
table and/or IR.
• Flex knees and hips to reduce thoracic
curvature.
• Ensure that no rotation of thorax or pelvis
exists.
CR perpendicular to IR.
Direct CR to T7 (3 to 4 inches [8 to 10 cm] below
jugular notch or 1 to 2 inches [3 to 5 cm] below
sternal angle). Centering is similar to that used with
AP chest](https://image.slidesharecdn.com/radiographicviewsofthoracicspine-200731111552/75/Radiographic-views-of-thoracic-spine-4-2048.jpg)
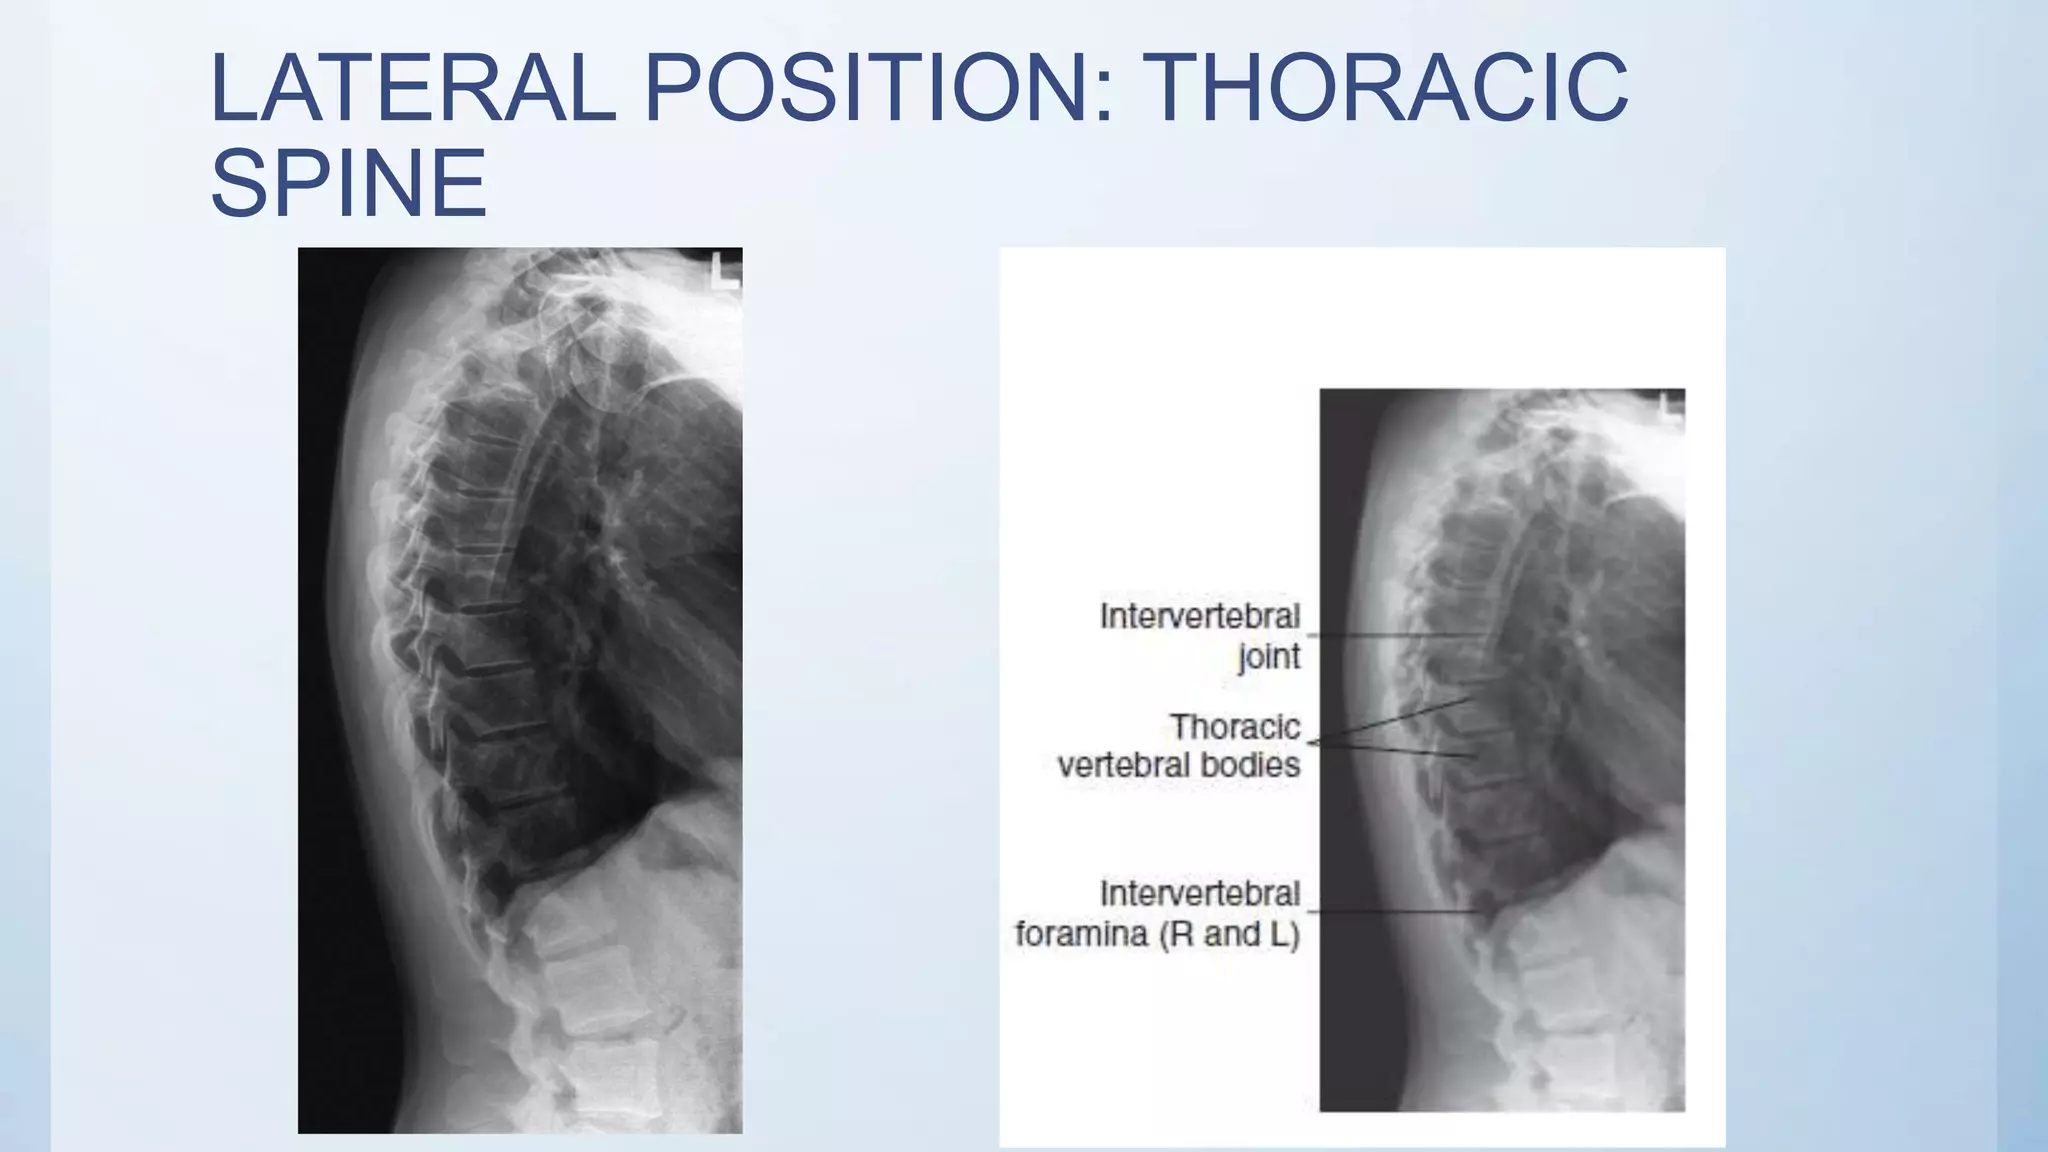
![LATERAL POSITION: THORACIC SPINE
• Pathology involving the thoracic spine, such as compression
fractures, subluxation, or kyphosis.
• Patient Position—Lateral Recumbent or Erect Position
• Position patient in the lateral recumbent position (preferred),
with head on pillow and knees flexed. For the erect position,
place arms outstretched, with weight evenly distributed on both
feet.
• Part Position
• Align posterior half of thorax (between midcoronal plane and
posterior aspect of thorax) to CR and midline of table and/or IR.
• Raise patient’s arms to right angles to body with elbows flexed.
• Support waist so entire spine is near parallel to table. Palpate
spinous processes to determine alignment.
• Flex hips and knees, with support between the knees.
• Ensure that no rotation of shoulders or pelvis exists.
CR perpendicular to long axis of thoracic
spine.
• Direct CR to T7 (3 to 4 inches [8 to 10 cm]
below jugular notch or 7 to 8 inches [18 to 21
cm] below the vertebrae prominens).](https://image.slidesharecdn.com/radiographicviewsofthoracicspine-200731111552/75/Radiographic-views-of-thoracic-spine-6-2048.jpg)
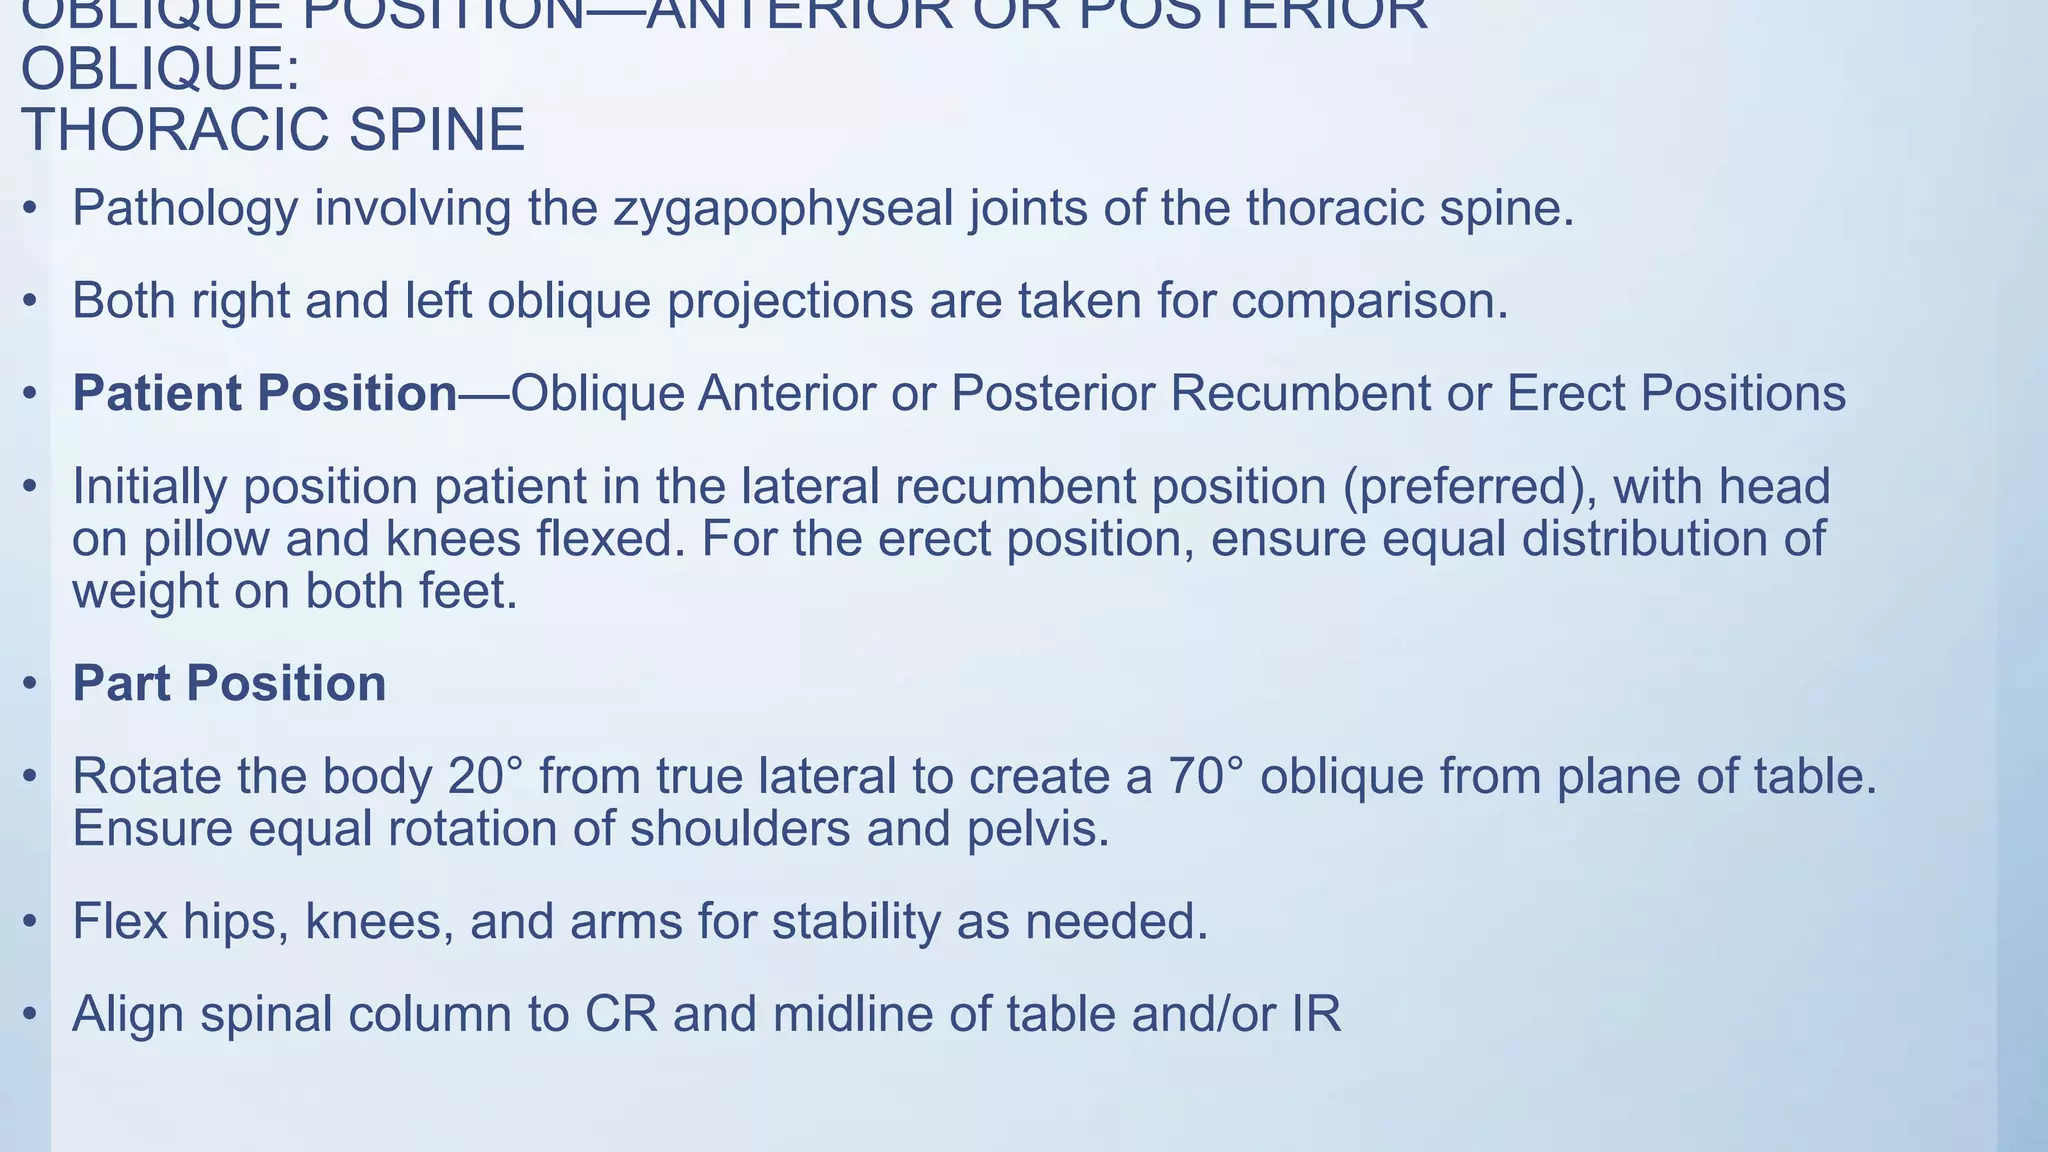
![OBLIQUE POSITION—ANTERIOR OR POSTERIOR
OBLIQUE:
THORACIC SPINE
CR perpendicular to IR
Direct CR to T7 (3 to 4 inches [8 to 10
cm] below jugular notch or 2 inches [5
cm] below sternal angle).](https://image.slidesharecdn.com/radiographicviewsofthoracicspine-200731111552/75/Radiographic-views-of-thoracic-spine-9-2048.jpg)