Downloaded 2,399 times


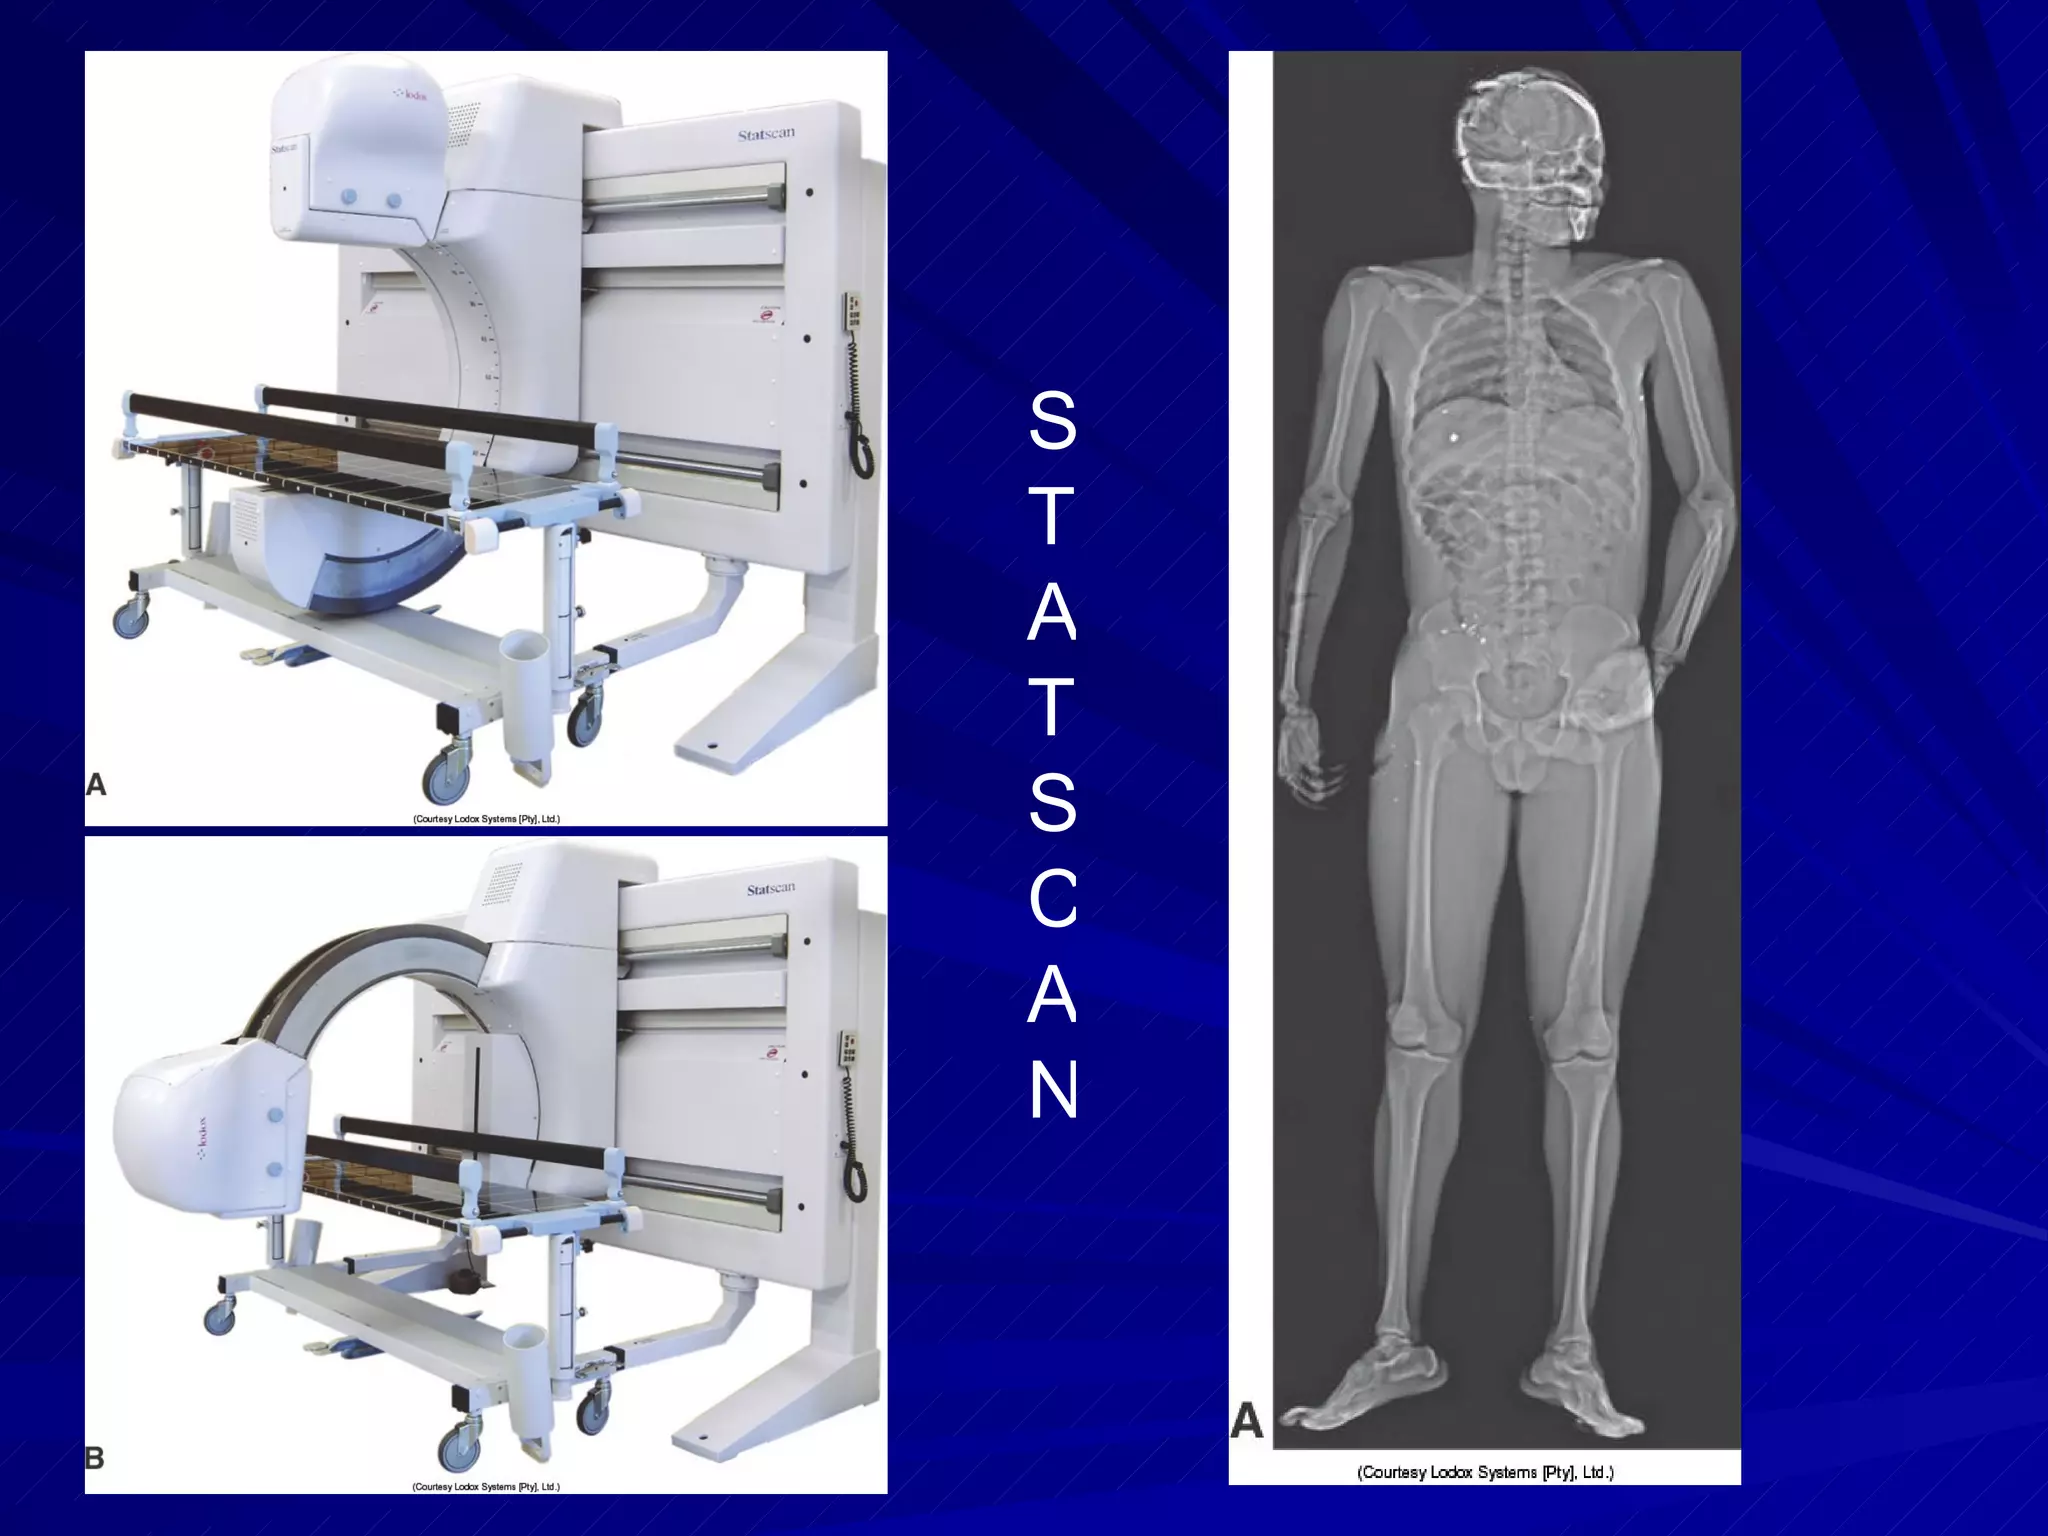

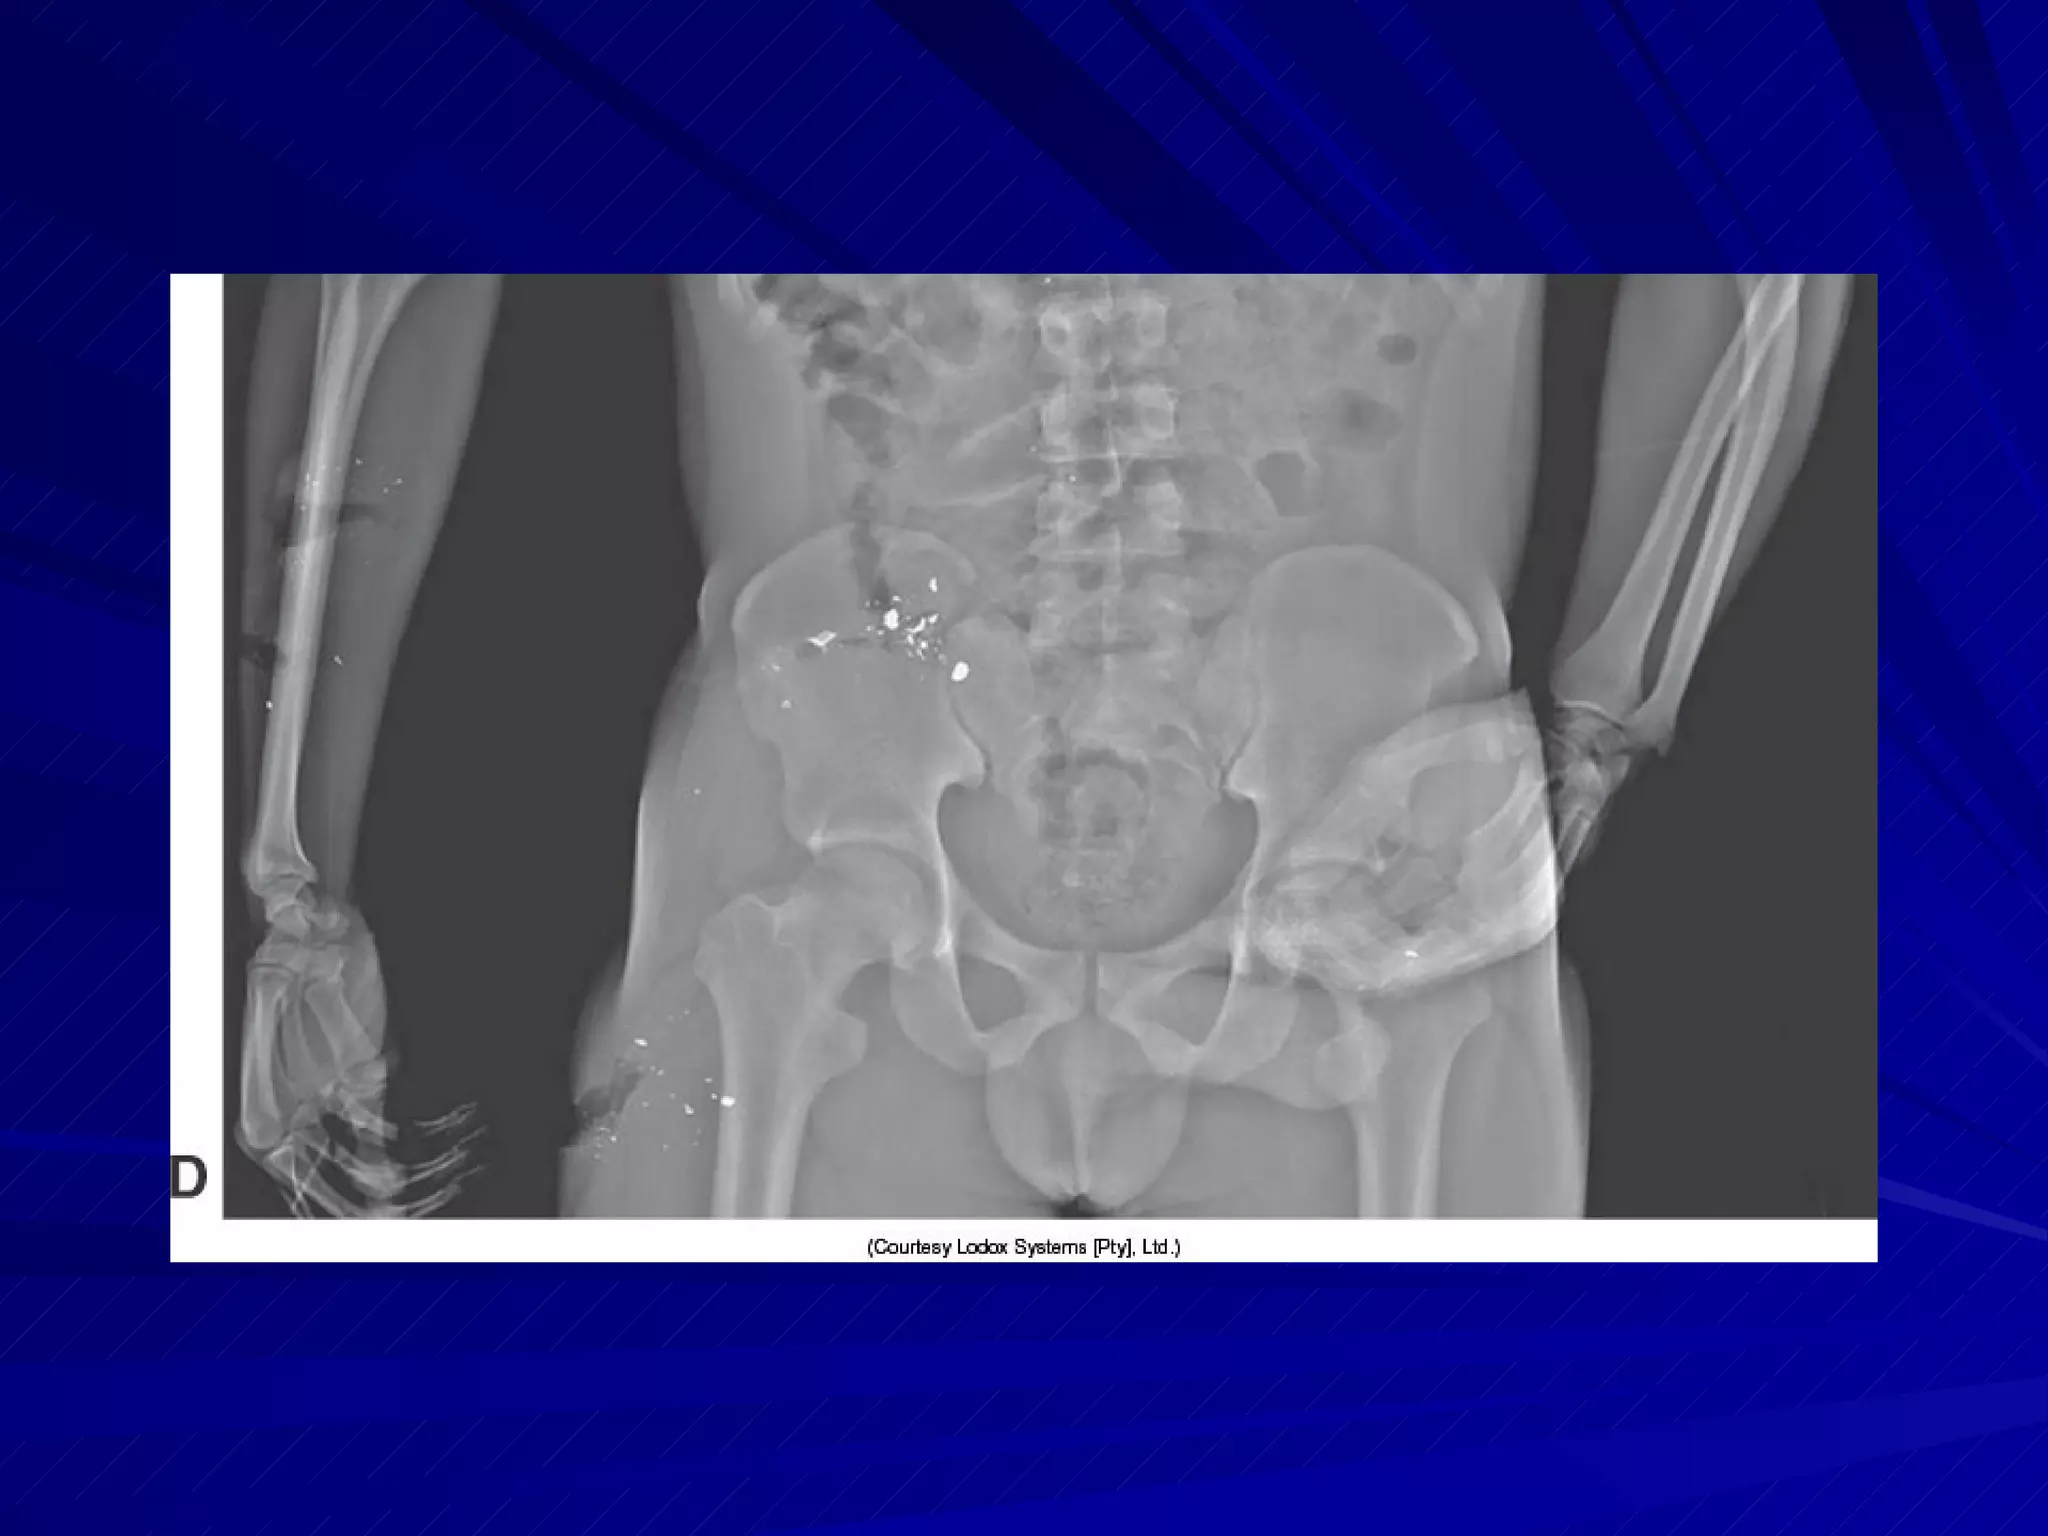


The document discusses trauma radiography procedures and best practices. It outlines the different levels of trauma centers and describes specialized equipment used in trauma imaging. Key responsibilities of the radiographer are to perform diagnostic imaging quickly and accurately while prioritizing patient safety and ethical practices. Standard trauma projections are described for various body regions as well as considerations for patient positioning and immobilization.


