Downloaded 11 times
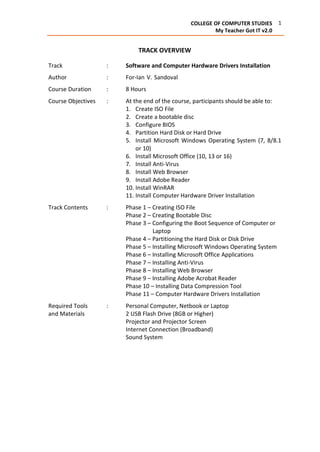
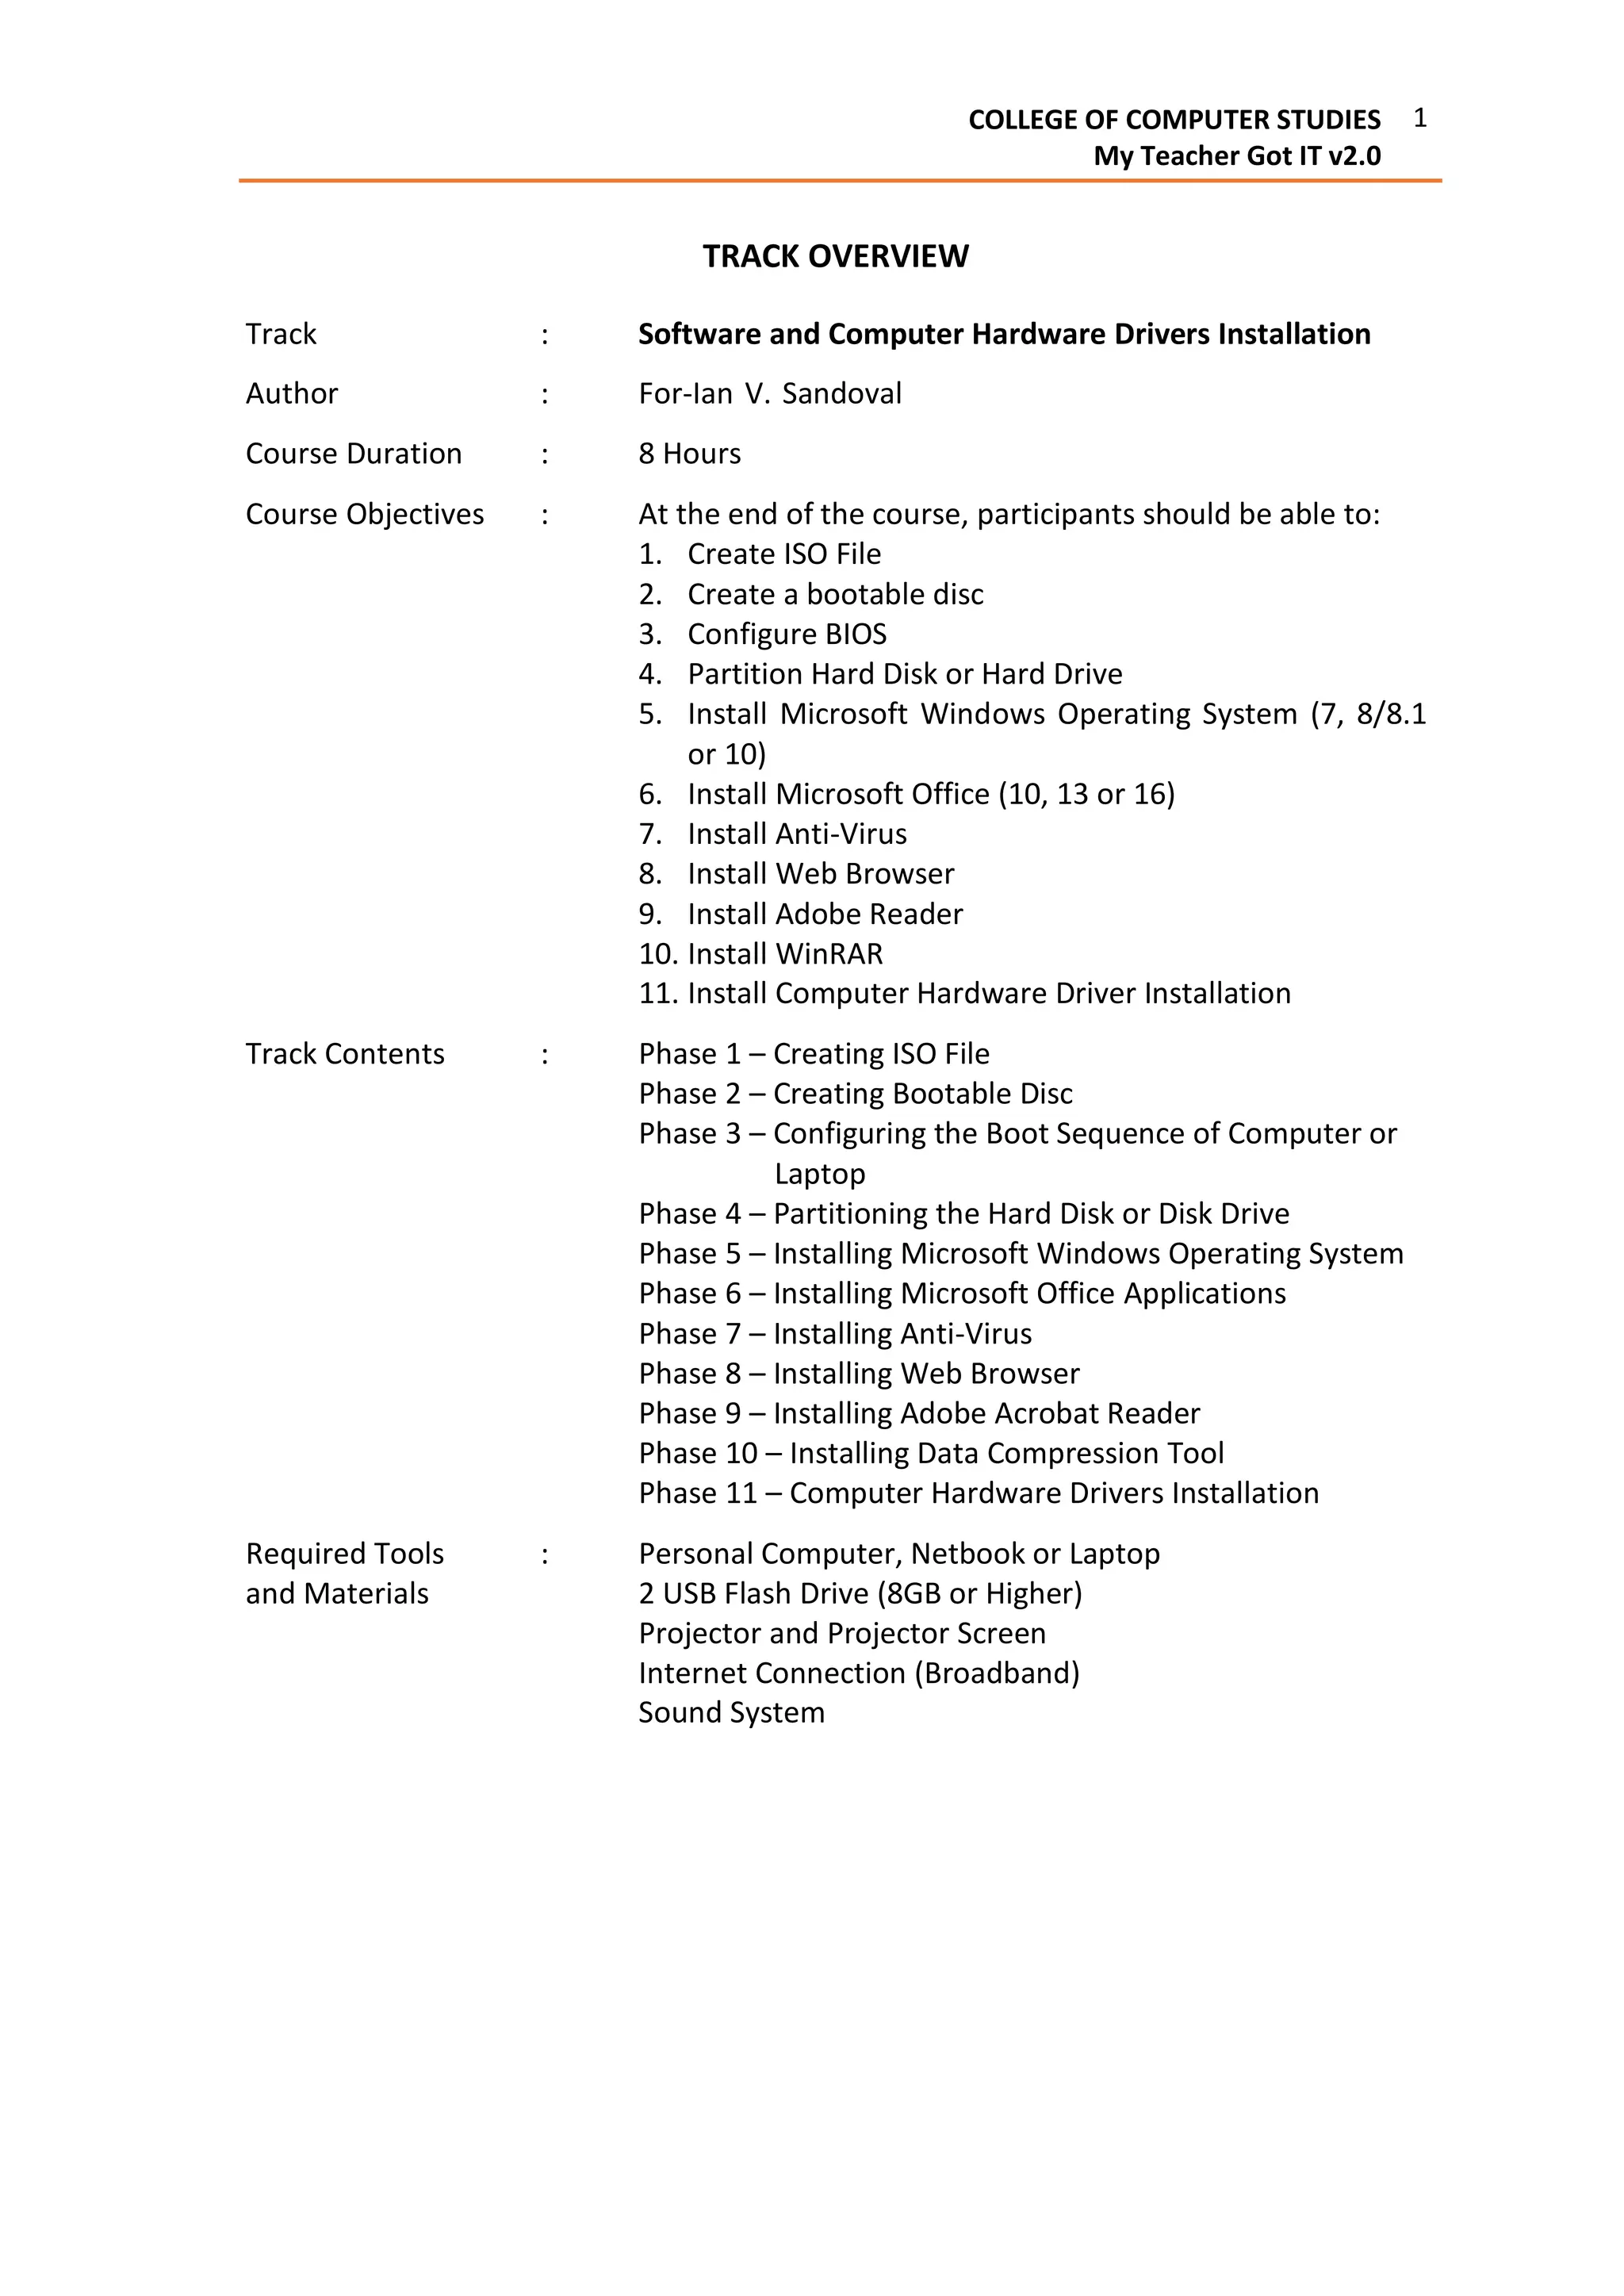
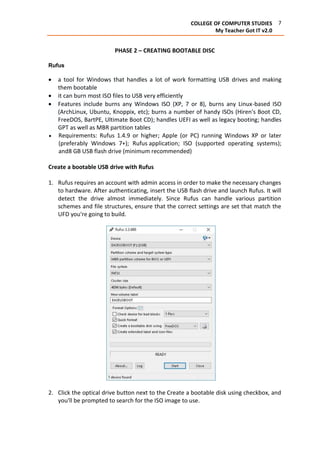
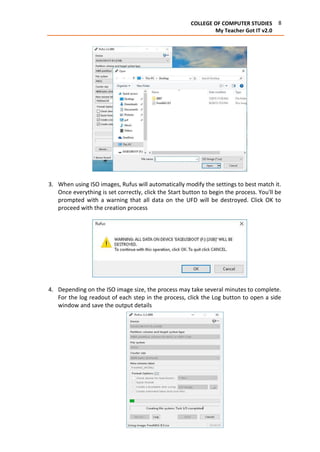
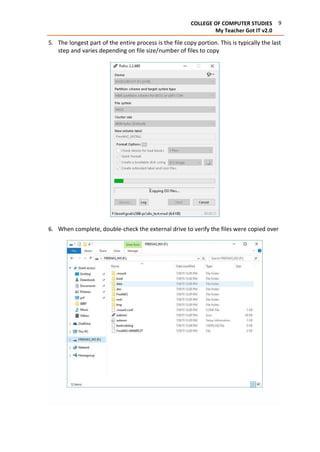
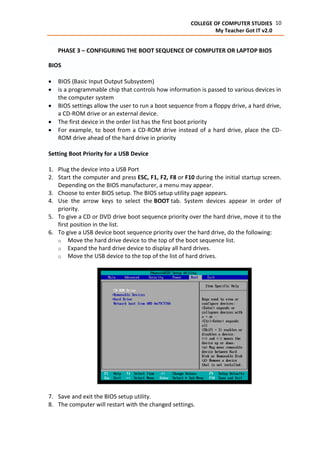
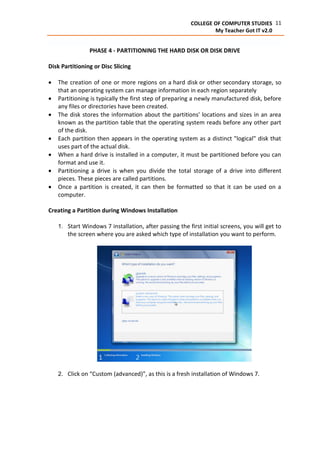
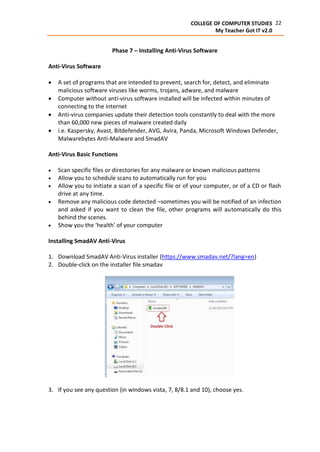
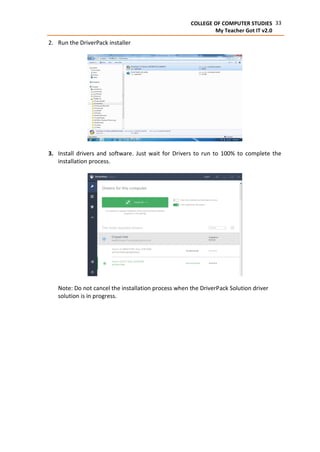
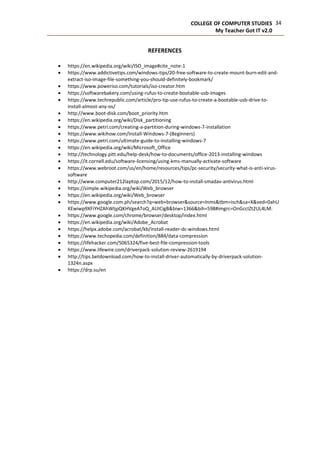

The document outlines a comprehensive 8-hour course on software and computer hardware drivers installation, covering objectives such as creating ISO files, configuring BIOS, partitioning hard drives, and installing various software including Microsoft Windows and Office. It is divided into phases that detail each process, providing step-by-step instructions and necessary tools to facilitate installations. The content aims to equip participants with essential skills in computer system management and software installation.


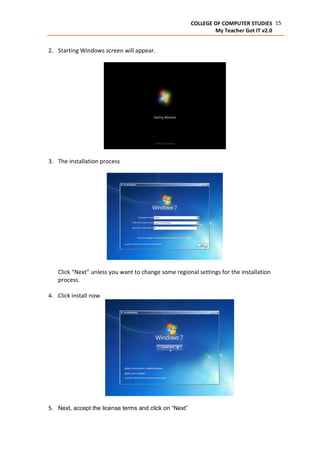
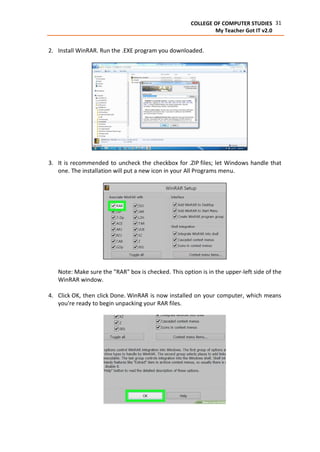
![[DEFCON 16] Bypassing pre-boot authentication passwords by instrumenting the...](https://cdn.slidesharecdn.com/ss_thumbnails/defcon16brossard-100918053407-phpapp02-thumbnail.jpg?width=640&height=640&fit=bounds)