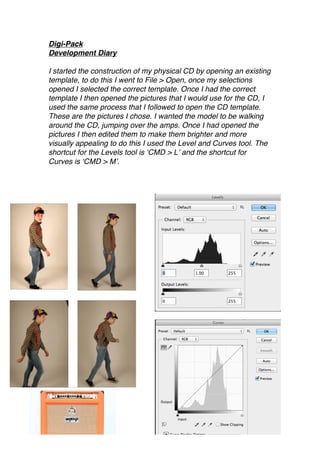
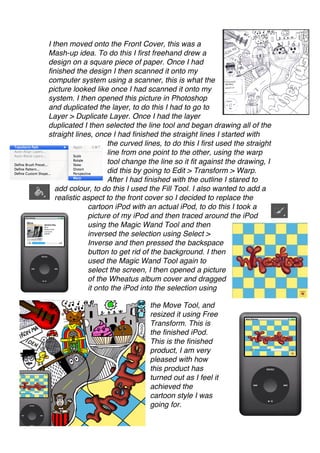
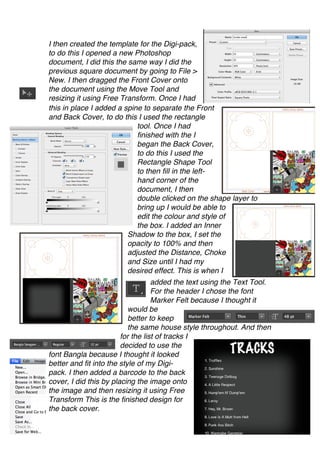
The document describes the process of creating a digipack for a CD. It includes:
1) Opening templates and images to add models jumping over amps on the CD. Pictures were edited and elements dragged onto the template and resized.
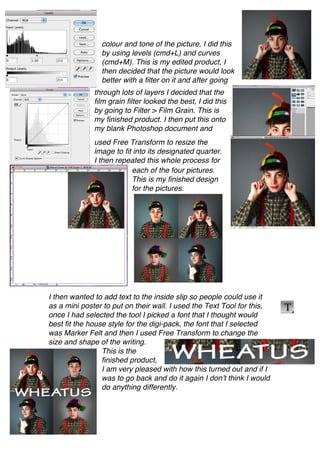
2) Creating the inside cover by opening photos, editing skin tones, and adding them to a document layout. Text was also added.
3) Designing the front cover by scanning a hand-drawn design, adding color, and incorporating a photo of an iPod displaying an album cover.
4) Setting up the overall digipack template and adding the front and back covers, with text and a barcode on the back.