Downloaded 113 times
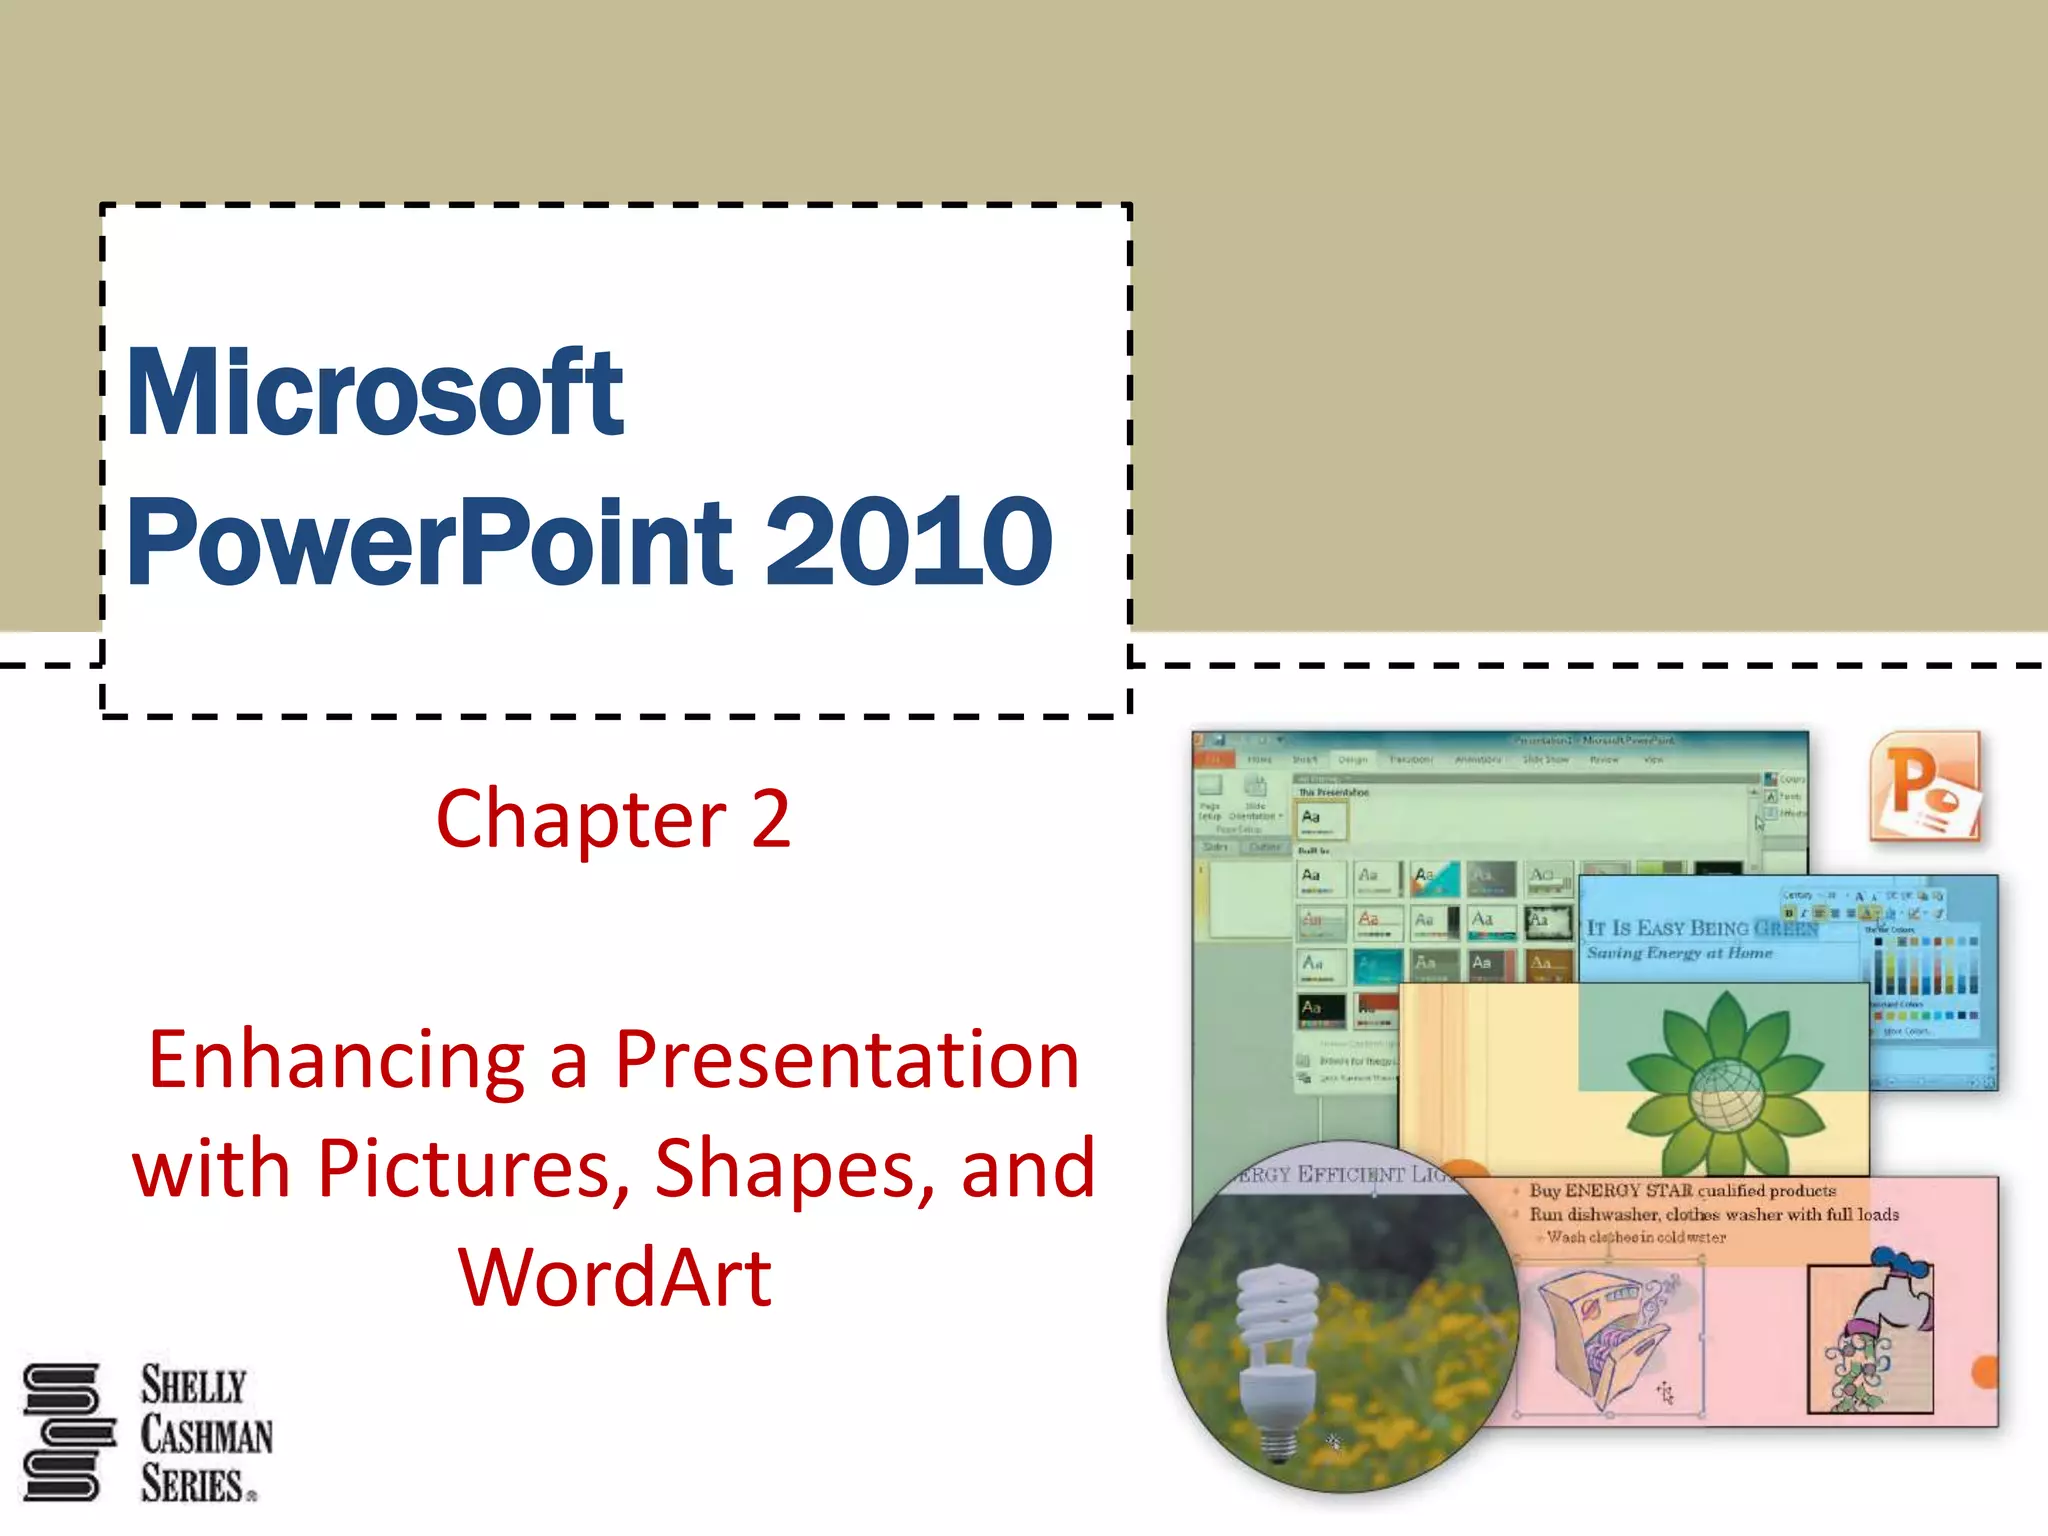
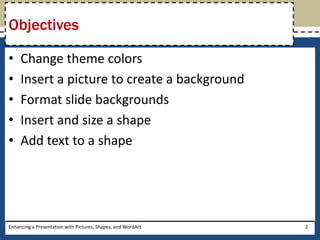
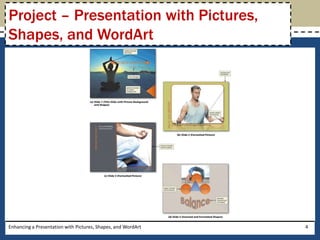

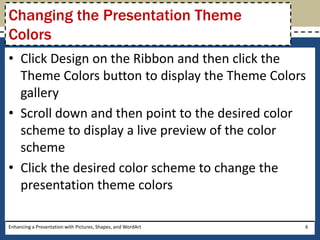
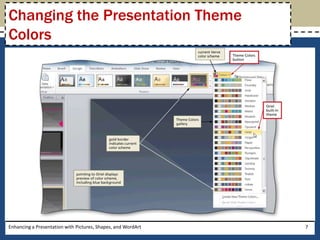


This document provides instructions for enhancing PowerPoint presentations with pictures, shapes, and WordArt. It covers how to insert and format pictures and backgrounds, add and format shapes and text within shapes, and insert and format WordArt. The instructions include changing theme colors, inserting pictures, formatting slide backgrounds, resizing graphics, applying styles to pictures and shapes, and formatting text attributes like font, color, and shadows.


![[Series] Data Enrichment Your Way - Analyzing Real Estate with QGIS](https://cdn.slidesharecdn.com/ss_thumbnails/dataenrichmentyourway-analyzingrealestatewithqgis002-200911152144-thumbnail.jpg?width=640&height=640&fit=bounds)