Downloaded 242 times
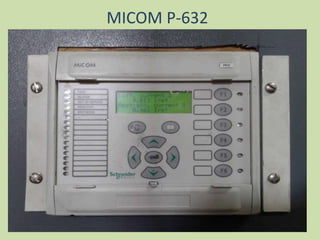
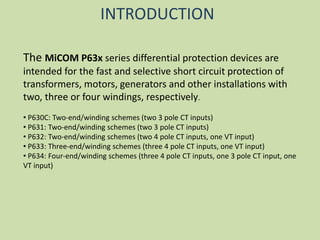


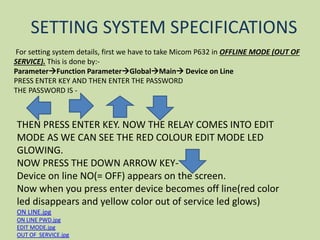

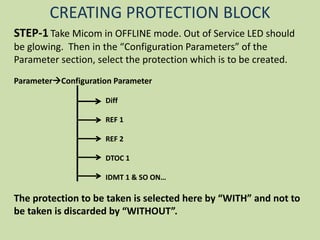


The document discusses configuration of a Micom P-632 relay. It describes the protections available in the relay like differential, restricted earth fault, etc. It provides details of the input parameters required and steps to configure the relay which includes setting date and time, system specifications, selecting protection blocks, output relay configuration, LED configuration, and settings of protections. The configuration is done by taking the relay offline, enabling the required protections and setting their parameters.


