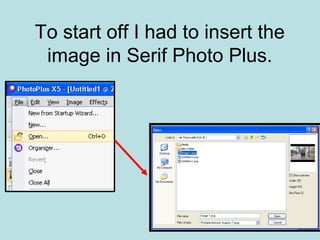
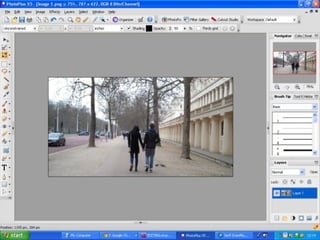
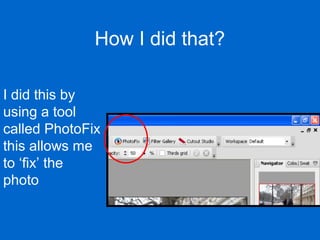
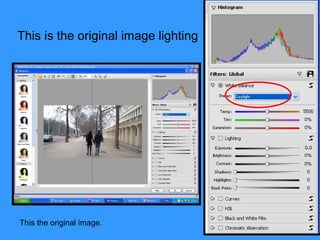
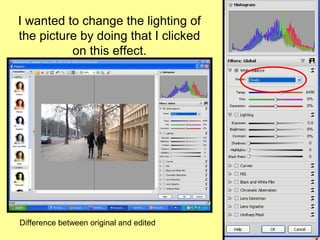
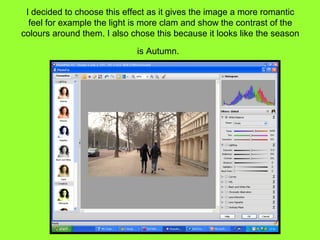
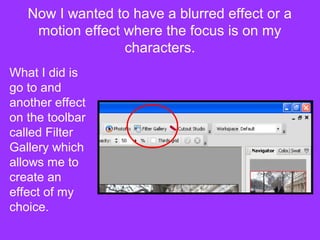
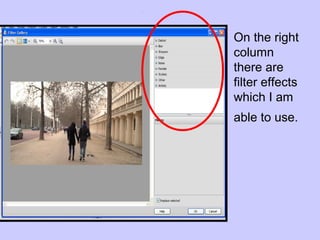
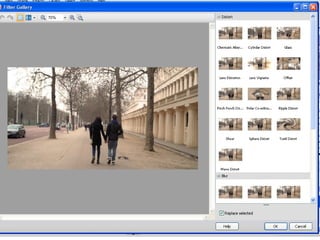
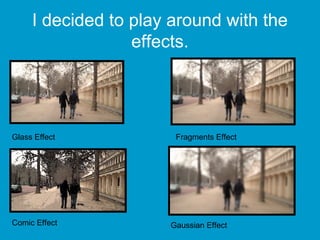
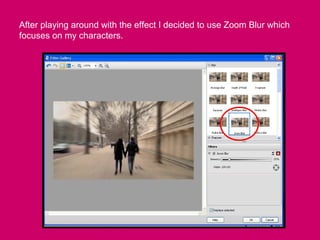
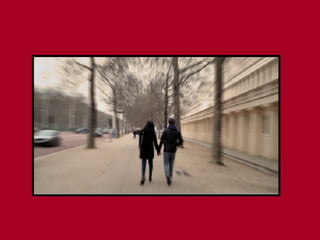
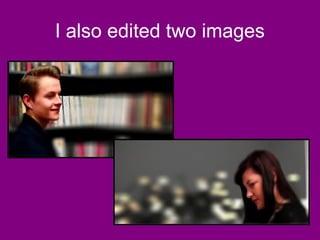
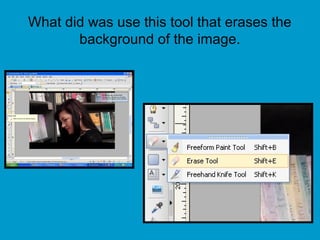
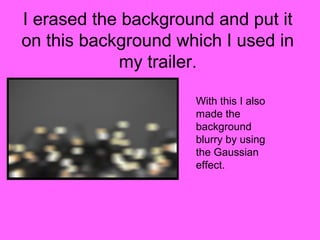
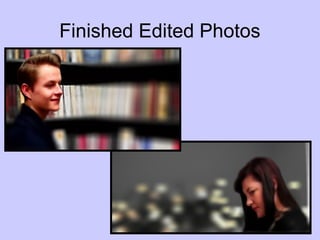
Editing Photos
To start off I had to insert the
 image in Serif Photo Plus.
Now I decided I wanted to play
around with the effects that Serif
    Photo Plus has to offer.
How I did that?

I did this by
using a tool
called PhotoFix
this allows me
to ‘fix’ the
photo
This is the original image lighting


This the original image.
I wanted to change the lighting of
the picture by doing that I clicked
          on this effect.


Difference between original and edited
I decided to choose this effect as it gives the image a more romantic
  feel for example the light is more clam and show the contrast of the
colours around them. I also chose this because it looks like the season

                             is Autumn.
Now I wanted to have a blurred effect or a
    motion effect where the focus is on my
                  characters.
What I did is
go to and
another effect
on the toolbar
called Filter
Gallery which
allows me to
create an
effect of my
choice.
On the right
column
there are
filter effects
which I am
able to use.
I decided to play around with the
                  effects.


Glass Effect           Fragments Effect


Comic Effect          Gaussian Effect
After playing around with the effect I decided to use Zoom Blur which
focuses on my characters.
I also made the image darker to
give the image depth and mystery.
I also edited two images
What did was use this tool that erases the
       background of the image.
I erased the background and put it
on this background which I used in
            my trailer.

                     With this I also
                     made the
                     background
                     blurry by using
                     the Gaussian
                     effect.
I also did the same for the male leads photo .
Finished Edited Photos

Editing photos

  • 1.
  • 2.
    To start offI had to insert the image in Serif Photo Plus.
  • 4.
    Now I decidedI wanted to play around with the effects that Serif Photo Plus has to offer.
  • 5.
    How I didthat? I did this by using a tool called PhotoFix this allows me to ‘fix’ the photo
  • 6.
    This is theoriginal image lighting This the original image.
  • 7.
    I wanted tochange the lighting of the picture by doing that I clicked on this effect. Difference between original and edited
  • 8.
    I decided tochoose this effect as it gives the image a more romantic feel for example the light is more clam and show the contrast of the colours around them. I also chose this because it looks like the season is Autumn.
  • 9.
    Now I wantedto have a blurred effect or a motion effect where the focus is on my characters. What I did is go to and another effect on the toolbar called Filter Gallery which allows me to create an effect of my choice.
  • 10.
    On the right column thereare filter effects which I am able to use.
  • 12.
    I decided toplay around with the effects. Glass Effect Fragments Effect Comic Effect Gaussian Effect
  • 13.
    After playing aroundwith the effect I decided to use Zoom Blur which focuses on my characters.
  • 15.
    I also madethe image darker to give the image depth and mystery.
  • 16.
    I also editedtwo images
  • 17.
    What did wasuse this tool that erases the background of the image.
  • 18.
    I erased thebackground and put it on this background which I used in my trailer. With this I also made the background blurry by using the Gaussian effect.
  • 19.
    I also didthe same for the male leads photo .
  • 20.