Downloaded 723 times


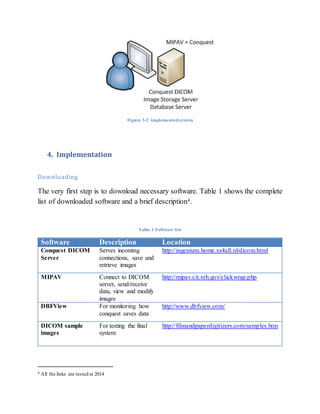


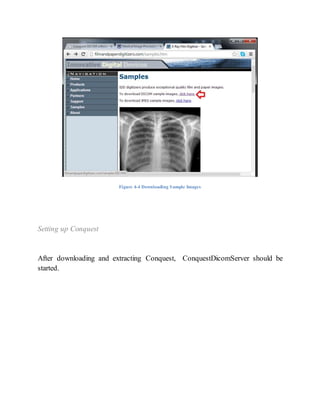
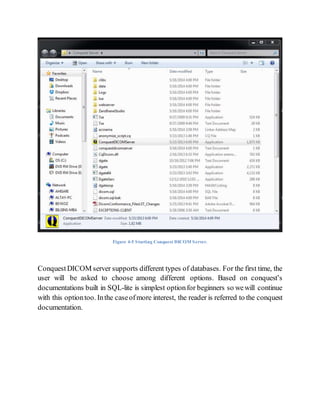

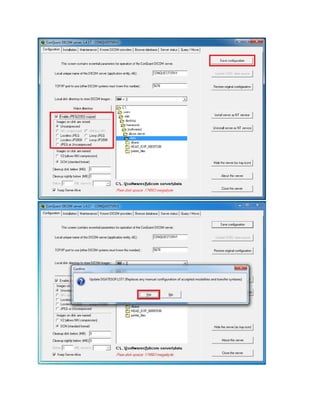


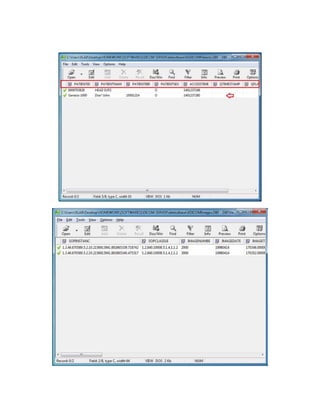


This document provides a beginner-friendly guide to setting up a Conquest DICOM server for medical imaging. It outlines the necessary software, step-by-step installation procedures, and tips for connecting to MIPAV, a medical image processing software. Additionally, it explains key concepts related to DICOM standards and networking essential for operating a DICOM server.

![Dicom 2010[1]](https://cdn.slidesharecdn.com/ss_thumbnails/dicom20101-101227001250-phpapp01-thumbnail.jpg?width=640&height=640&fit=bounds)


![[오픈소스컨설팅]클라우드자동화 및 운영효율화방안](https://cdn.slidesharecdn.com/ss_thumbnails/random-140217215646-phpapp01-thumbnail.jpg?width=640&height=640&fit=bounds)


![Picture Archival and Communication System [PACS] - Overview](https://cdn.slidesharecdn.com/ss_thumbnails/picturearchivalandcommunicationsystem-overview-140111015852-phpapp01-thumbnail.jpg?width=640&height=640&fit=bounds)


