Download to read offline

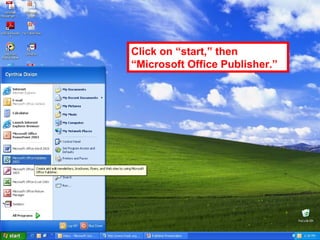
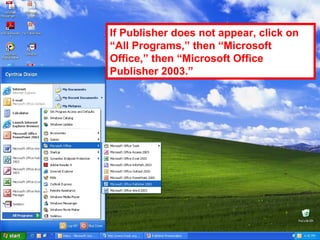
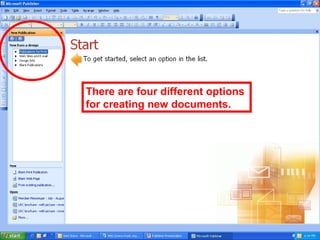
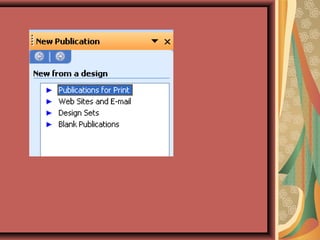
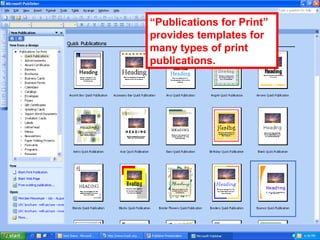
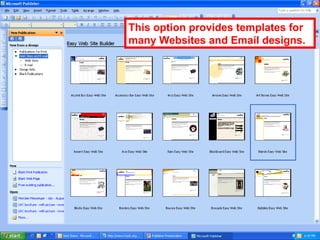
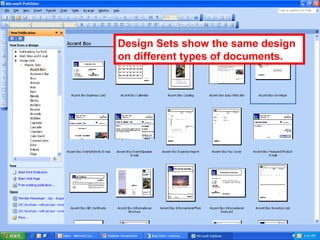
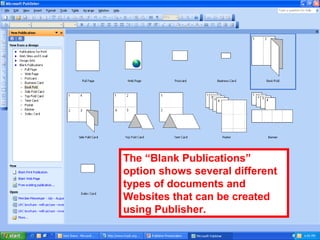
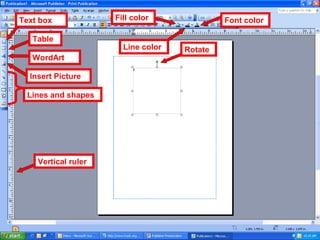
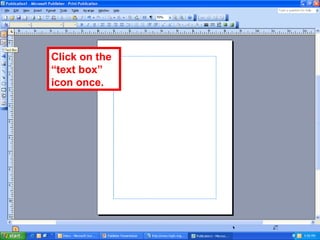
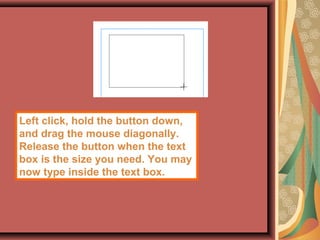
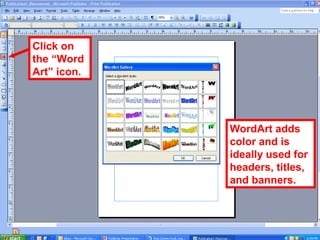
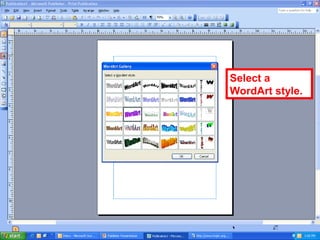
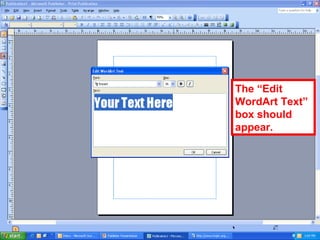
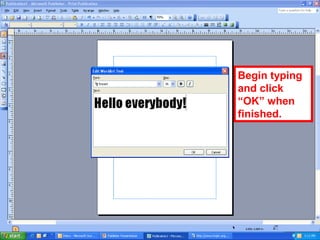
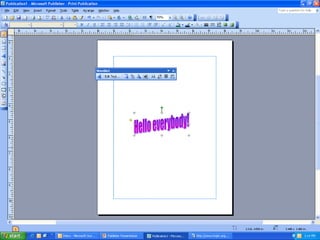
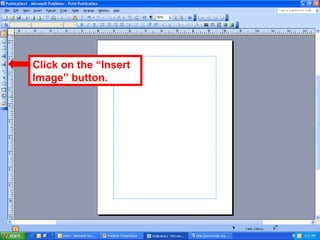
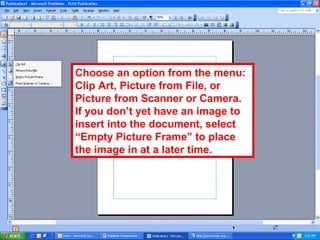
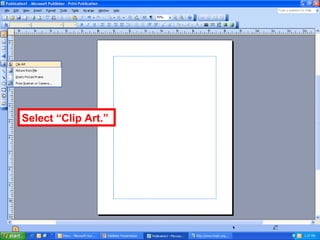
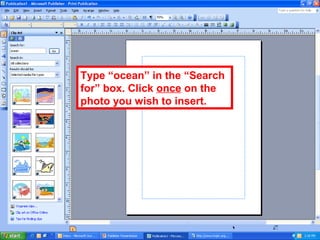
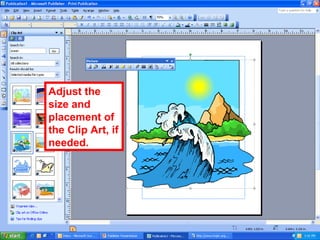


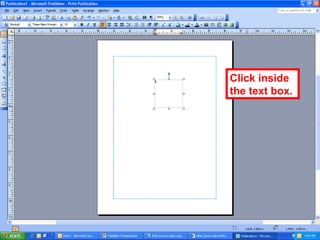
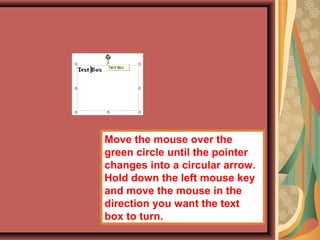
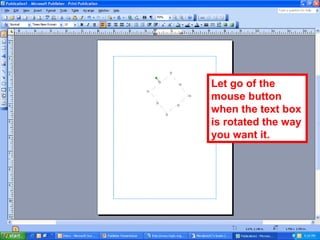
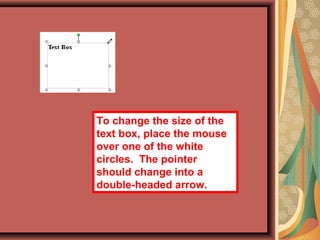
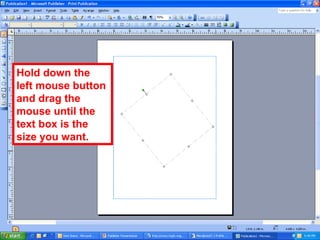
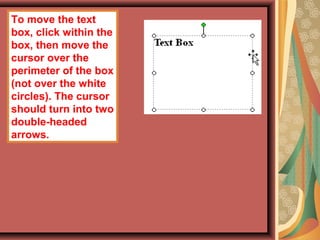
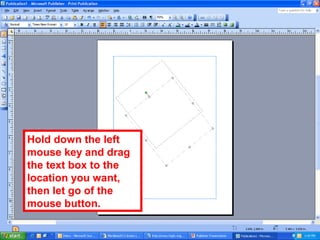
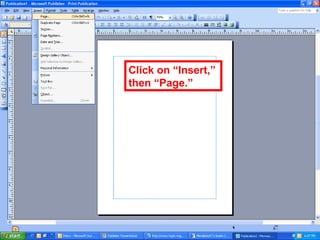
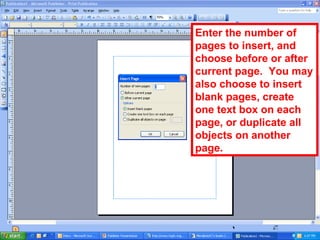
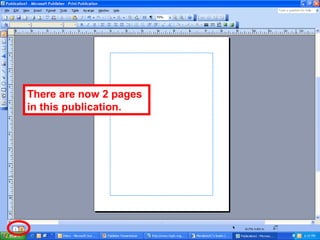

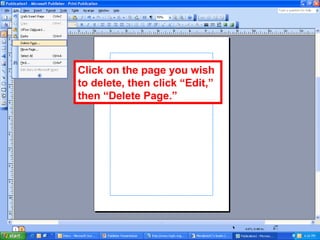
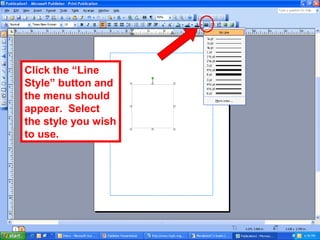
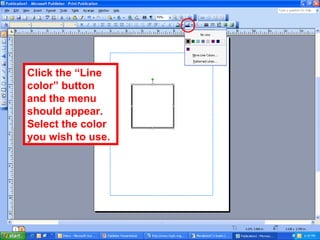
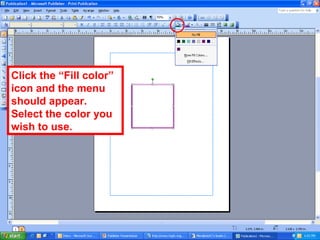
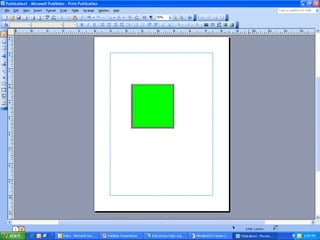
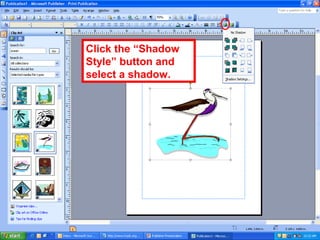
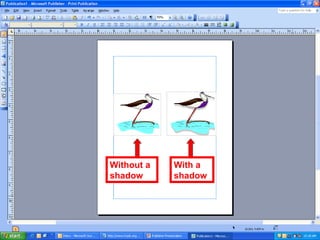

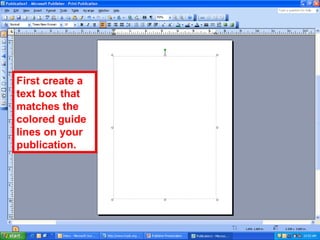
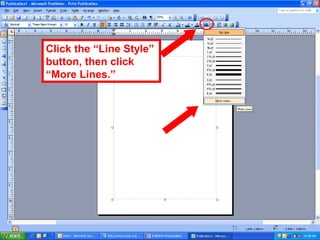
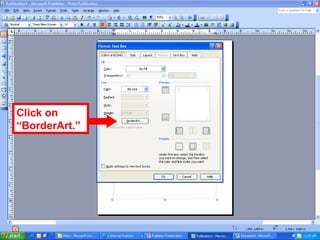

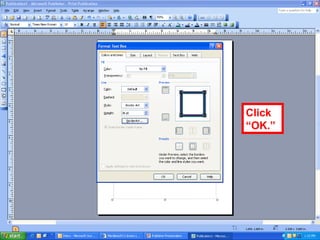
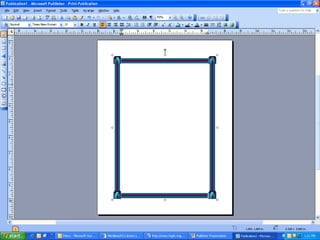


This document provides an overview of using Microsoft Publisher to create publications with pictures and layouts. It discusses when to use Publisher versus Word, how to open Publisher, and the different options for creating new documents. Templates are available for publications, websites, and email designs. The document then covers how to insert text using text boxes and WordArt, add images by inserting clip art or pictures from files. It also reviews how to manipulate text boxes, insert pages, add lines and colors, and create page borders.


![Ulss17 presentazione nwp_[sola_lettura]_[modalità_com_patibilità]](https://cdn.slidesharecdn.com/ss_thumbnails/ulss17presentazionenwpsolaletturamodalitcompatibilit-111025071800-phpapp01-thumbnail.jpg?width=640&height=640&fit=bounds)