
![Configuration example:
ASA1(config)# hostname ASA1
ASA1(config)# crypto key generate rsa modulus 1024
WARNING: You have a RSA keypair already defined named <Default-RSA-Key>.
Do you really want to replace them? [yes/no]: yes
Keypair generation process begin. Please wait...
www.NetProtocolXpert.com 23](https://image.slidesharecdn.com/presentation1-170725050456/75/Basic-Cisco-ASA-5506-x-Configuration-Firepower-23-2048.jpg)
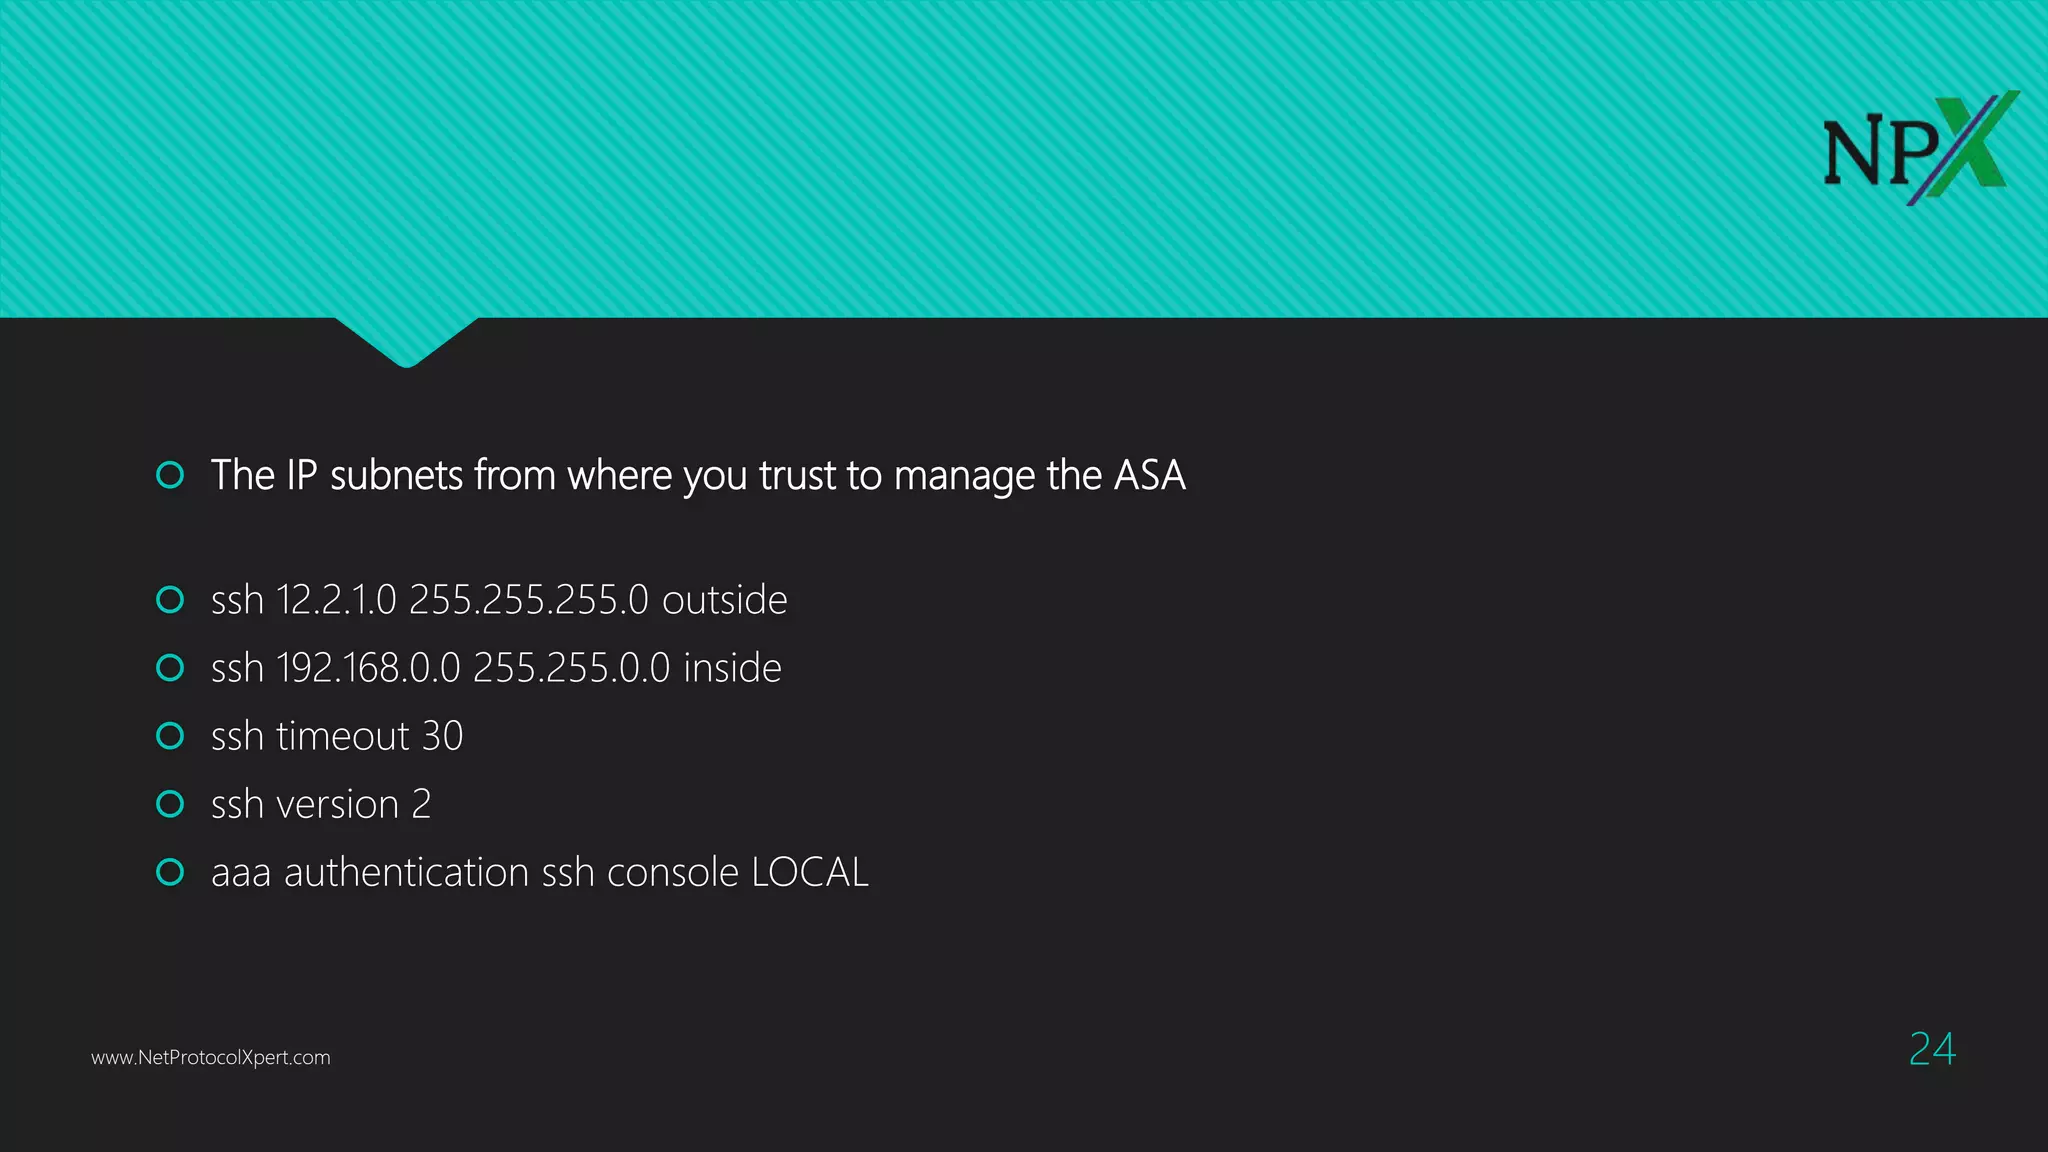
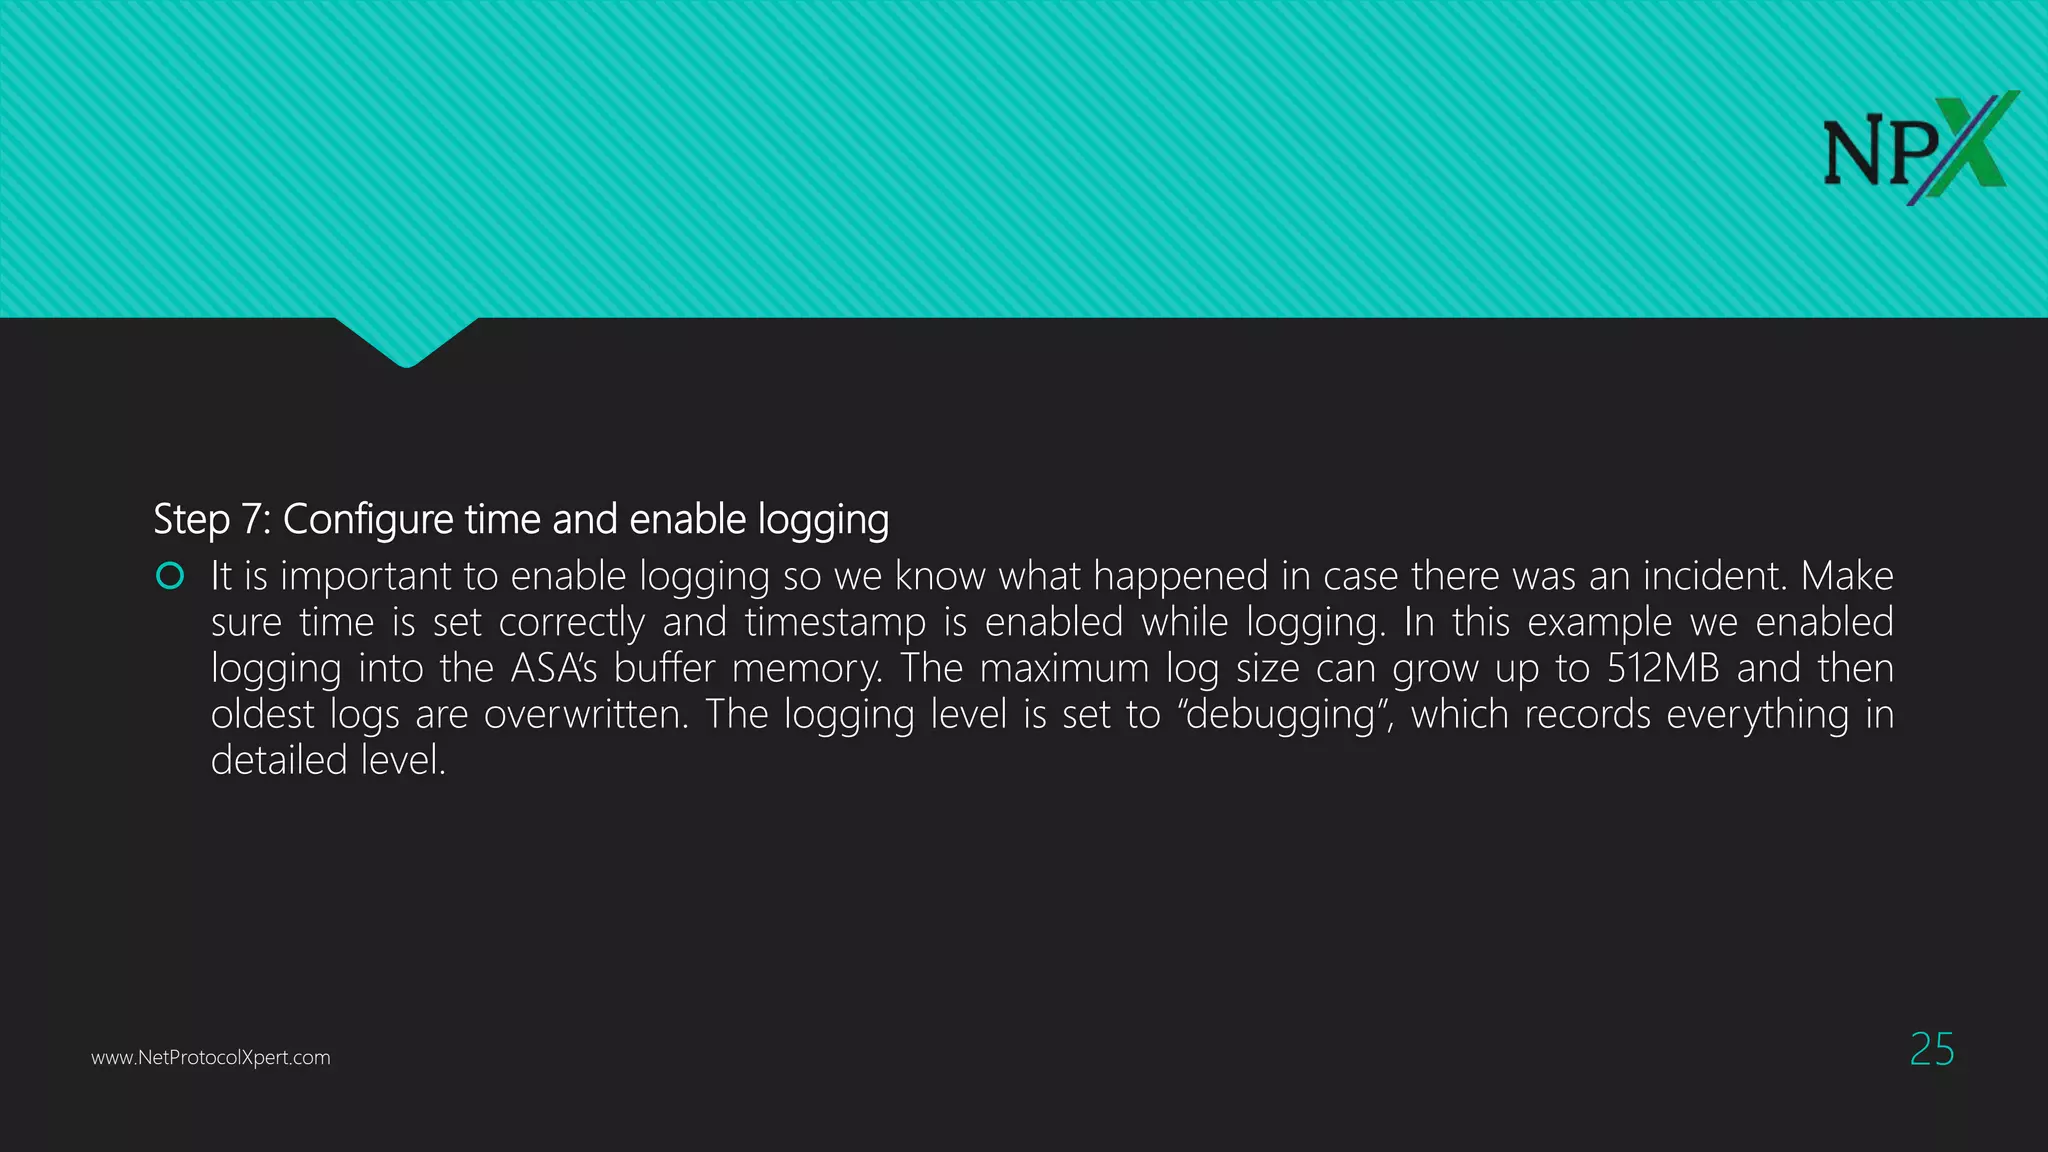
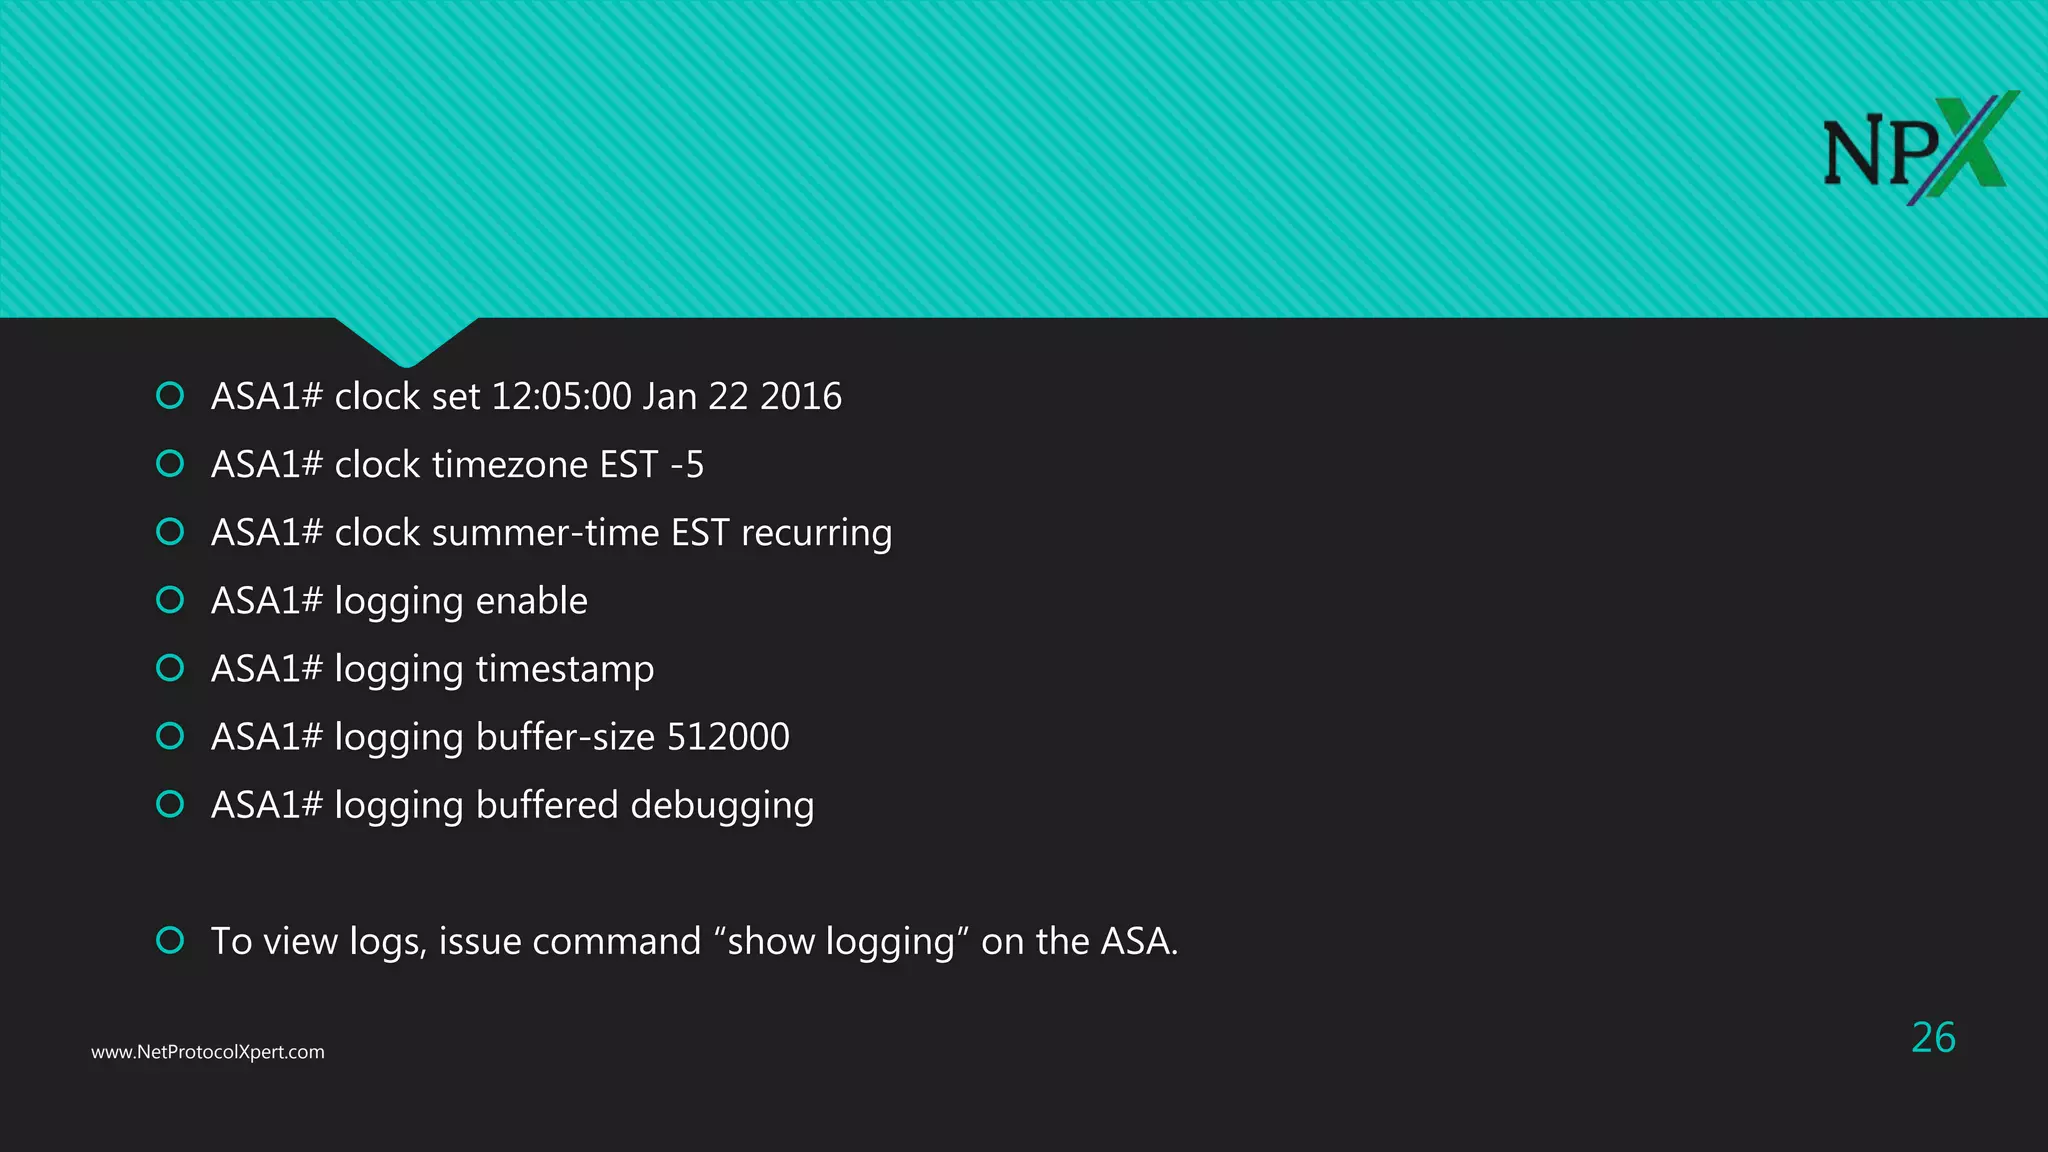

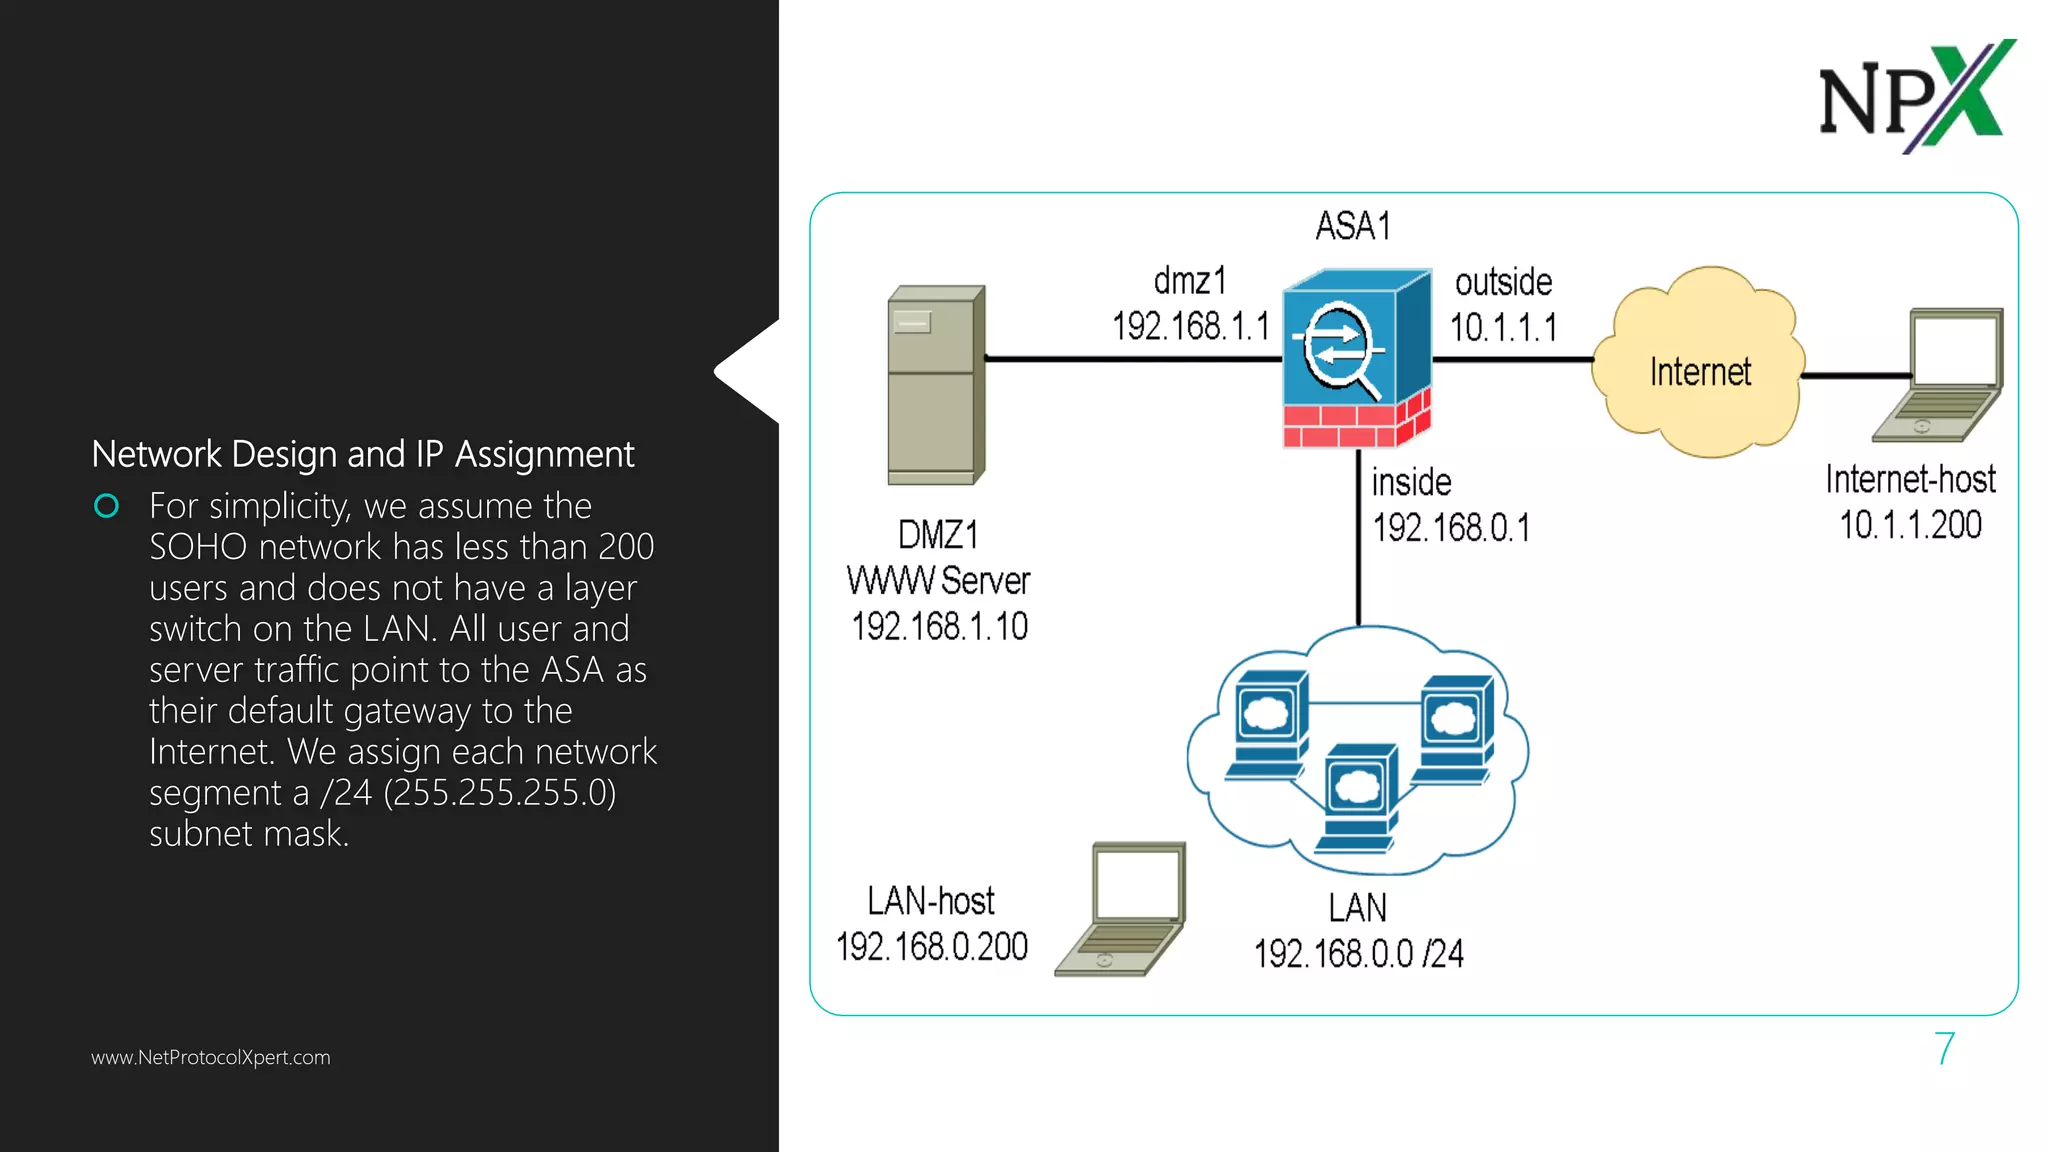
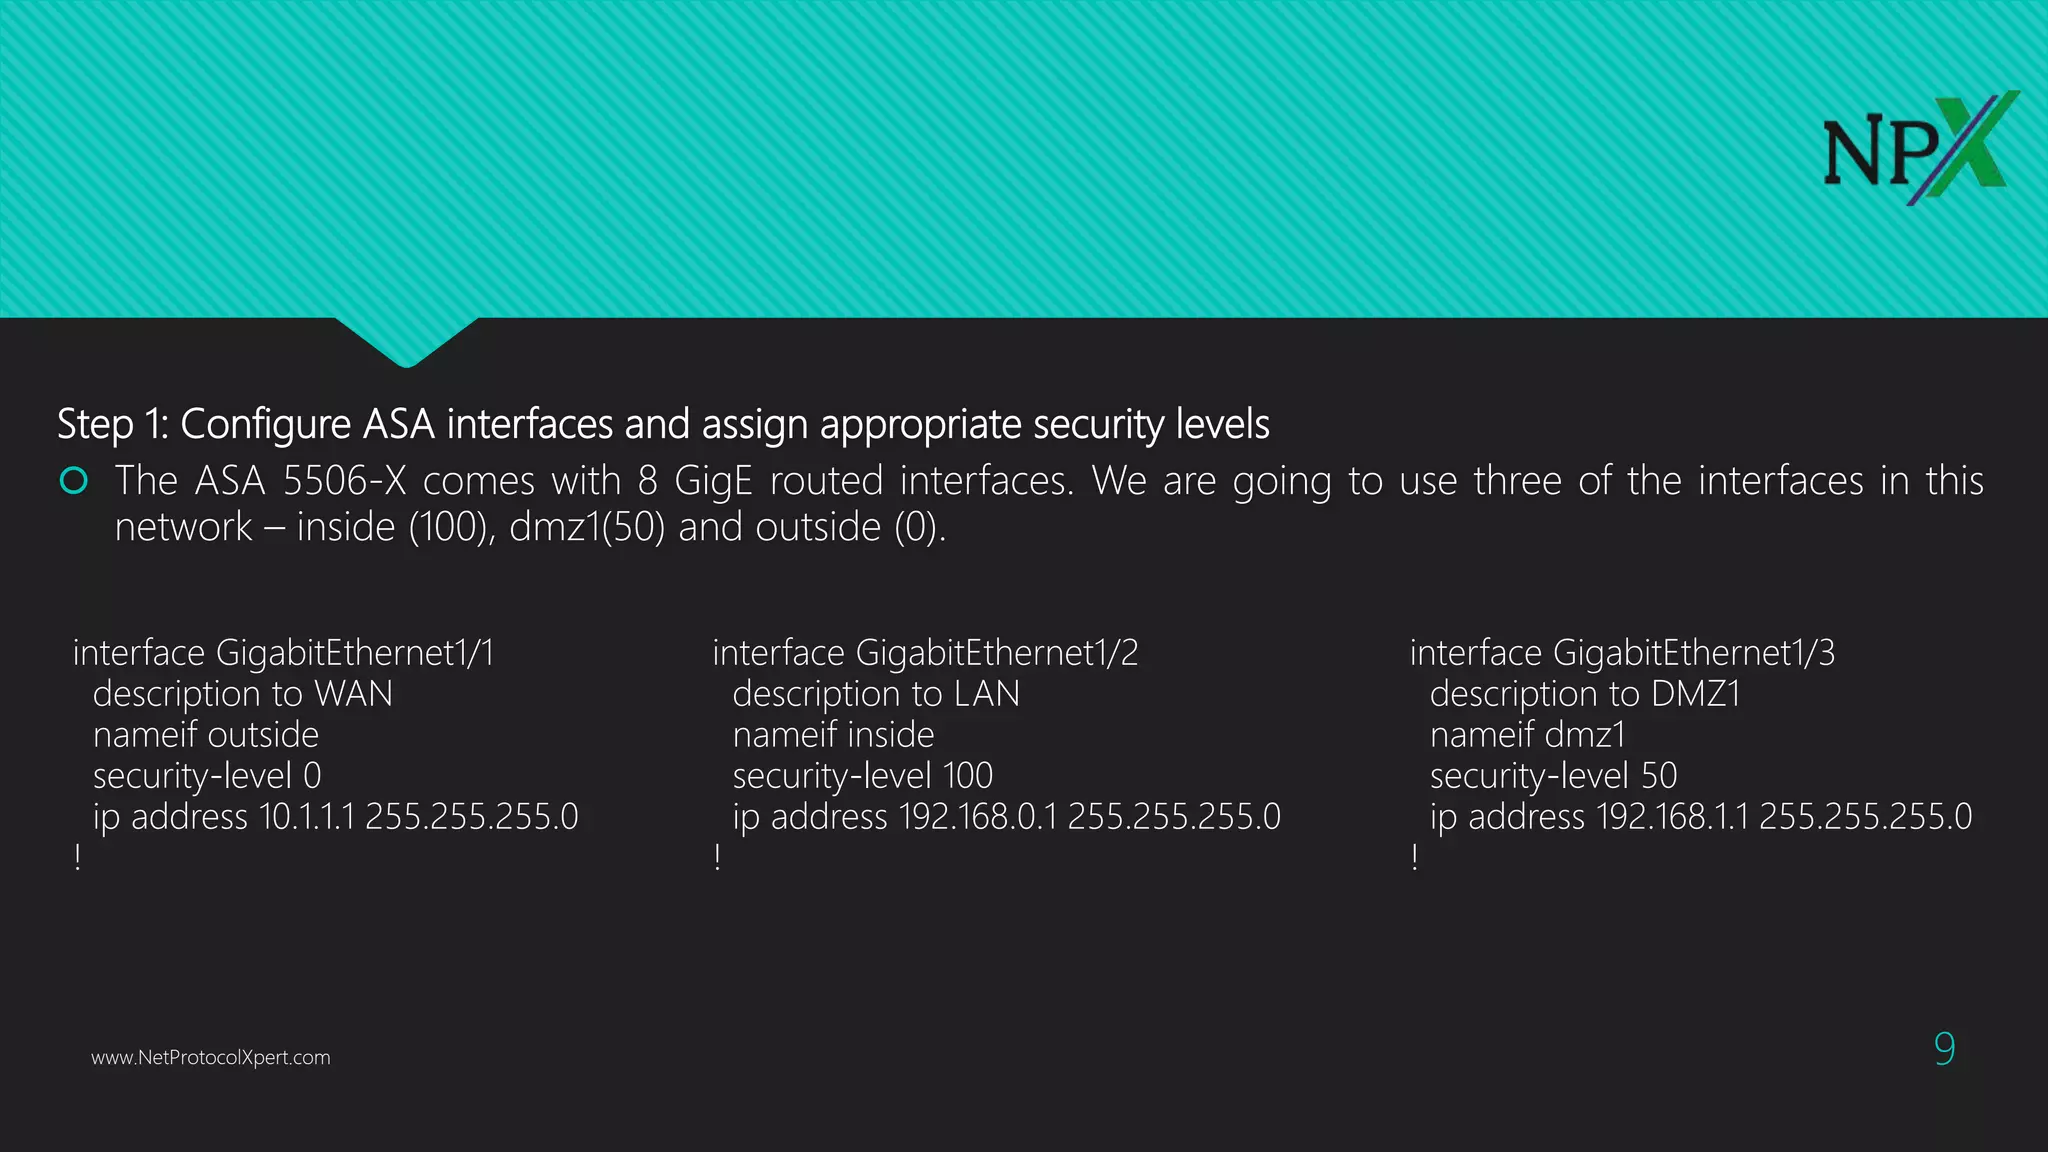
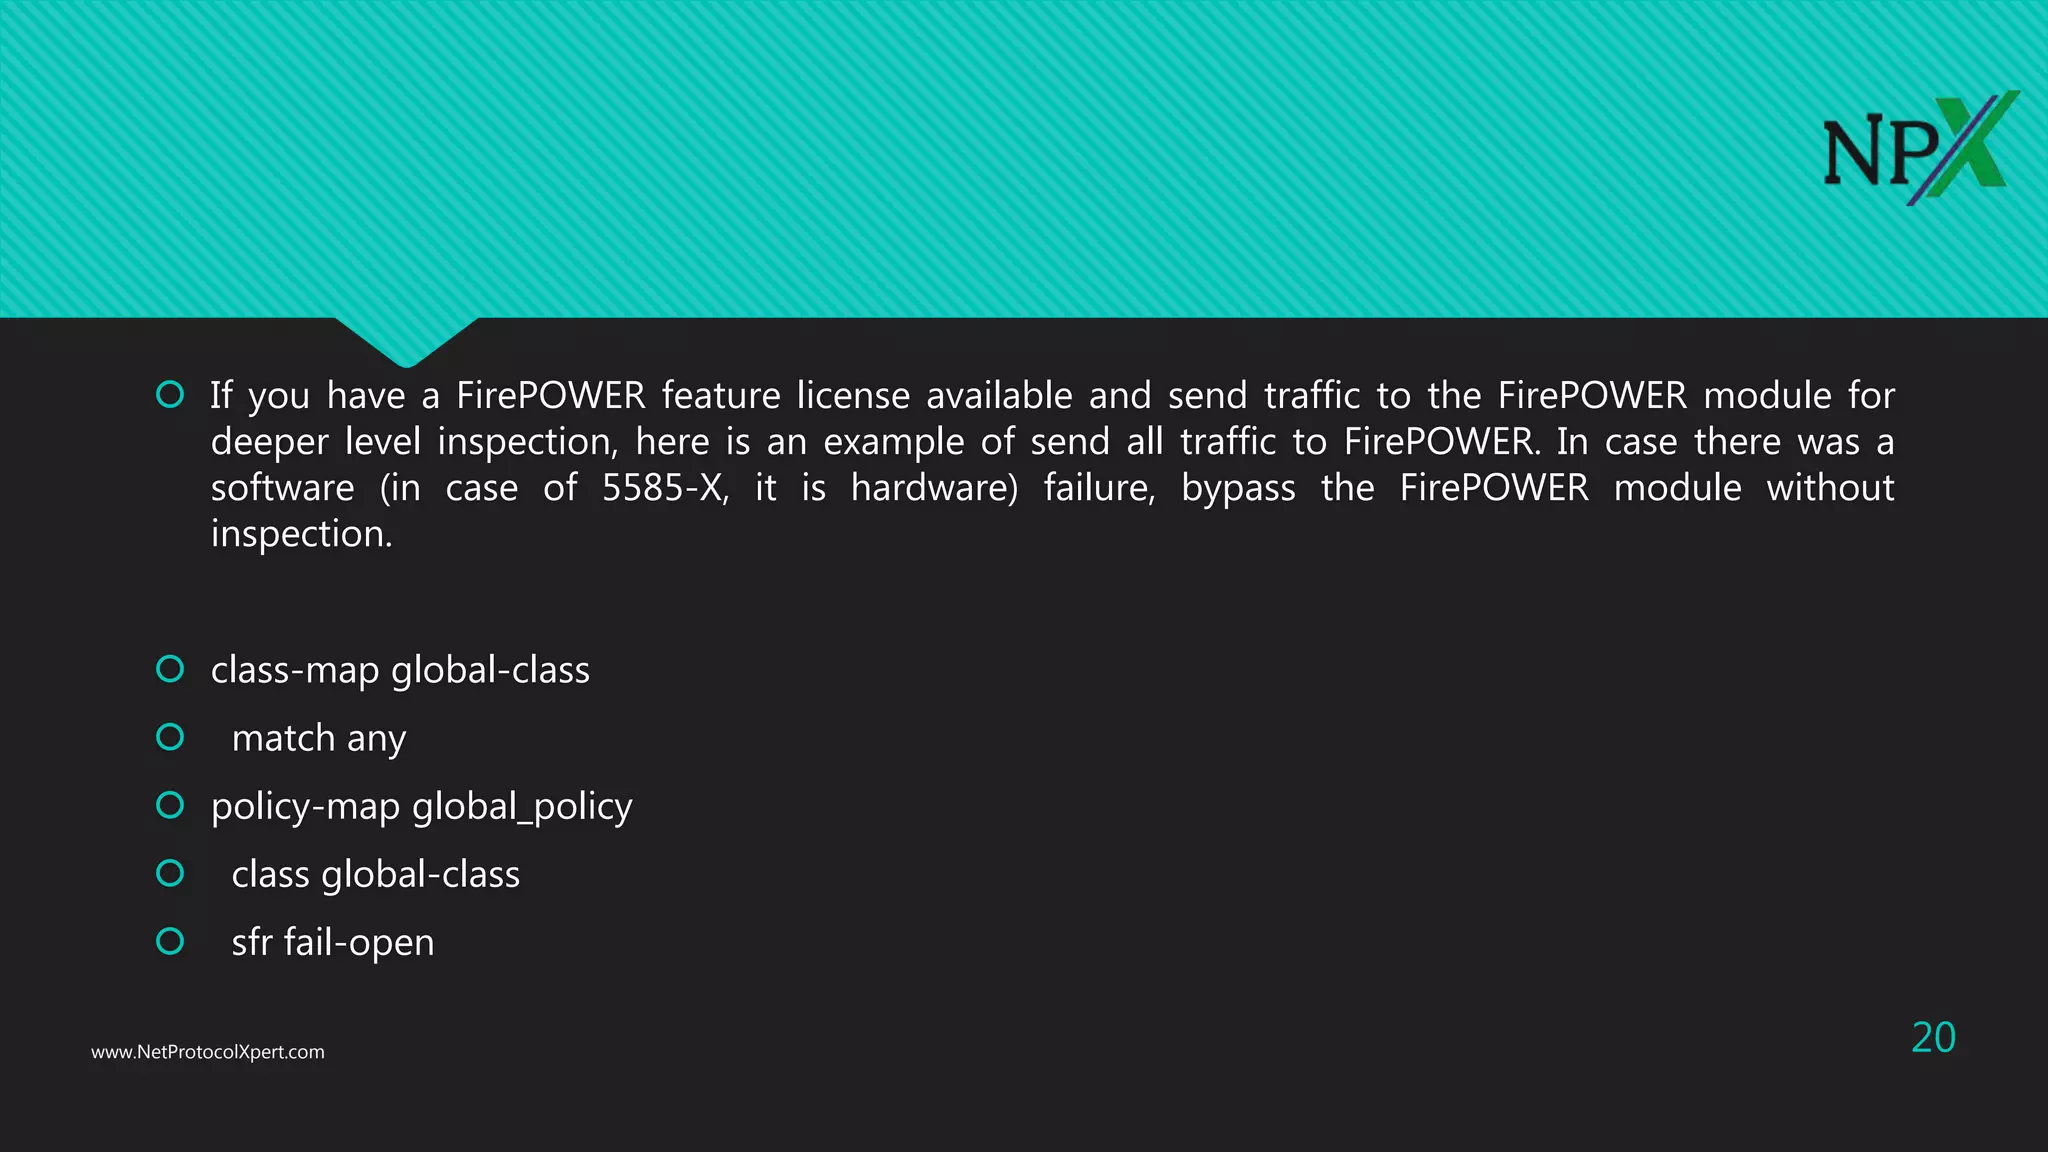
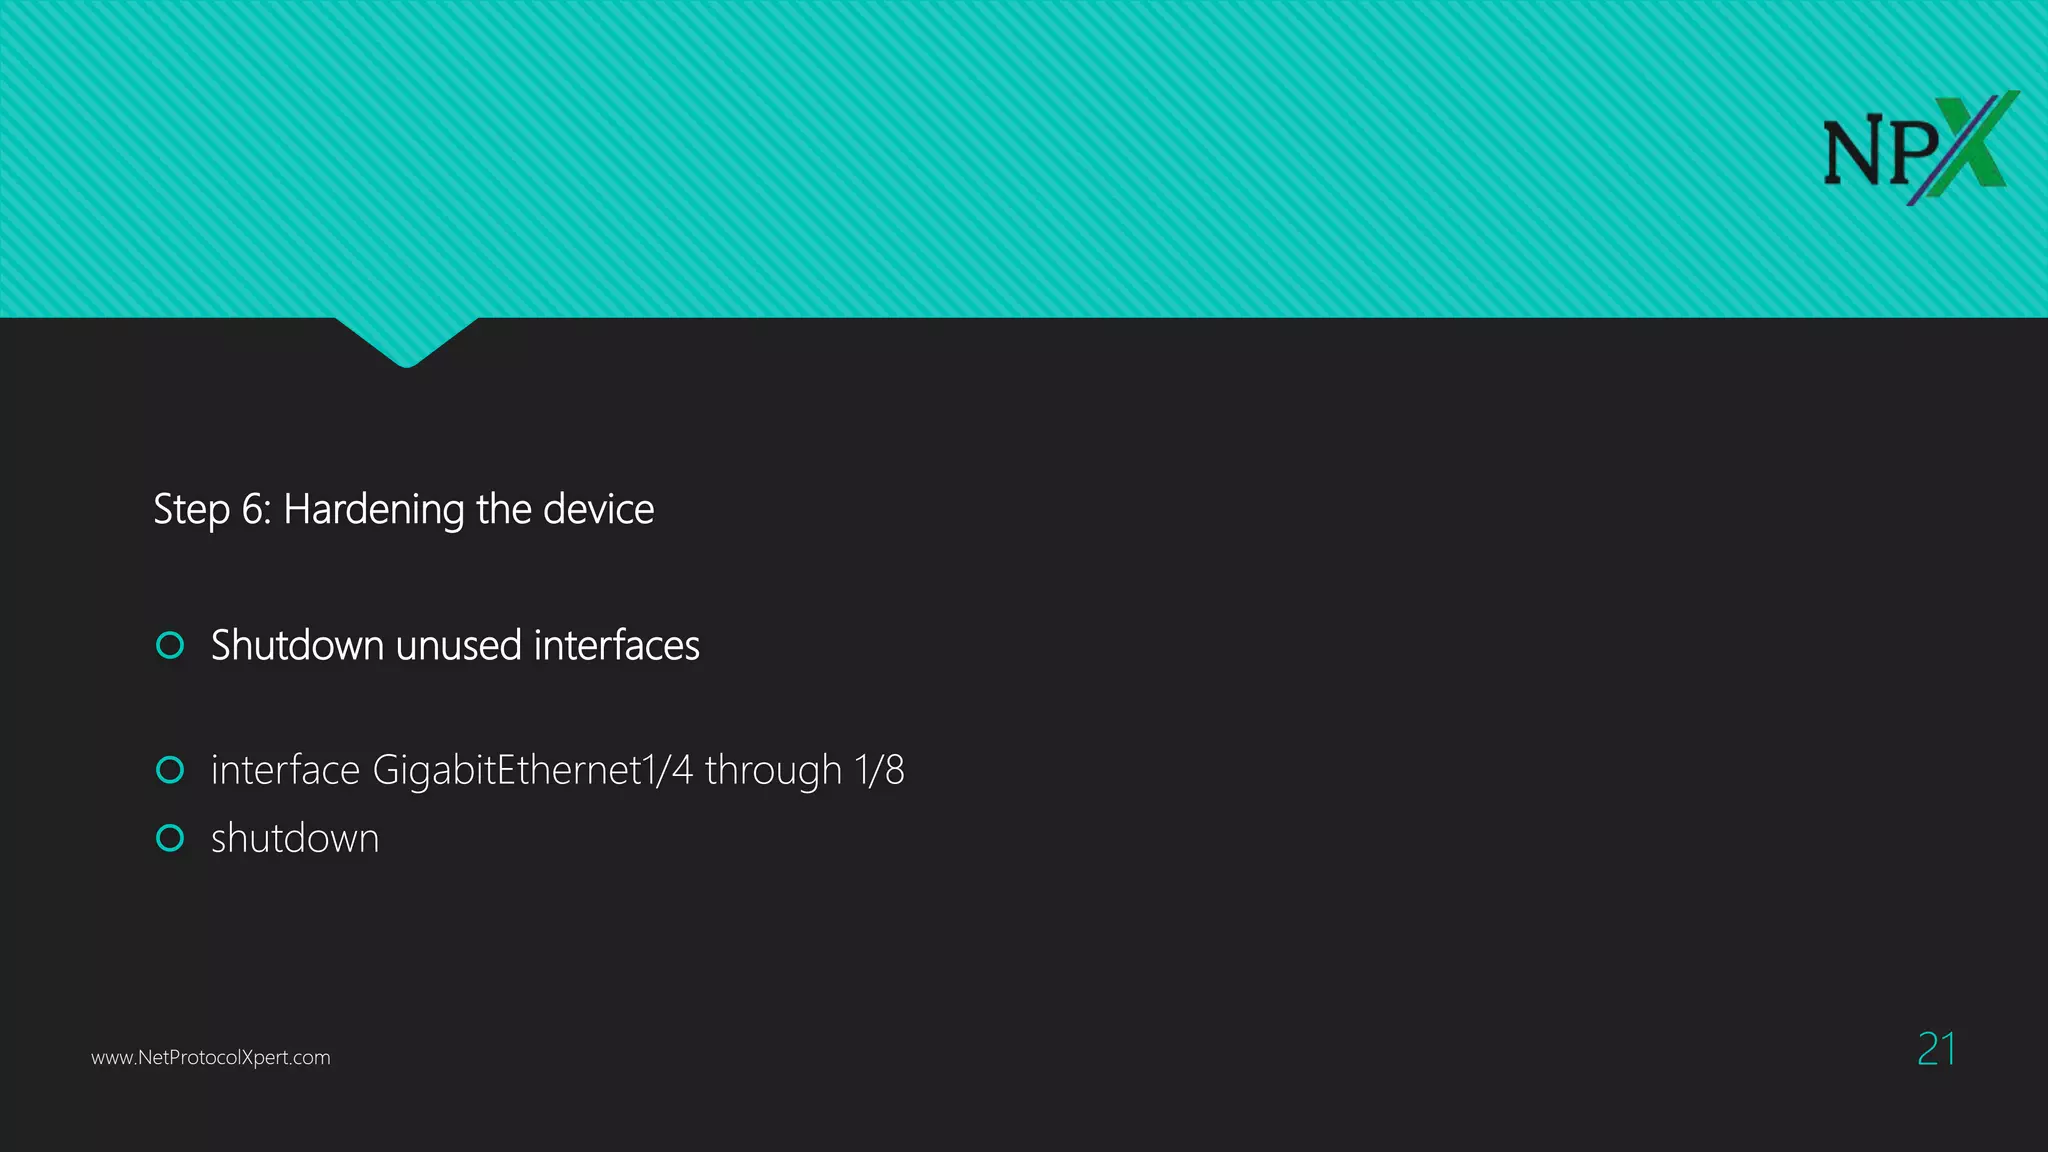
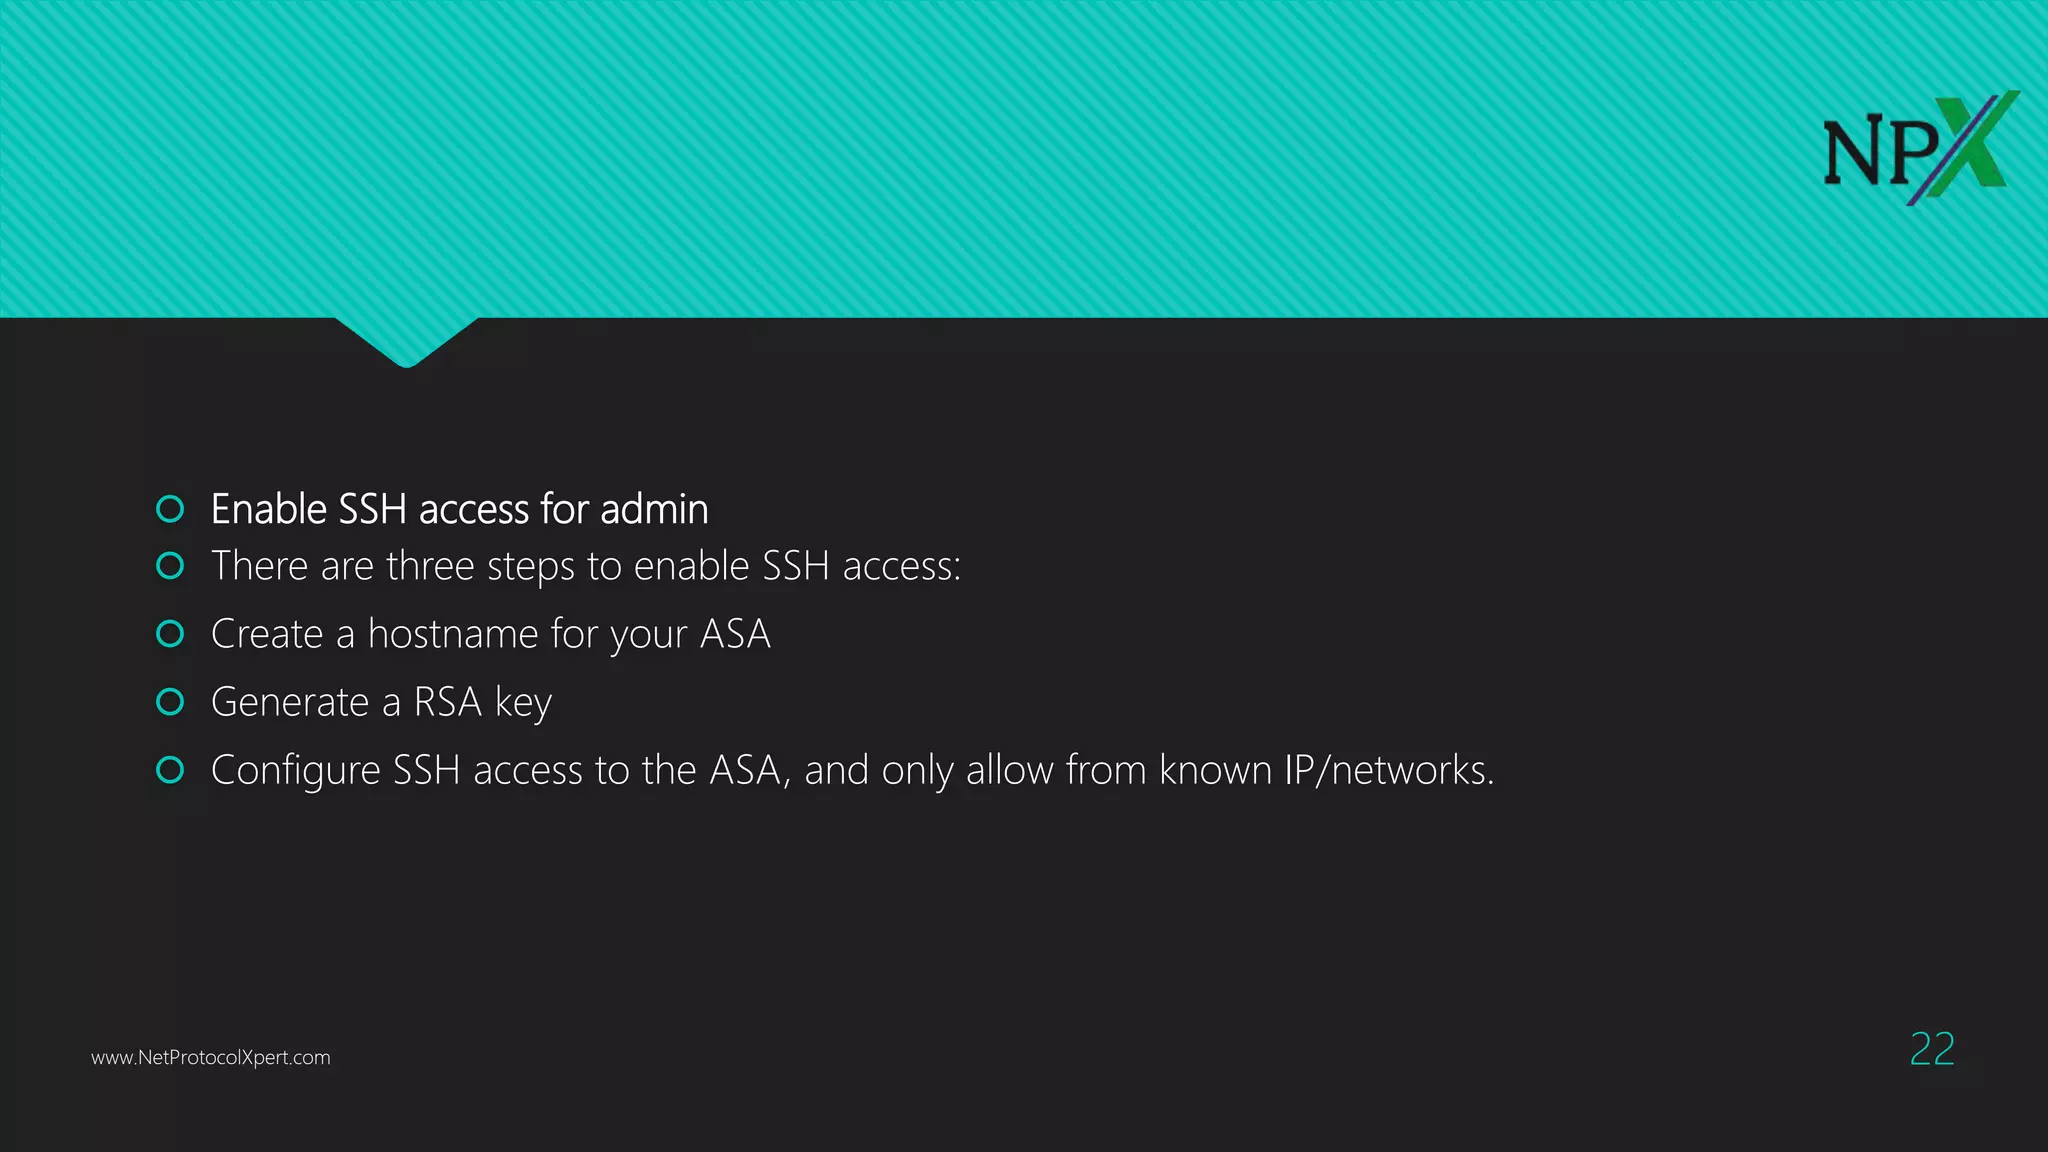
This document provides instructions for configuring basic network security on a Cisco ASA 5506-x firewall. It outlines requirements for separating networks into an Internet, user, and DMZ segment. It then provides steps to update the ASA software, configure interfaces and security levels, enable internet access via NAT and routing, allow web access to servers on the DMZ, optionally configure DHCP, and optionally redirect traffic to the FirePOWER module. It also includes steps for hardening the device by shutting down unused interfaces, enabling SSH access, and configuring time and logging.