A104_e
Inductive displacement sensors (LVDT)
induSENSOR


Coordinate measuring machine
Coordinate measurement machines from Zeiss have                   This provides a smooth probe guidance, optimized
for decades been a byword for the highest quality,                inertially, with a high mechanical cut-off frequency.
precision and reliability. Also the mobile                        However, this demands a sensor electrical cut-off
measurement machine, ScanMax® fulfills these                      frequency which is 100 times higher. For this reason
criteria, in part due to the application of inductive             the displacement sensors are supplied with 50 kHz
                                                                  alternating voltage and deliver a resolution of a few
displacement sensors from Micro-Epsilon.
                                                                  tenths of a micrometer. The low transverse sensitivity
The accuracy of the measurement result depends
                                                                  is also decisive: Two sensors measure the probe
decisively on extensive compensation of disturbing
                                                                  deflection in the x and y directions, whereby a pure
influences. When probing the work piece, for                      x deflection must not influence the y component.
example, a force is exerted on the probe tip, causing             Inductive displacement sensors from Micro-Epsilon
a slight bending. The displacement sensors                        were able to fulfill these high requirements and
measure the bending of the probe and provide                      also contribute significantly to the considerable
correction values for the compensation.To achieve a               success of the ScanMax® due to a favorable
high scanning speed and simple operation, the                     price/performance ratio.
articulated arms are of light construction (GRP).


Reasons for choosing the system
- No crosstalk in sensor during lateral movement
- High dynamic, high resolution
- small sensor design

Measuring system requirements
- non-contact and wear-free measuring principle
- measuring range ±0.2 mm
- accuracy <± 0.15 % FSO
- Bandwidth 5 kHz (oscillator 50 kHz)


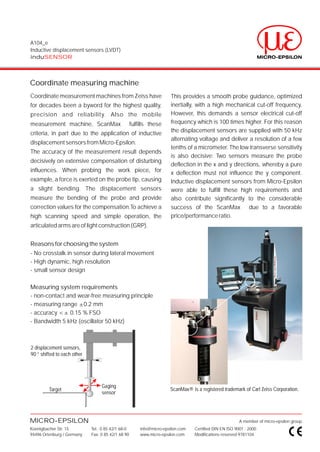
2 displacement sensors,
90 ° shifted to each other


                                  Gaging
         Target                                                   ScanMax® is a registered trademark of Carl Zeiss Corporation.
                                  sensor


MICRO-EPSILON                                                                                       A member of micro-epsilon group.
Koenigbacher Str. 15         Tel.: 0 85 42/1 68-0   info@micro-epsilon.com   Certified DIN EN ISO 9001 : 2000
94496 Ortenburg / Germany    Fax: 0 85 42/1 68 90   www.micro-epsilon.com    Modifications reserved 9781104

App104 en coordinate-measuring-machine

  • 1.
    A104_e Inductive displacement sensors(LVDT) induSENSOR Coordinate measuring machine Coordinate measurement machines from Zeiss have This provides a smooth probe guidance, optimized for decades been a byword for the highest quality, inertially, with a high mechanical cut-off frequency. precision and reliability. Also the mobile However, this demands a sensor electrical cut-off measurement machine, ScanMax® fulfills these frequency which is 100 times higher. For this reason criteria, in part due to the application of inductive the displacement sensors are supplied with 50 kHz alternating voltage and deliver a resolution of a few displacement sensors from Micro-Epsilon. tenths of a micrometer. The low transverse sensitivity The accuracy of the measurement result depends is also decisive: Two sensors measure the probe decisively on extensive compensation of disturbing deflection in the x and y directions, whereby a pure influences. When probing the work piece, for x deflection must not influence the y component. example, a force is exerted on the probe tip, causing Inductive displacement sensors from Micro-Epsilon a slight bending. The displacement sensors were able to fulfill these high requirements and measure the bending of the probe and provide also contribute significantly to the considerable correction values for the compensation.To achieve a success of the ScanMax® due to a favorable high scanning speed and simple operation, the price/performance ratio. articulated arms are of light construction (GRP). Reasons for choosing the system - No crosstalk in sensor during lateral movement - High dynamic, high resolution - small sensor design Measuring system requirements - non-contact and wear-free measuring principle - measuring range ±0.2 mm - accuracy <± 0.15 % FSO - Bandwidth 5 kHz (oscillator 50 kHz) 2 displacement sensors, 90 ° shifted to each other Gaging Target ScanMax® is a registered trademark of Carl Zeiss Corporation. sensor MICRO-EPSILON A member of micro-epsilon group. Koenigbacher Str. 15 Tel.: 0 85 42/1 68-0 info@micro-epsilon.com Certified DIN EN ISO 9001 : 2000 94496 Ortenburg / Germany Fax: 0 85 42/1 68 90 www.micro-epsilon.com Modifications reserved 9781104