Download to read offline


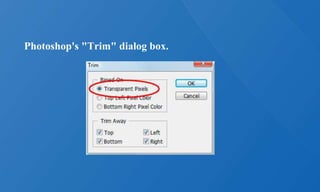


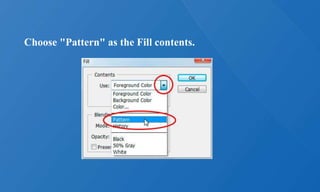


The document is a step-by-step guide on how to create a watermark effect in Photoshop for protecting photographs. It provides detailed instructions on creating a new document, entering copyright information, rotating text, and applying it as a pattern with reduced opacity. The tutorial also encourages visiting their website for more photography editing tips and resources.