The document describes several experiments with digital effects and photo manipulation:
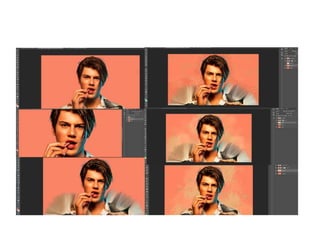
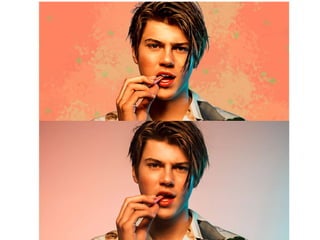
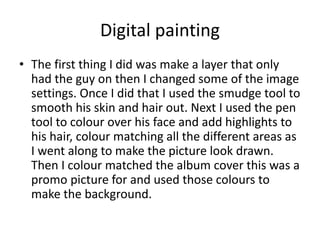
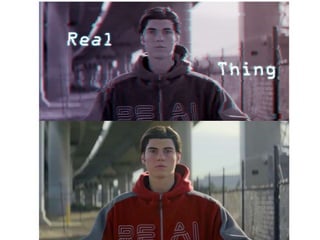
1) A digital painting experiment where the artist smoothed skin, added color and highlights to create a drawn effect.
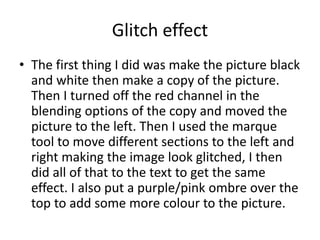
2) A glitch effect experiment where the artist made an image black and white, moved sections to create a glitched look.
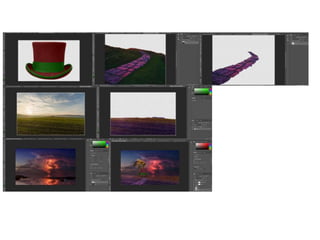
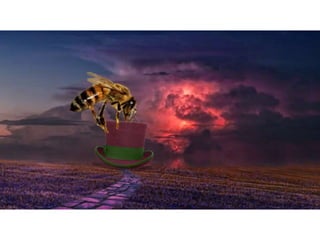
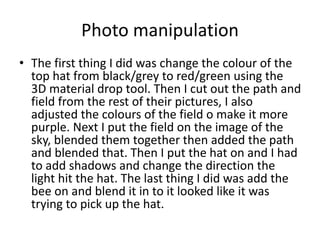
3) A photo manipulation experiment where the artist changed hat colors, cut and blended elements to add a bee picking up a hat.
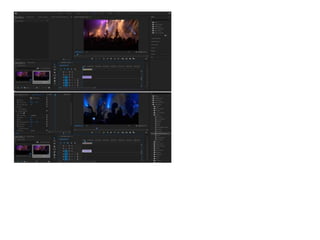
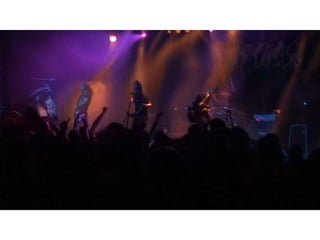
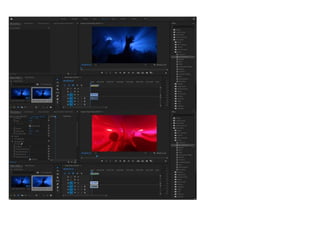
4) Other video experiments including turbulent displace to make the video look wiggly, lens distortion to add a fisheye effect, and using the paint bucket tool to fill with black at 64% opacity.
5) The artist indicates they would include