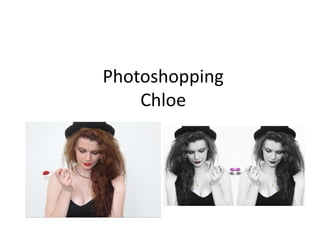
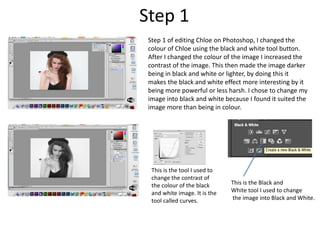
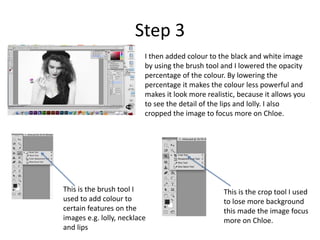
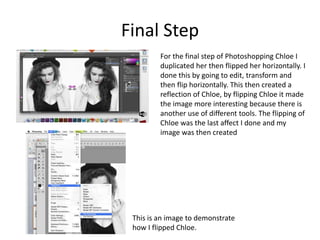
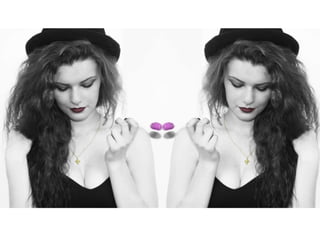
The document describes the steps taken to edit a photo of Chloe in Photoshop. In step 1, the photo was converted to black and white and the contrast was increased. In step 2, blemishes and an unwanted necklace were removed using the patch tool, and shadows were added under the lolly and on the eye. In step 3, color was added back to select areas using the brush tool at low opacity, and the photo was cropped to focus on Chloe. The final step involved duplicating and flipping Chloe horizontally to create a reflection effect.