To summarize:
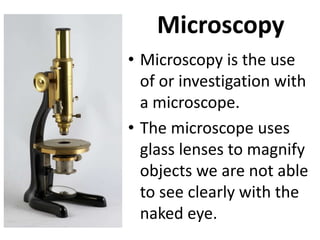
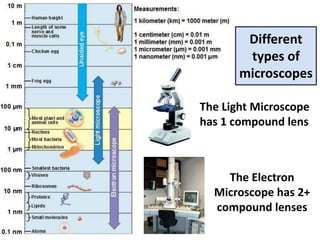
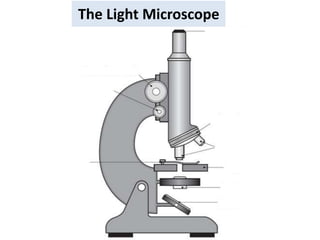
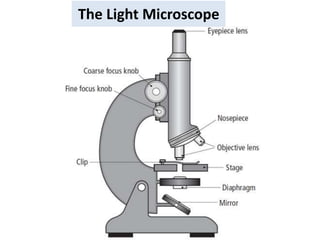
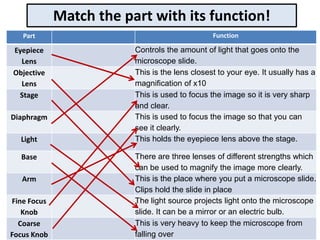
- The document discusses microscopes and how they allow viewing of microscopic organisms and structures. It describes the basic parts of the light microscope and their functions.
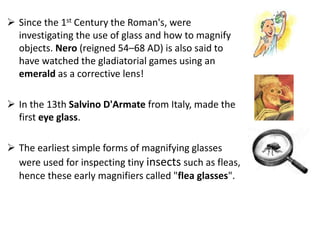
- The history of microscope development is covered from early simple magnifying lenses to the compound microscope. Key figures like Anton van Leeuwenhoek who significantly improved lens quality are mentioned.
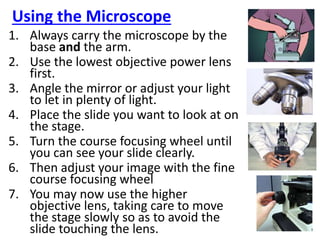
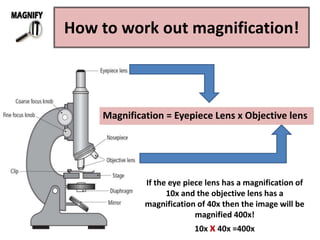
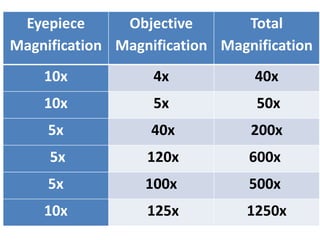
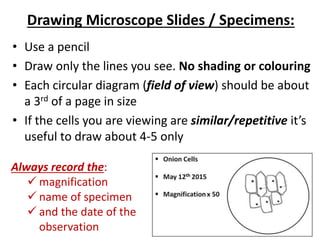
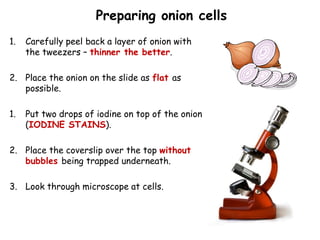
- Instructions are provided on how to properly use a light microscope, including focusing and calculating total magnification. Methods for preparing and viewing samples like onion cells are also outlined.