1. This shows my contents page in progress, everything on this page utilised tools that I had already
touched upon, the Text Tool and the Rectangle Tool. I decided upon these colours because they are
very stereotypical to the genre and were colours I had seen in magazines such as Q, NME and
Kerrang, which are three examples of magazines I am trying to emulate.
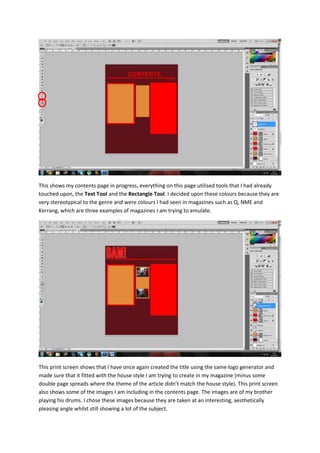
This print screen shows that I have once again created the title using the same logo generator and
made sure that it fitted with the house style I am trying to create in my magazine (minus some
double page spreads where the theme of the article didn’t match the house style). This print screen
also shows some of the images I am including in the contents page. The images are of my brother
playing his drums. I chose these images because they are taken at an interesting, aesthetically
pleasing angle whilst still showing a lot of the subject.
2. This print screen shows the added text to the top of my contents page once again informing my
hypothetical readers of the issue number and the issue release month. These are conventions of
rock magazines (or any magazine in general for that matter) that I am trying to follow.
This is how you place an image into a document, you click on file and
then place and then locate the image.
3. This print screen shows an added rectangle created using the Rectangle Tool and an added image to
create a set of three images.
This print screen shows four auto shapes created that will separate the features in my contents page
so that they are organised and it is easy for my readers to locate exactly what they want to read. This
is another convention of magazines that I have noticed and wanted to emulate.
4. This shows my almost finished contents bar, with all of the page numbers and names of the
articles/bands featured in the articles mentioned. These were created with the Text Tool and the
only other thing left to include in the contents bar at the right is a small summary of the article.
This print screen shows my main image included into the magazine, I have cropped it so that one of
his legs pokes over the edge and one doesn’t. This helps make the image more engaging to the
audience and the entire page more aesthetically pleasing.
5. The main image also has two effects included. One of them is the cover overlay. I chose for a slight
red overlay on the main image as it would match the house style and be a subtle effect that adds a
sense of depth to the image.
I also included a drop shadow on the image to make it seem more realistic.
6. This shows the almost finished contents page. I have placed an editor’s message at the bottom of
the page so the readers can get a feel of how I was feeling when I produced the magazine. I used the
Rectangle Tool and the Text Tool as well as my own Image which I took of myself, by myself and
then uploaded to my computer and then to photoshop. I also included brief descriptions of each
article.
After later viewing the contents page I felt some changes were appropriate to make it look like
something more conventional and something that would be in theory more successful. I included
more images on the front cover to make the page more engaging, adding page number and a small
description for each and also removed the red background so the contents page is not too heavy on
the eye.
7. After more reviewing which essentially consisted of looking at other professional magazines, I have
evened everything out and moved the descriptors so that everything conforms to the expectations
of a contents page.