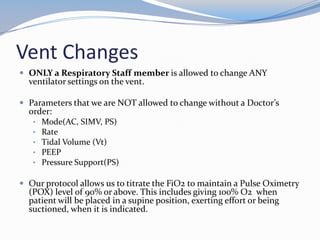
This presentation provides information about ventilators including:
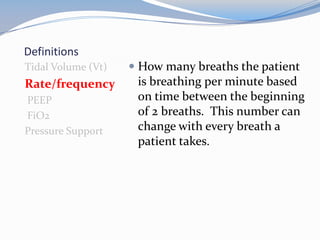
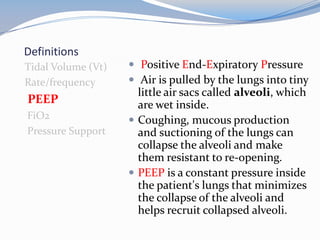
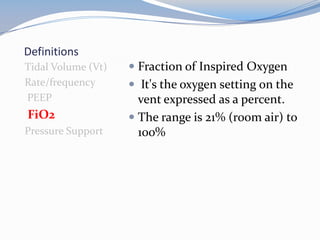
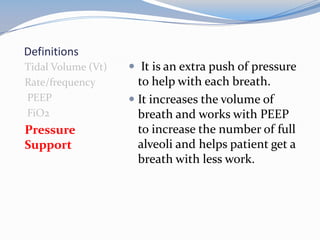
- Definitions of key terms like tidal volume, PEEP, and pressure support.
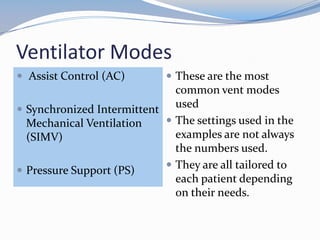
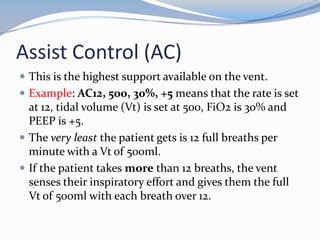
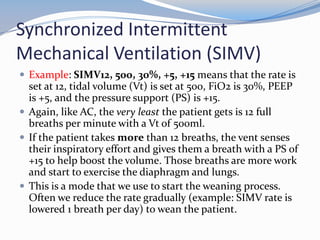
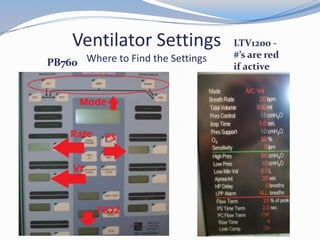
- The most common ventilator modes of Assist Control, SIMV, and Pressure Support and example settings.
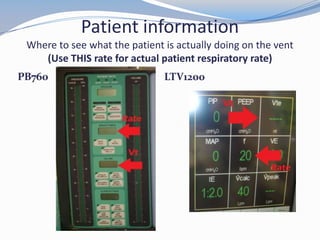
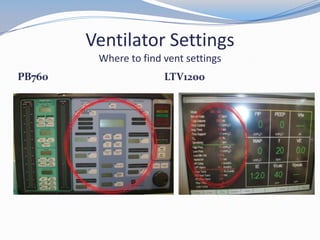
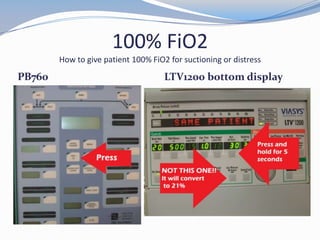
- Identifying patient data and settings on the two ventilators used - the Puritan Bennett 760 and Viasys LTV1200.
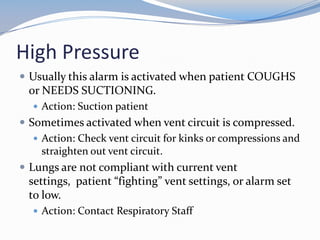
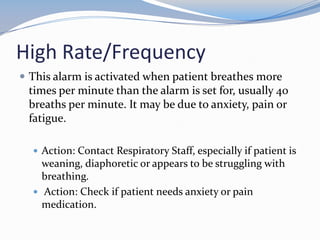
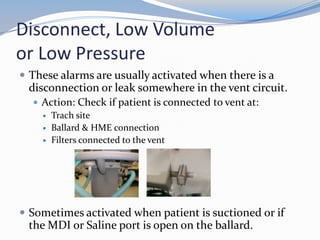
- Common ventilator alarms like high pressure and disconnect and appropriate troubleshooting actions.
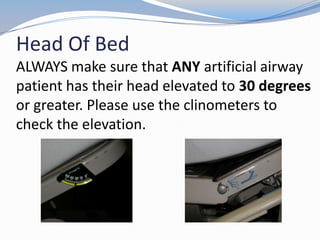
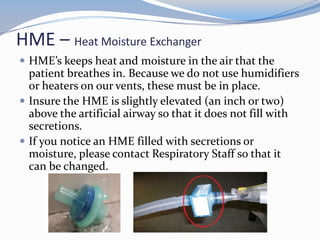
- Other important aspects like using a clinometer to check head of bed elevation and maintaining heat and moisture with an HME.


![CASE_PRESENTATION_ON_subdural_hematoma(SDH)[1 FINAL PPT]-1.pptx](https://cdn.slidesharecdn.com/ss_thumbnails/casepresentationonsubduralhematomasdh1finalppt-1-260129172522-d405d375-thumbnail.jpg?width=640&height=640&fit=bounds)

