
Downloaded 132 times
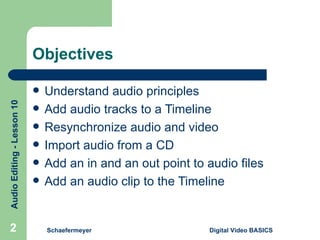
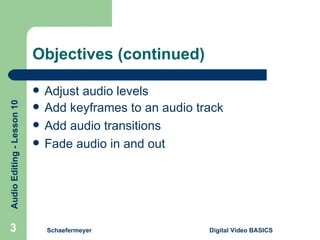
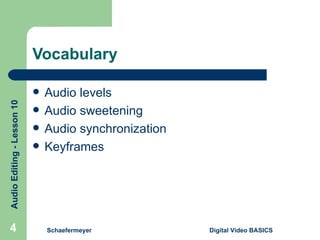
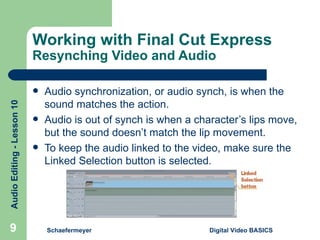
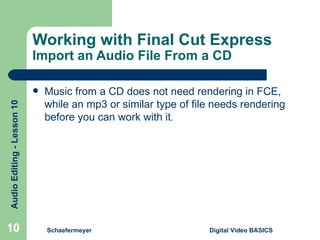
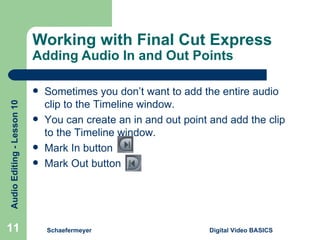
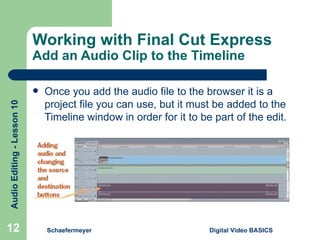
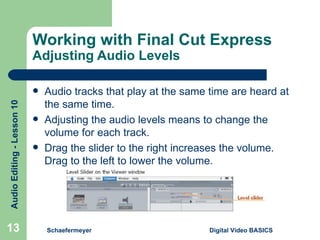

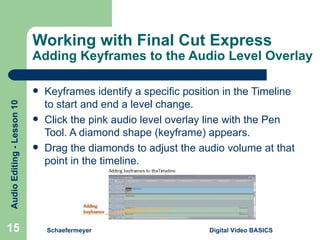
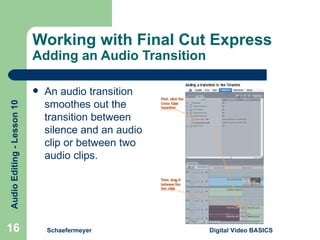
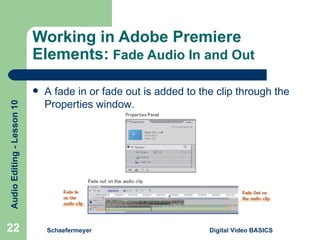
The document discusses audio editing basics in digital video production. It covers objectives like adding audio tracks, synchronizing audio and video, importing audio, adjusting levels, and using keyframes. Audio editing allows working on each audio element separately in its own track. Final Cut Express and Adobe Premiere Elements make it possible to import audio, adjust levels and sections of clips using keyframes, add transitions between clips, and fade audio in or out.


