Download to read offline


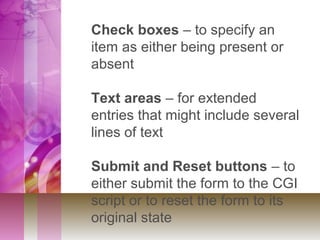
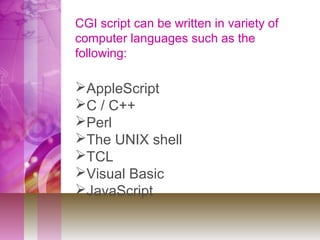
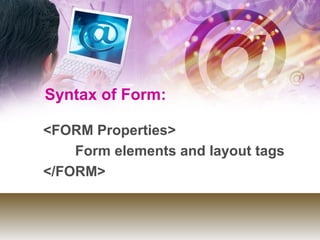
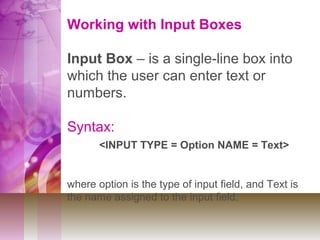


This document provides instructions on creating HTML forms. It discusses the common elements of forms, including input boxes, radio buttons, selection lists, checkboxes, and text areas. It explains that a CGI script is used to process form data submitted by the user. The document provides syntax and examples for implementing each of the different form elements and attributes like default values, size, and text wrapping. It also covers how to write CGI scripts in various programming languages to handle submitted form data.


![[Basic HTML/CSS] 4. html - form tags](https://cdn.slidesharecdn.com/ss_thumbnails/4-170304052427-thumbnail.jpg?width=640&height=640&fit=bounds)


![All about forms [autosaved]](https://cdn.slidesharecdn.com/ss_thumbnails/allaboutformsautosaved-140803055617-phpapp02-thumbnail.jpg?width=640&height=640&fit=bounds)