Downloaded 1,171 times
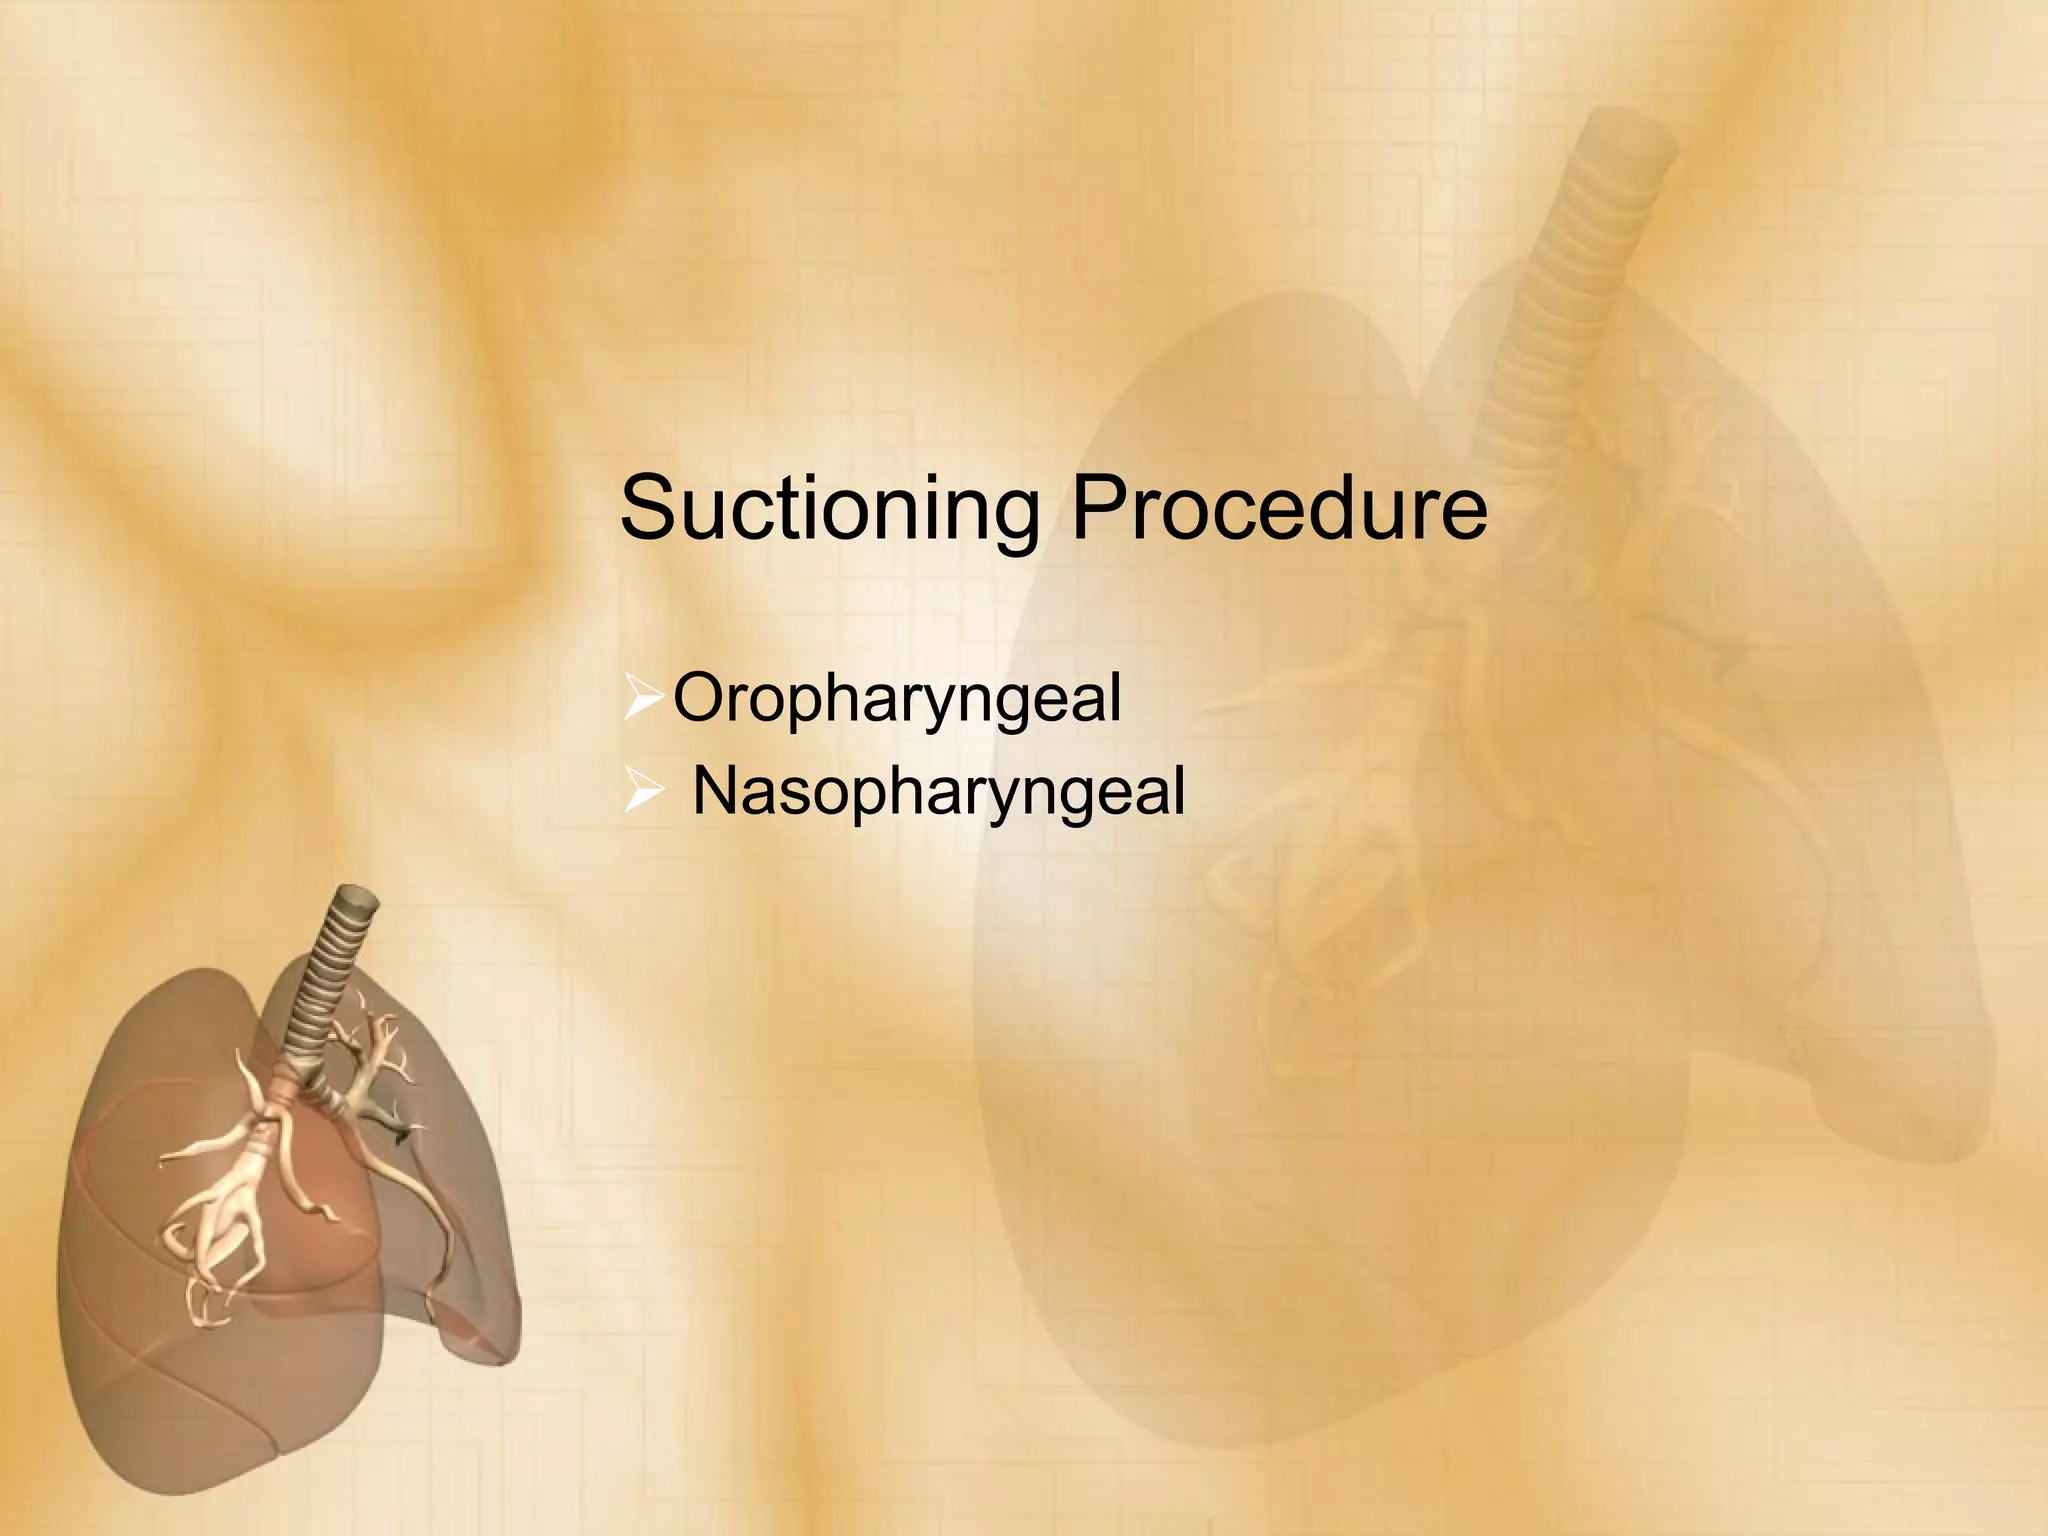

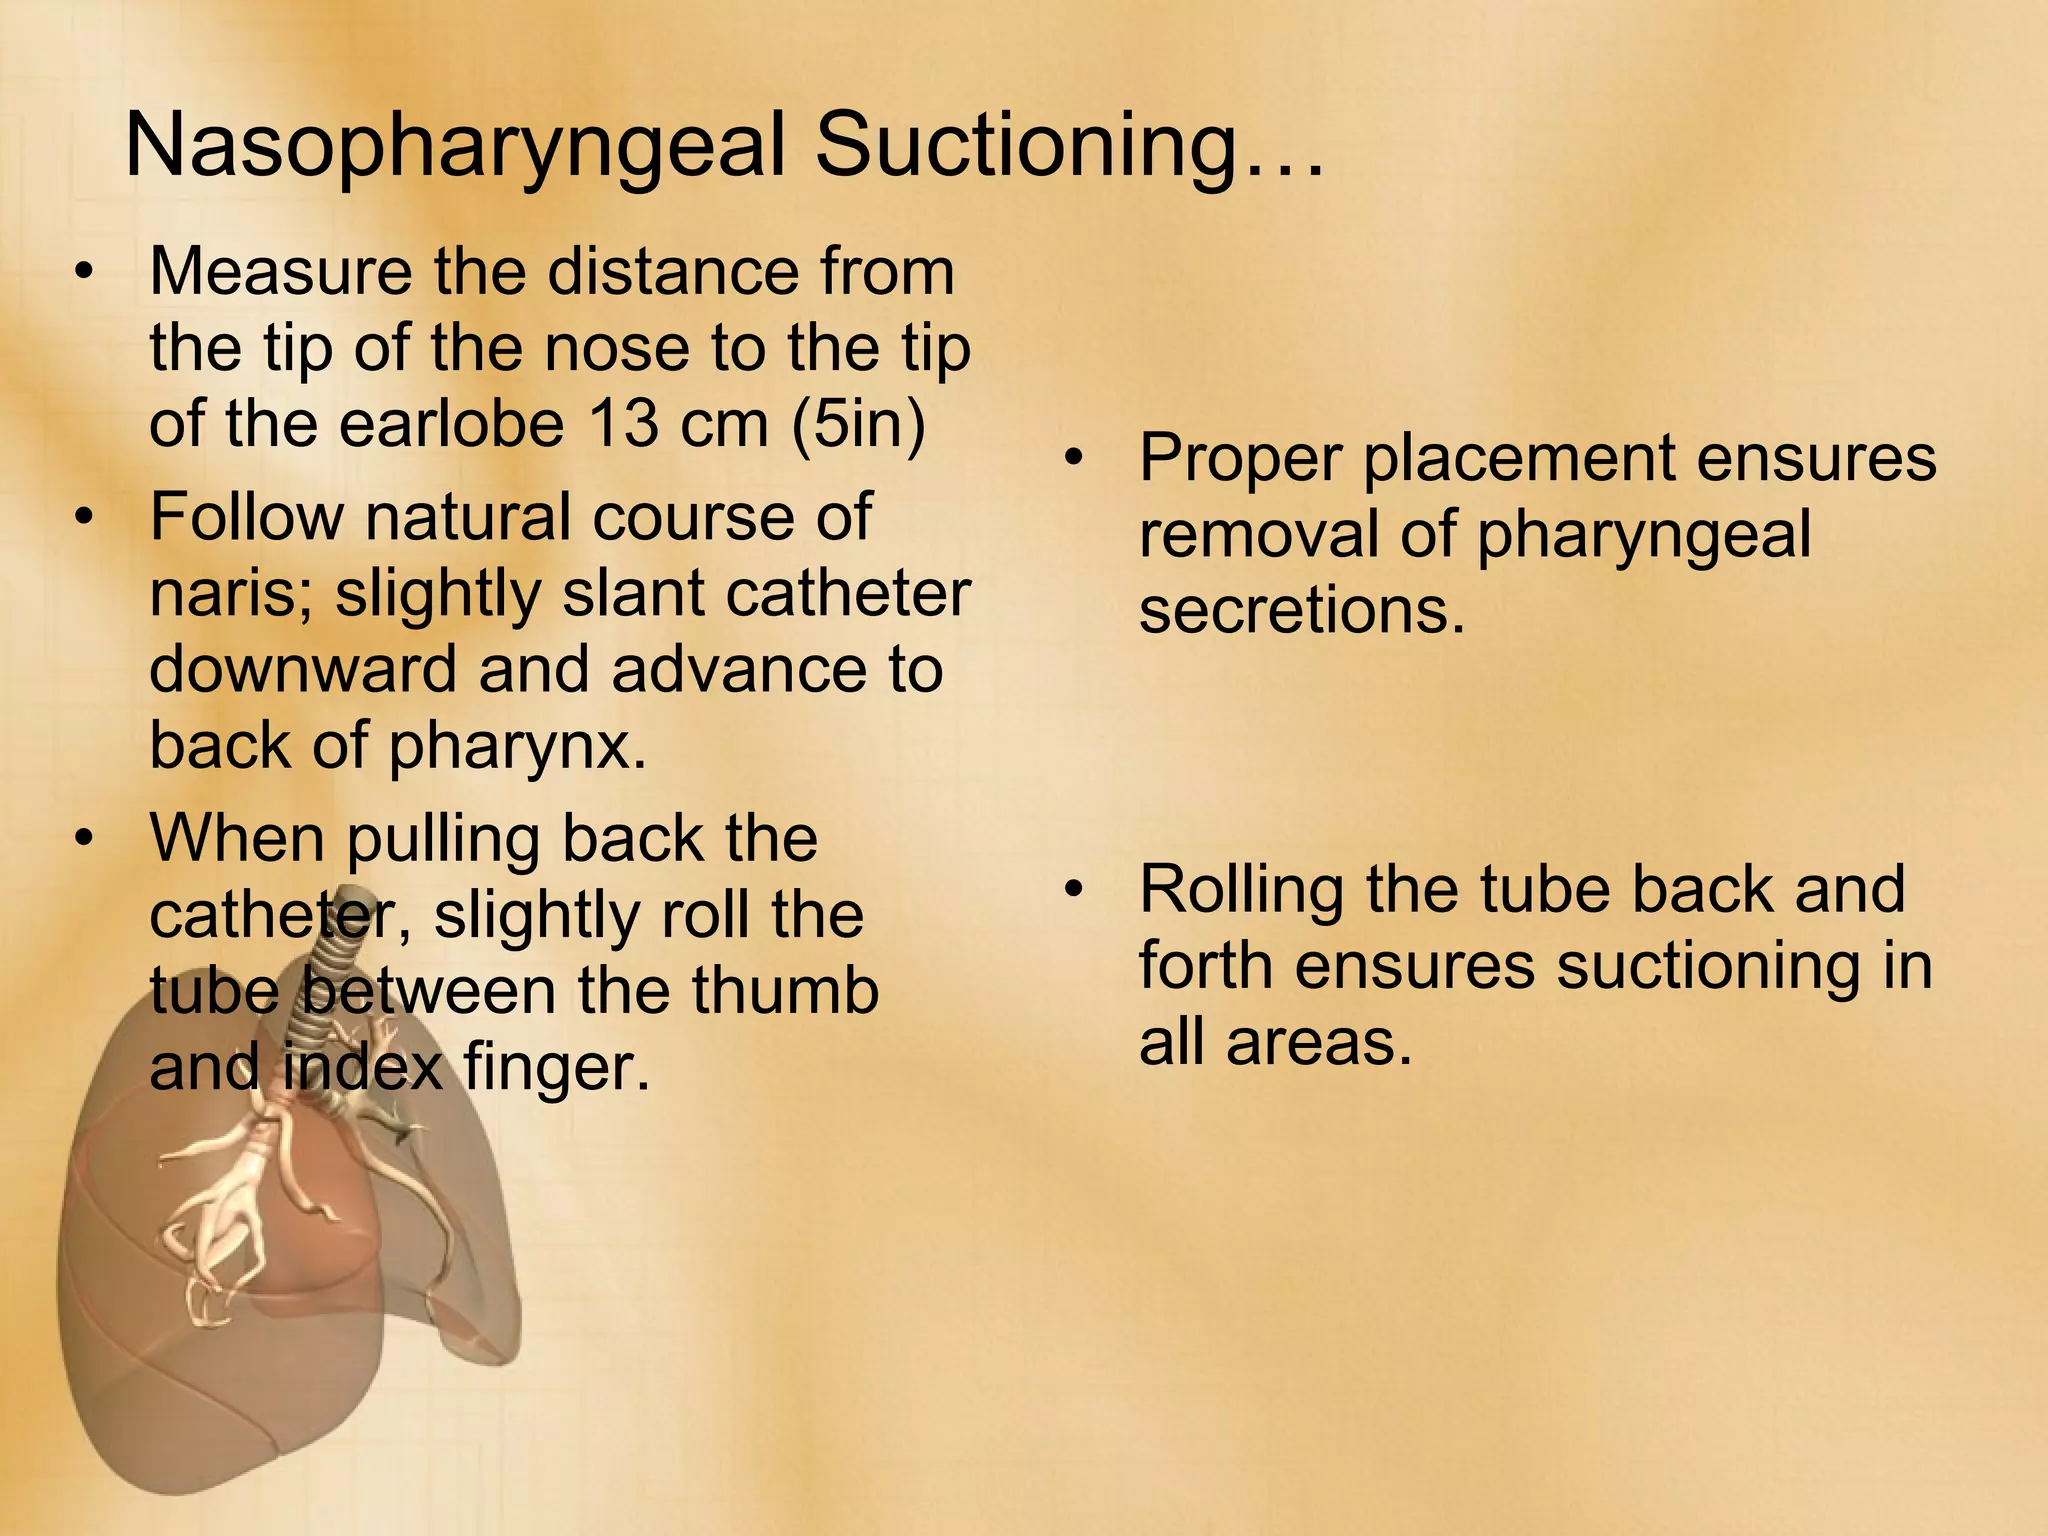

The document outlines the steps for performing oropharyngeal and nasopharyngeal suctioning procedures. Key steps include assessing the need for suctioning based on signs and symptoms, positioning the client comfortably, applying proper hand hygiene and using aseptic technique, setting the appropriate suction pressure, lubricating and inserting the catheter into the nose or mouth, and encouraging coughing to clear secretions. The procedure aims to clear secretions and promote oxygenation while preventing trauma and transmission of microorganisms.