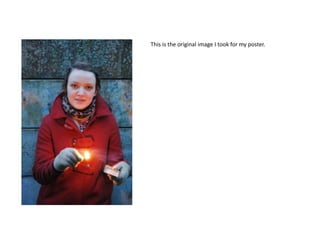
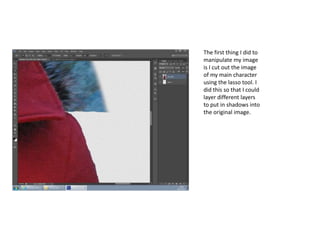
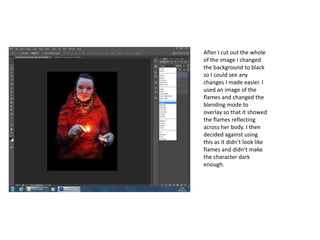
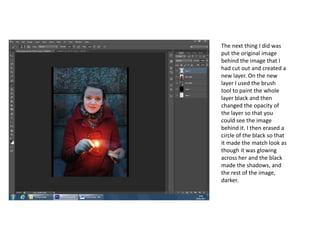
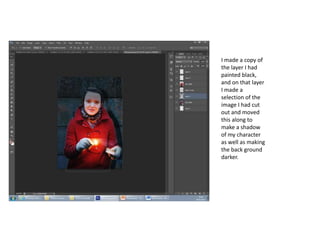
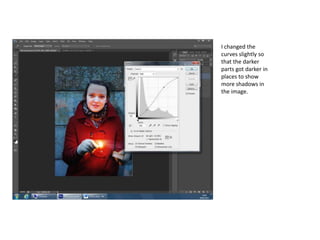
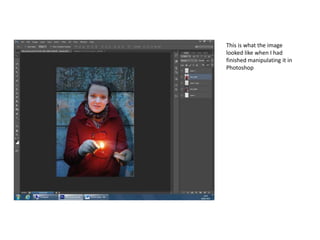
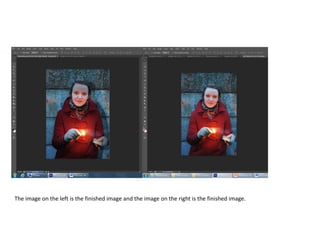
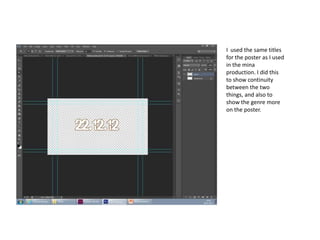
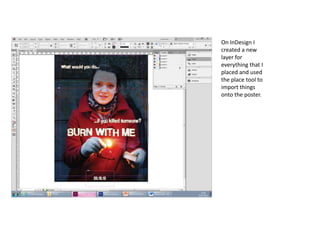
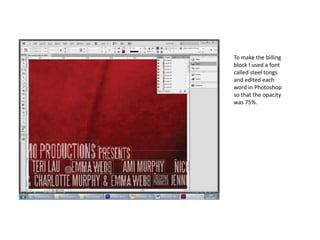
Photoshop and InDesign
This is the original image I took for my poster.
The first thing I did to
manipulate my image
is I cut out the image
of my main character
using the lasso tool. I
did this so that I could
layer different layers
to put in shadows into
the original image.
After I cut out the whole
of the image I changed
the background to black
so I could see any
changes I made easier. I
used an image of the
flames and changed the
blending mode to
overlay so that it showed
the flames reflecting
across her body. I then
decided against using
this as it didn’t look like
flames and didn’t make
the character dark
enough.
The next thing I did was
put the original image
behind the image that I
had cut out and created a
new layer. On the new
layer I used the brush
tool to paint the whole
layer black and then
changed the opacity of
the layer so that you
could see the image
behind it. I then erased a
circle of the black so that
it made the match look as
though it was glowing
across her and the black
made the shadows, and
the rest of the image,
darker.
I made a copy of
the layer I had
painted black,
and on that layer
I made a
selection of the
image I had cut
out and moved
this along to
make a shadow
of my character
as well as making
the back ground
darker.
I changed the
curves slightly so
that the darker
parts got darker in
places to show
more shadows in
the image.
This is what the image
looked like when I had
finished manipulating it in
Photoshop
The image on the left is the finished image and the image on the right is the finished image.
I used the same titles
for the poster as I used
in the mina
production. I did this
to show continuity
between the two
things, and also to
show the genre more
on the poster.
On InDesign I
created a new
layer for
everything that I
placed and used
the place tool to
import things
onto the poster.
To make the billing
block I used a font
called steel tongs
and edited each
word in Photoshop
so that the opacity
was 75%.

Photoshop and in design

  • 1.
  • 2.
    This is theoriginal image I took for my poster.
  • 3.
    The first thingI did to manipulate my image is I cut out the image of my main character using the lasso tool. I did this so that I could layer different layers to put in shadows into the original image.
  • 4.
    After I cutout the whole of the image I changed the background to black so I could see any changes I made easier. I used an image of the flames and changed the blending mode to overlay so that it showed the flames reflecting across her body. I then decided against using this as it didn’t look like flames and didn’t make the character dark enough.
  • 5.
    The next thingI did was put the original image behind the image that I had cut out and created a new layer. On the new layer I used the brush tool to paint the whole layer black and then changed the opacity of the layer so that you could see the image behind it. I then erased a circle of the black so that it made the match look as though it was glowing across her and the black made the shadows, and the rest of the image, darker.
  • 6.
    I made acopy of the layer I had painted black, and on that layer I made a selection of the image I had cut out and moved this along to make a shadow of my character as well as making the back ground darker.
  • 7.
    I changed the curvesslightly so that the darker parts got darker in places to show more shadows in the image.
  • 8.
    This is whatthe image looked like when I had finished manipulating it in Photoshop
  • 9.
    The image onthe left is the finished image and the image on the right is the finished image.
  • 10.
    I used thesame titles for the poster as I used in the mina production. I did this to show continuity between the two things, and also to show the genre more on the poster.
  • 11.
    On InDesign I createda new layer for everything that I placed and used the place tool to import things onto the poster.
  • 12.
    To make thebilling block I used a font called steel tongs and edited each word in Photoshop so that the opacity was 75%.