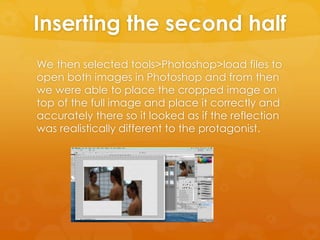
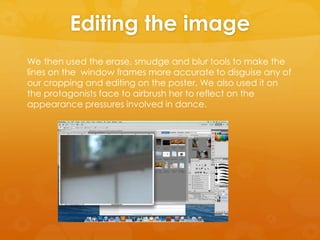
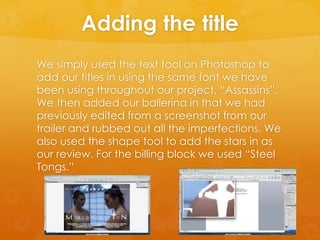
How we made our
Poster
Taking the image.
First of all we had to take two
different images in the Dance Studio
we used for filming. One of the
protagonist looking at herself and
one of her looking away. We then
used Photoshop to crop both
images in half, using the window
frames as guidelines.
Second half of the
image
We opened Adobe Bridge and
selected “pictures” . We then
held down the shift key and
selected the image of the
more evil looking character
and the other image of the
cropped image of the happier
looking facial expression.
Inserting the second half
We then selected tools>Photoshop>load files to
open both images in Photoshop and from then
we were able to place the cropped image on
top of the full image and place it correctly and
accurately there so it looked as if the reflection
was realistically different to the protagonist.
Editing the image
We then used the erase, smudge and blur tools to make the
lines on the window frames more accurate to disguise any of
our cropping and editing on the poster. We also used it on
the protagonists face to airbrush her to reflect on the
appearance pressures involved in dance.
Adding the title
We simply used the text tool on Photoshop to
add our titles in using the same font we have
been using throughout our project, “Assassins”.
We then added our ballerina in that we had
previously edited from a screenshot from our
trailer and rubbed out all the imperfections. We
also used the shape tool to add the stars in as
our review. For the billing block we used “Steel
Tongs.”
Conventional features
We added in all the conventional features needed.
E.g.
 The actors name
 Review
 Tagline
 Release date
 Billboard and website name
 Distribution and Production idents

Poster

  • 1.
    How we madeour Poster
  • 2.
    Taking the image. Firstof all we had to take two different images in the Dance Studio we used for filming. One of the protagonist looking at herself and one of her looking away. We then used Photoshop to crop both images in half, using the window frames as guidelines.
  • 3.
    Second half ofthe image We opened Adobe Bridge and selected “pictures” . We then held down the shift key and selected the image of the more evil looking character and the other image of the cropped image of the happier looking facial expression.
  • 4.
    Inserting the secondhalf We then selected tools>Photoshop>load files to open both images in Photoshop and from then we were able to place the cropped image on top of the full image and place it correctly and accurately there so it looked as if the reflection was realistically different to the protagonist.
  • 5.
    Editing the image Wethen used the erase, smudge and blur tools to make the lines on the window frames more accurate to disguise any of our cropping and editing on the poster. We also used it on the protagonists face to airbrush her to reflect on the appearance pressures involved in dance.
  • 6.
    Adding the title Wesimply used the text tool on Photoshop to add our titles in using the same font we have been using throughout our project, “Assassins”. We then added our ballerina in that we had previously edited from a screenshot from our trailer and rubbed out all the imperfections. We also used the shape tool to add the stars in as our review. For the billing block we used “Steel Tongs.”
  • 7.
    Conventional features We addedin all the conventional features needed. E.g.  The actors name  Review  Tagline  Release date  Billboard and website name  Distribution and Production idents