Downloaded 315 times


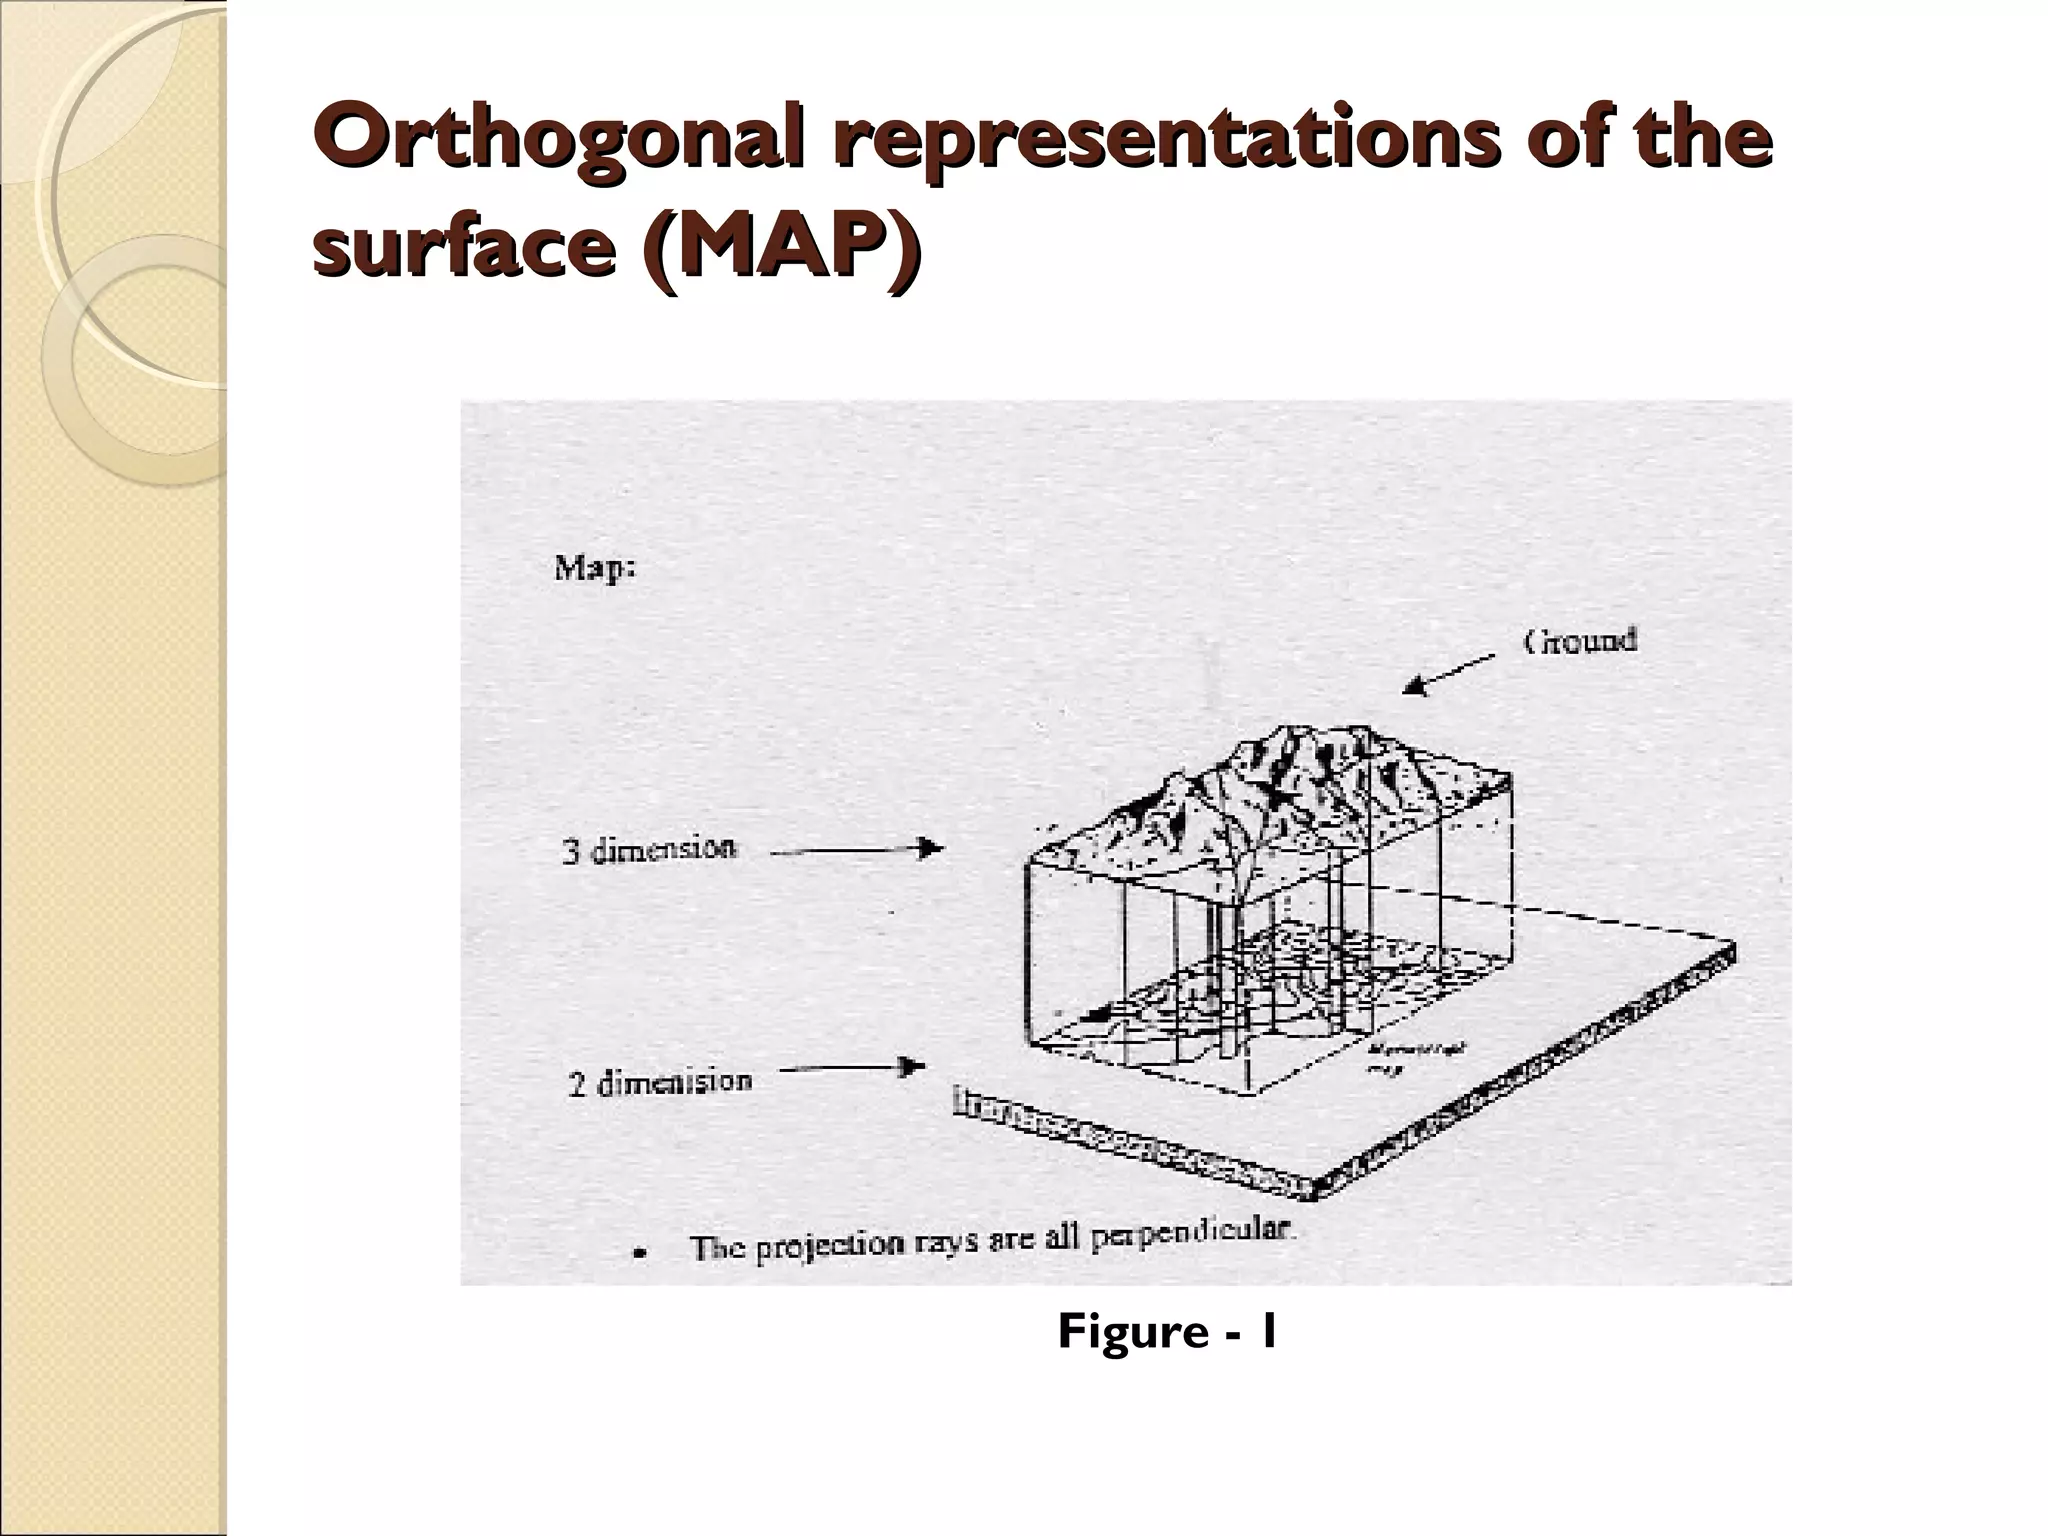


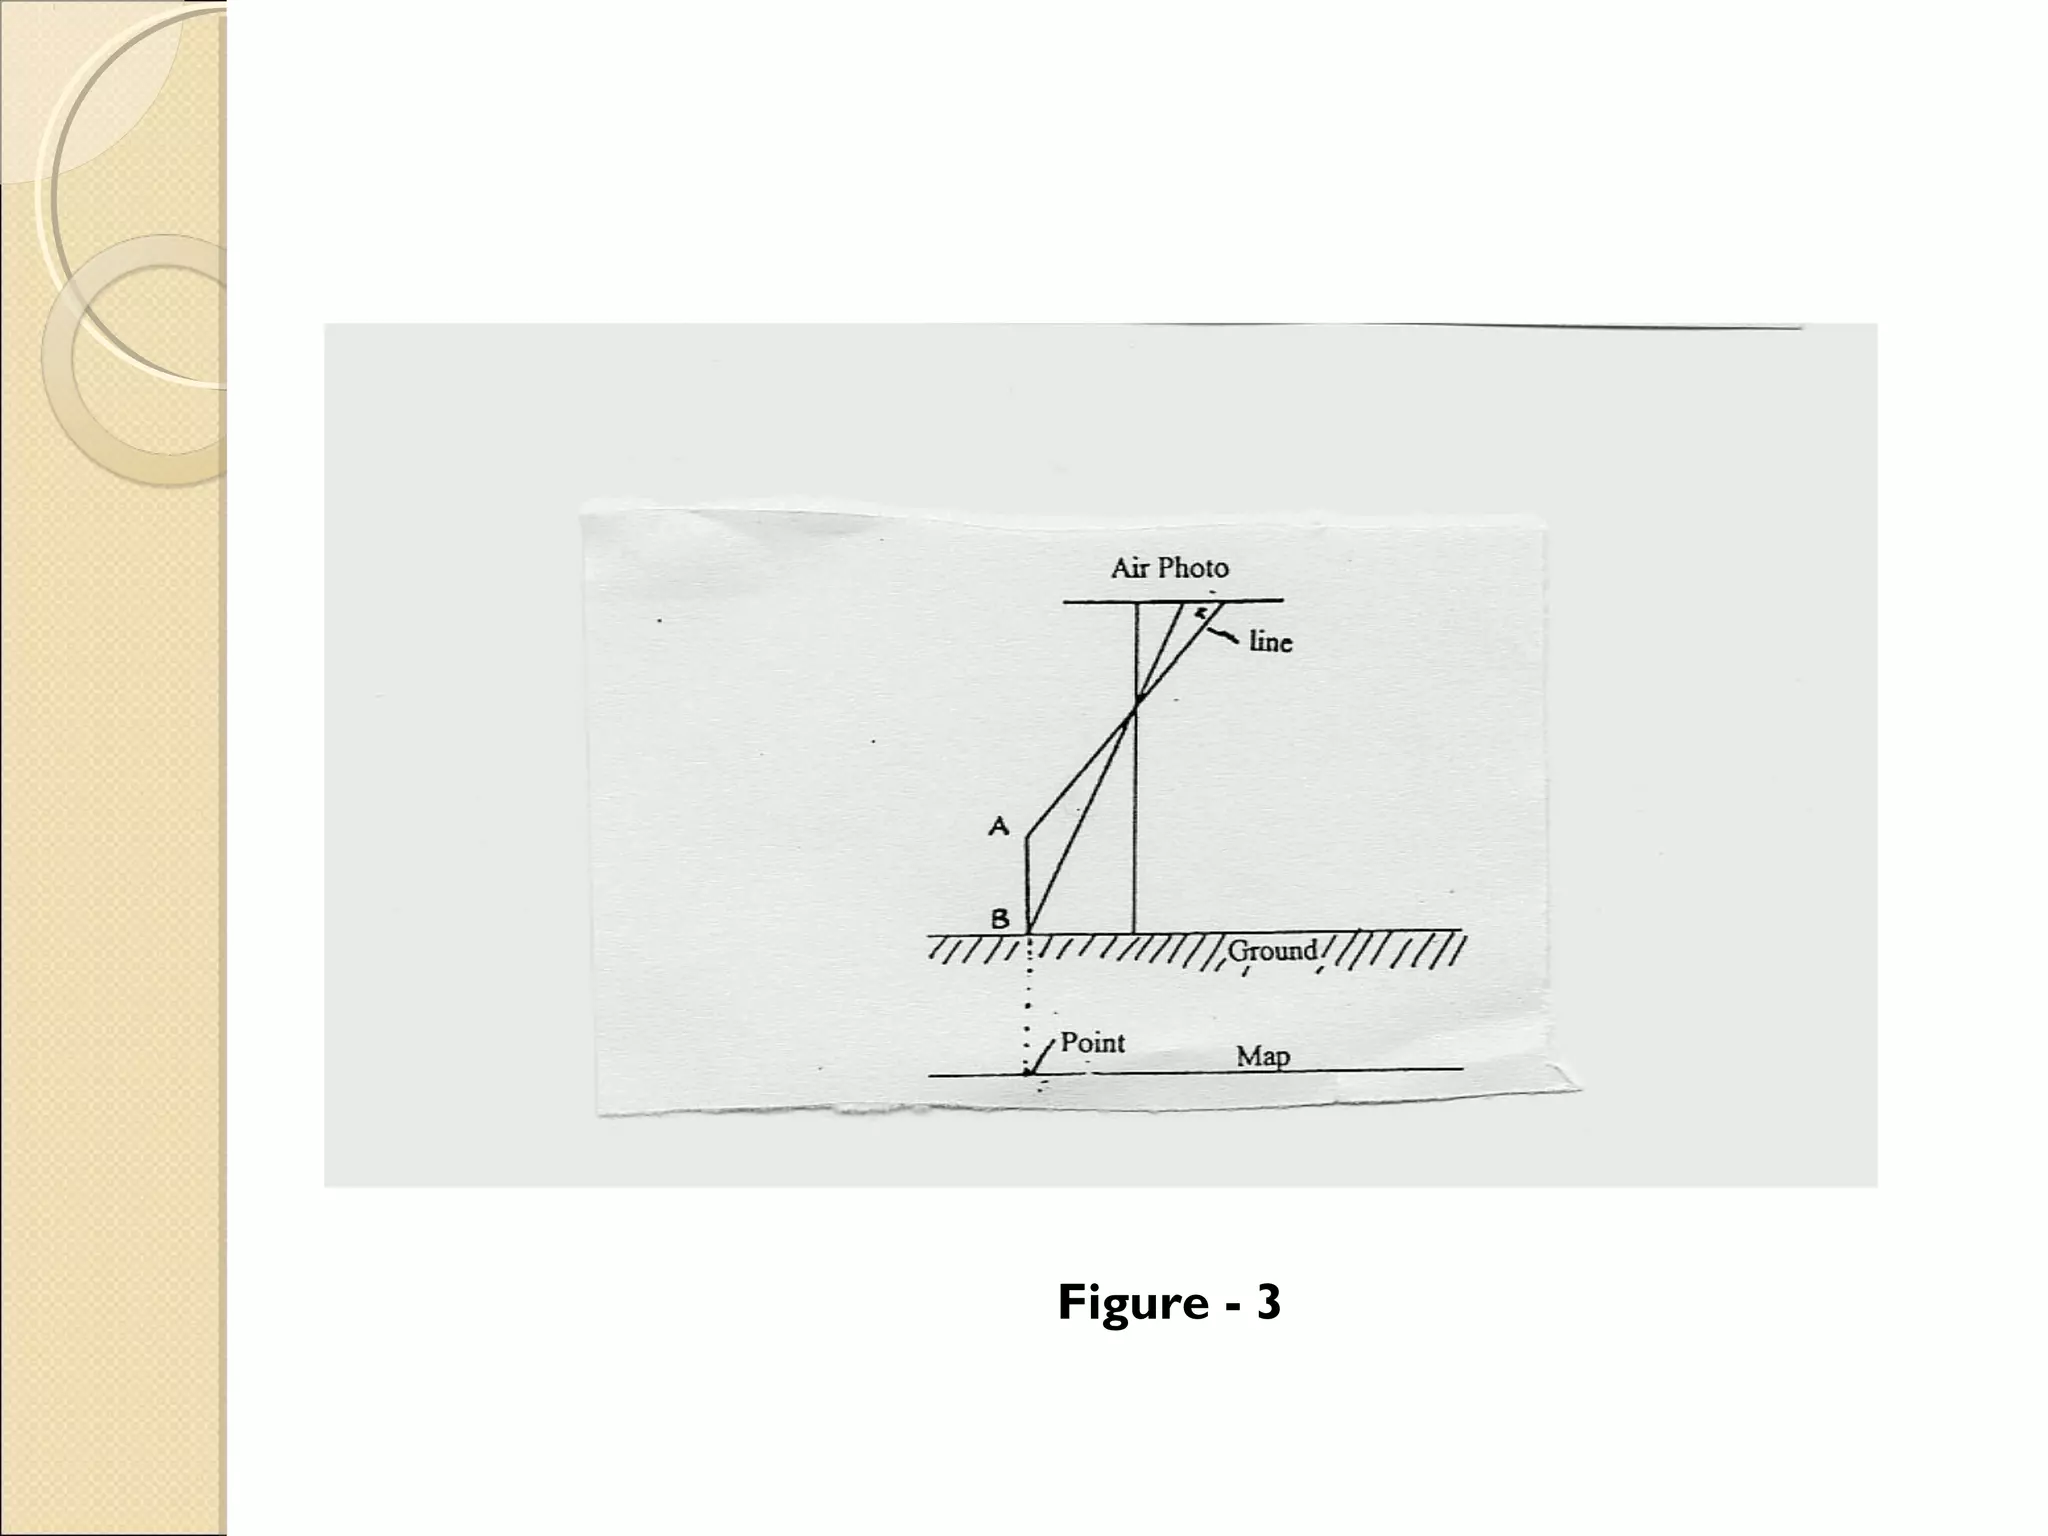

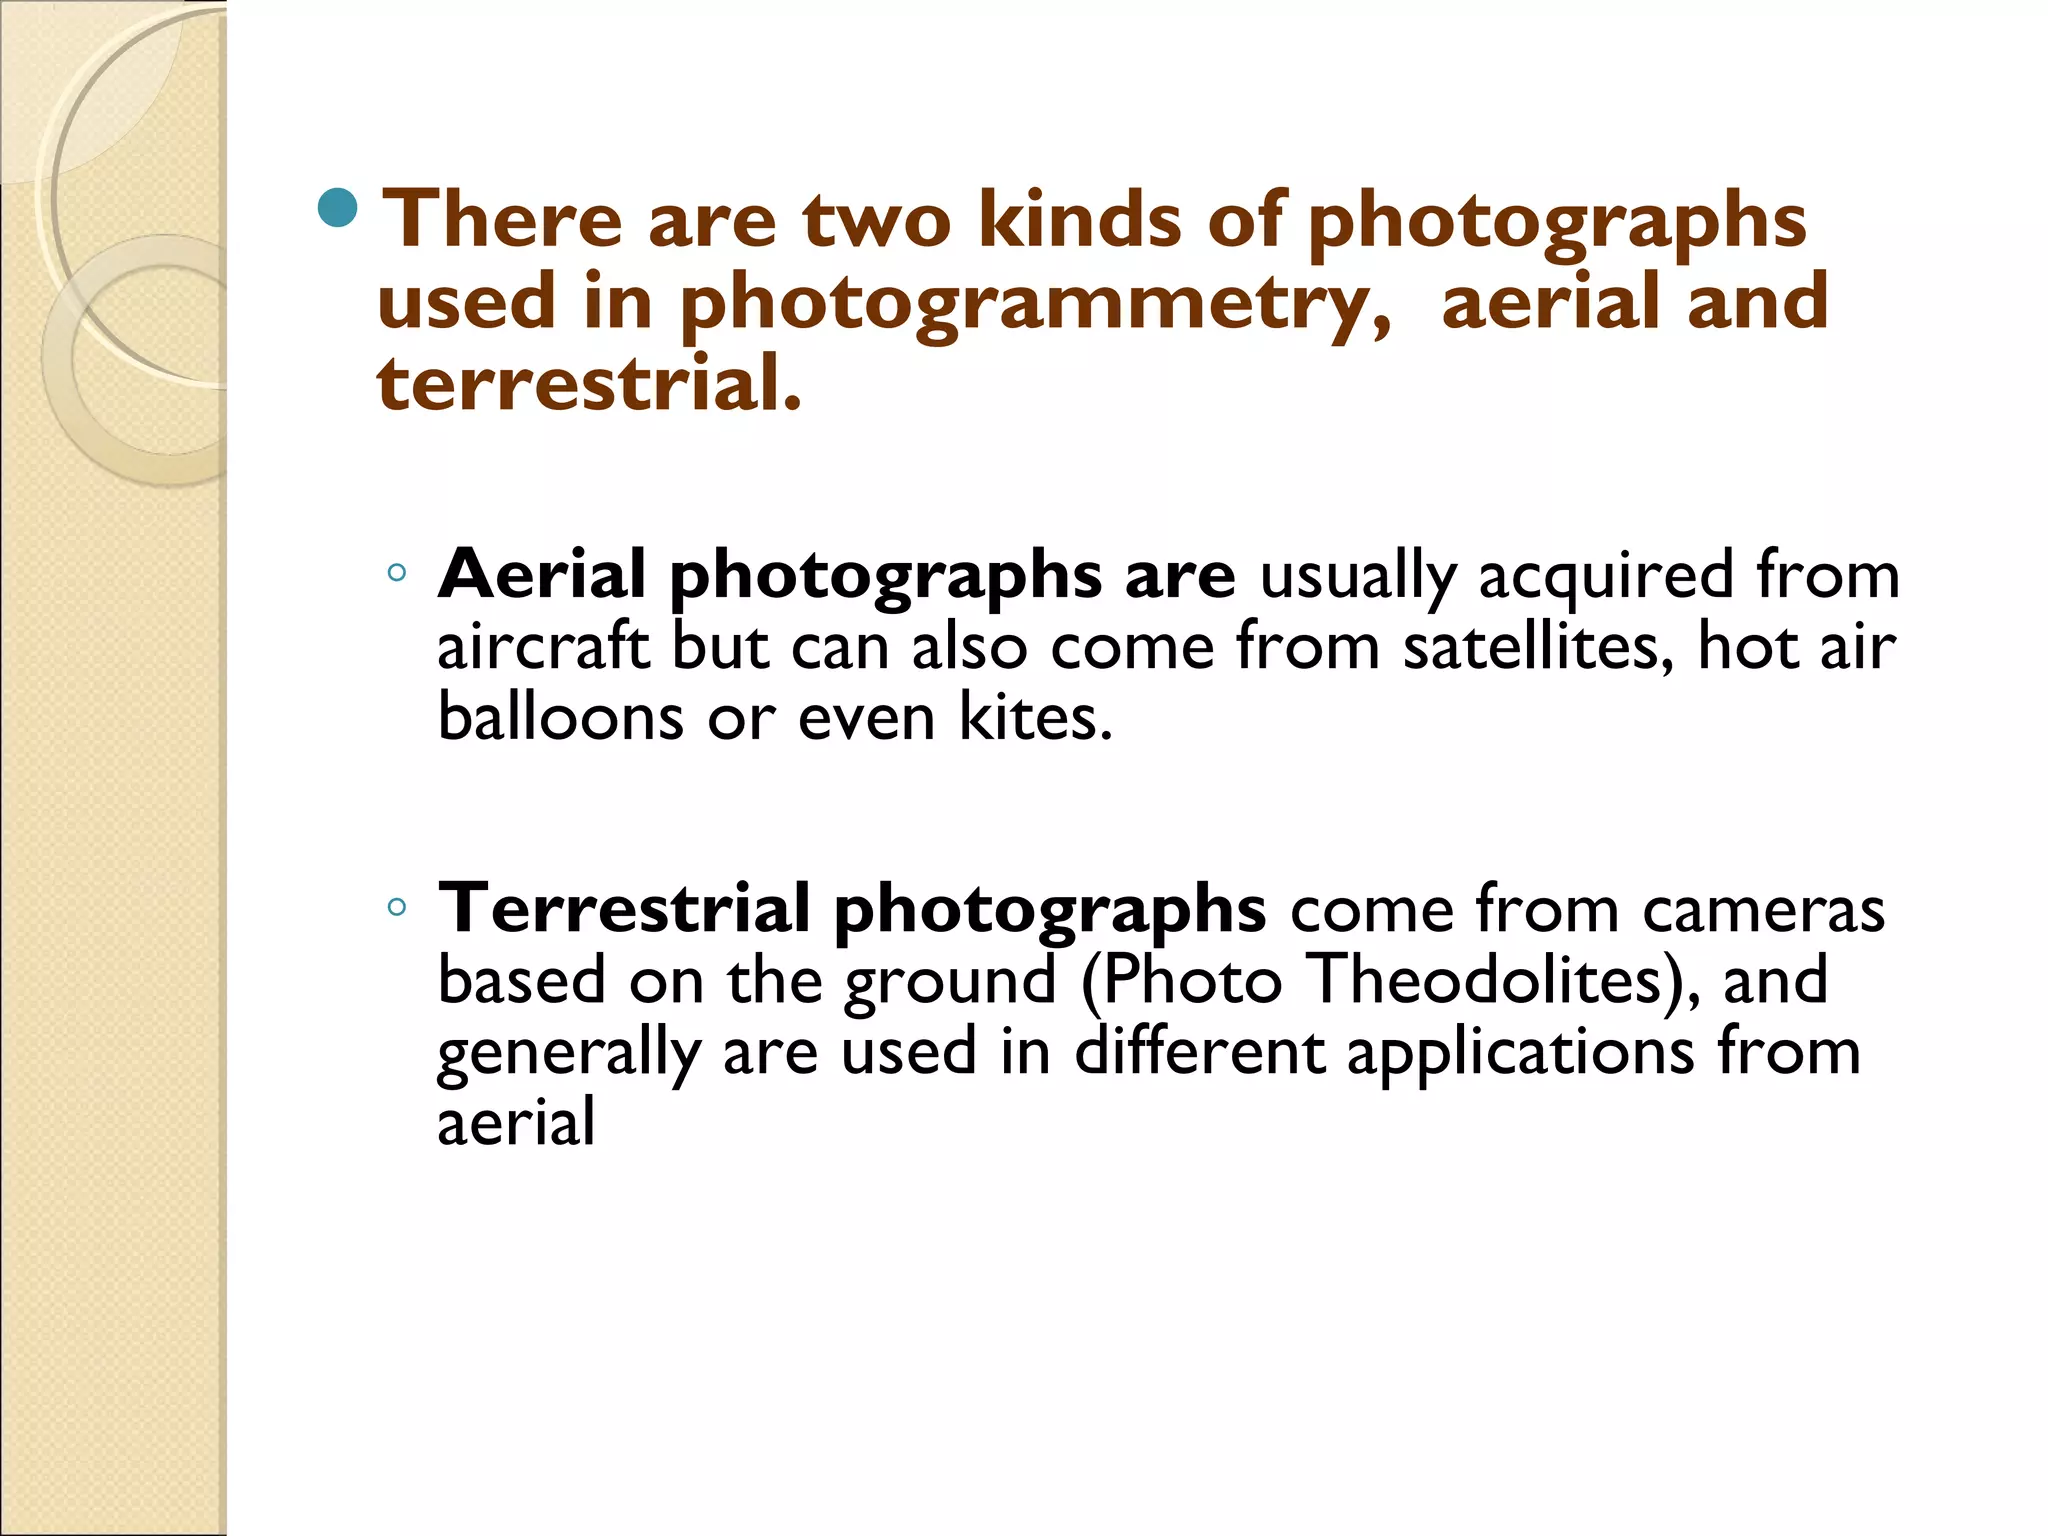

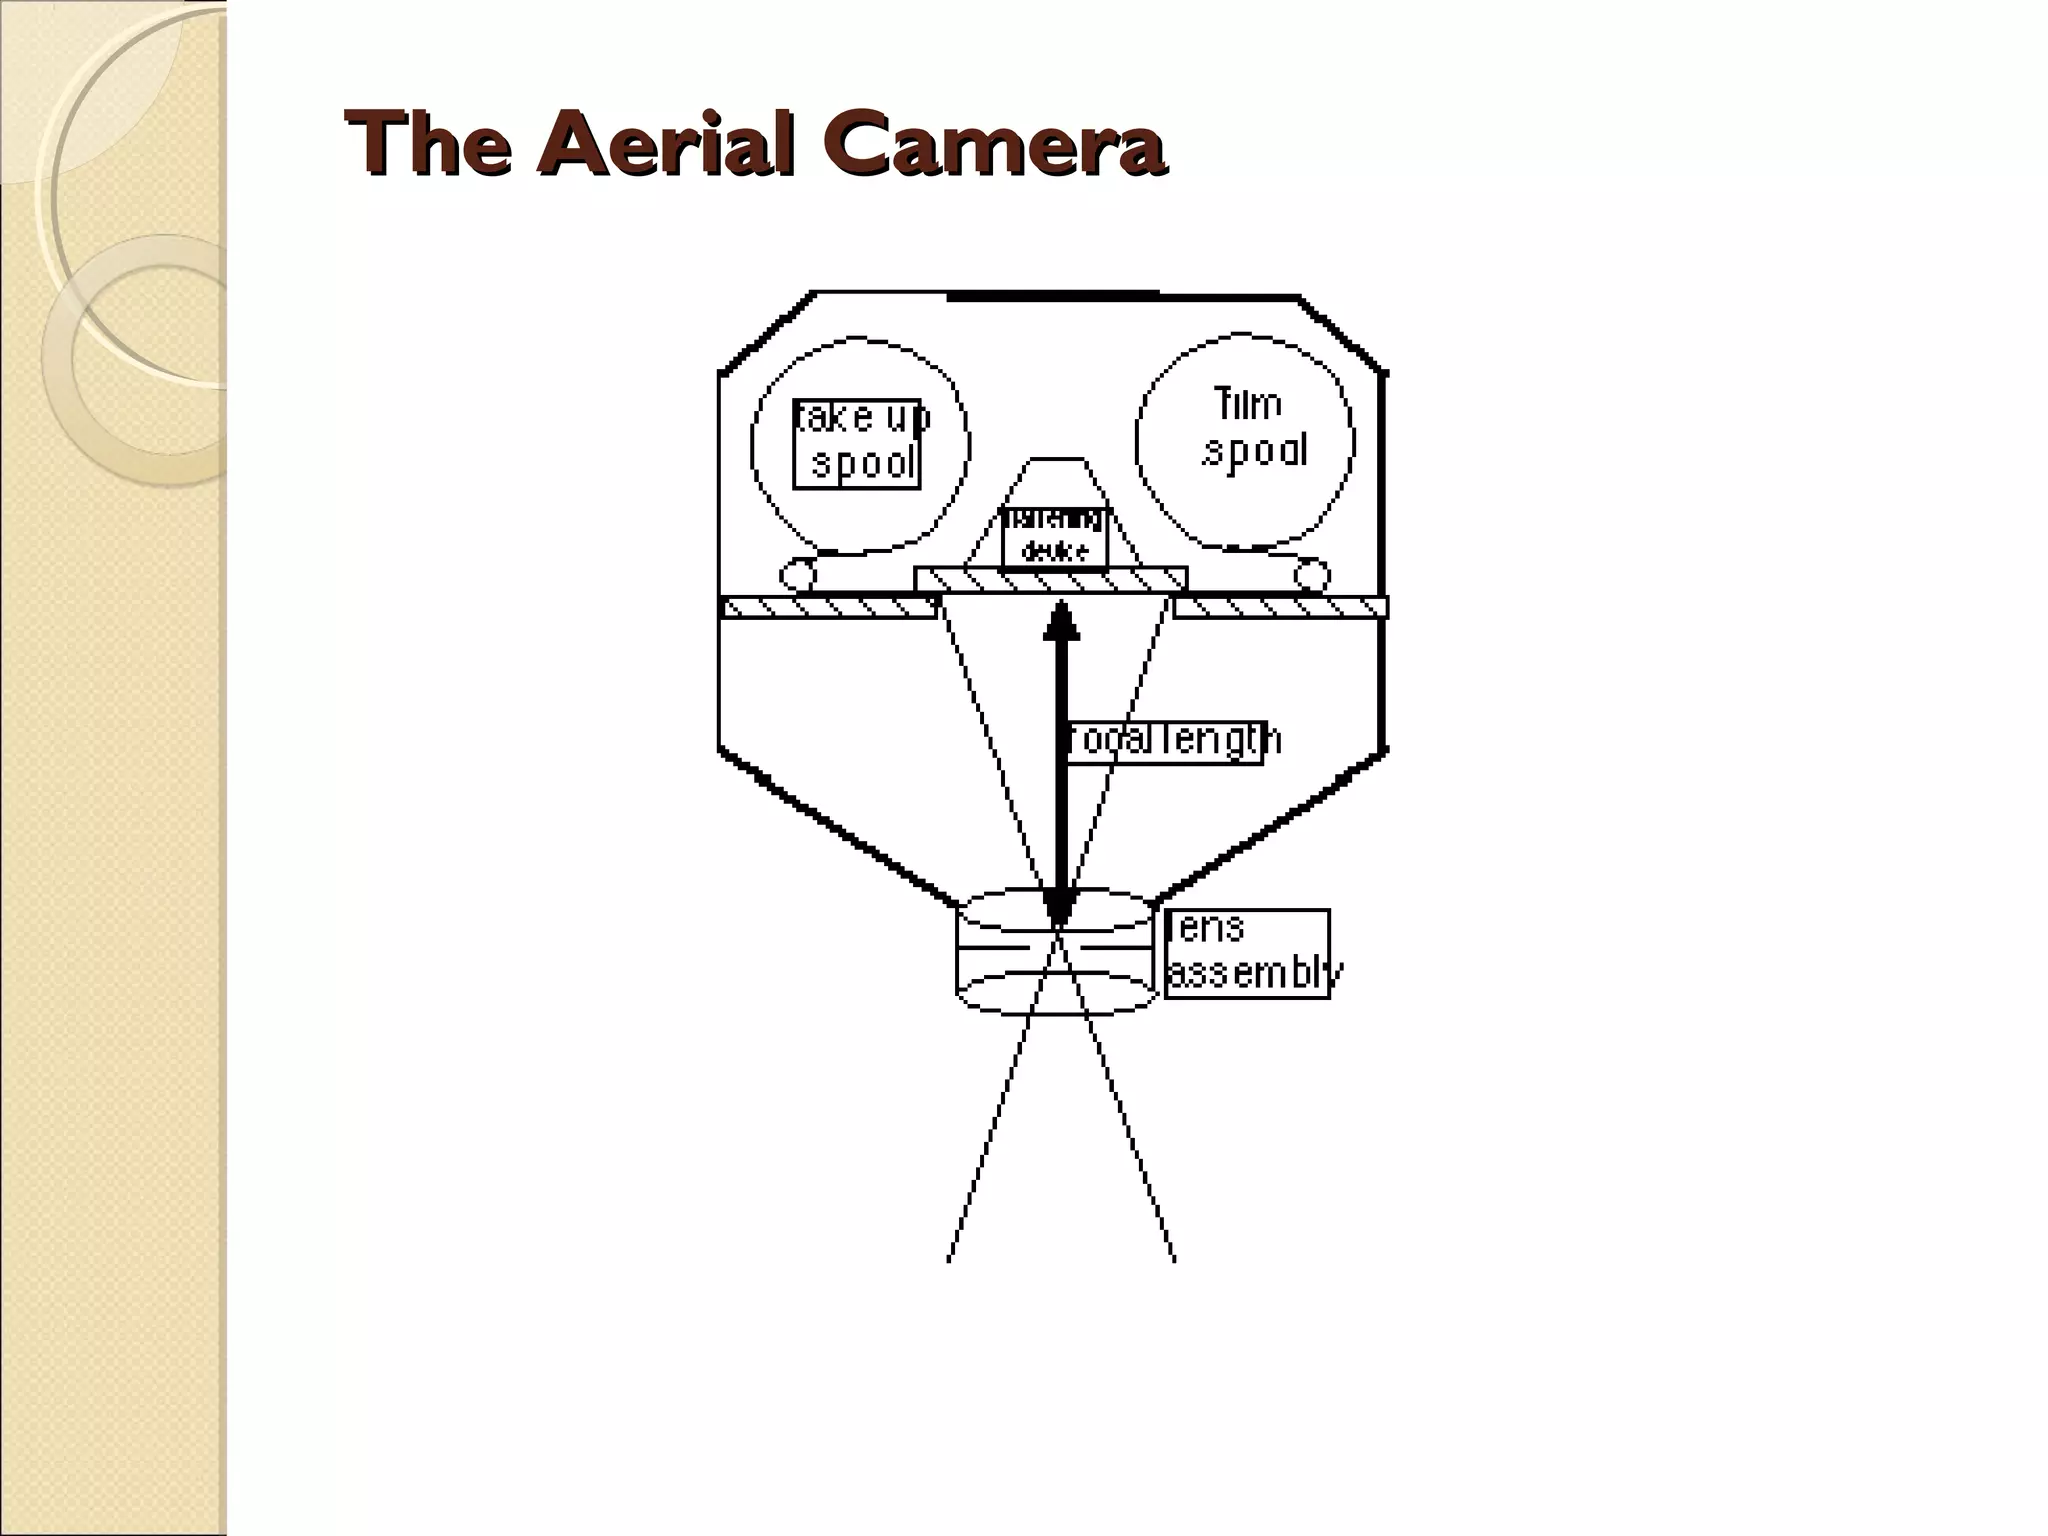


This document defines photogrammetry as obtaining reliable measurements through photography. It discusses how aerial photographs provide single-point perspective views of the Earth's surface rather than orthogonal maps. Key aspects of photogrammetry covered include preparing maps from overlapping aerial photos, quantitative and qualitative data extraction, aerial camera geometry, scales, distortions, determining object heights from shadows and relief displacement.


