Downloaded 312 times
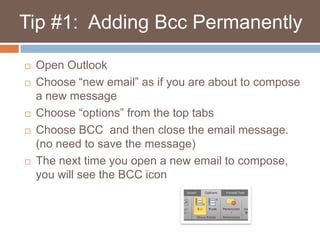

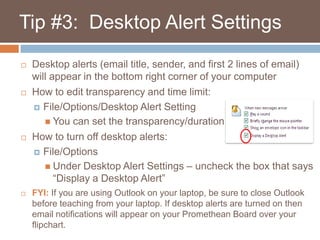


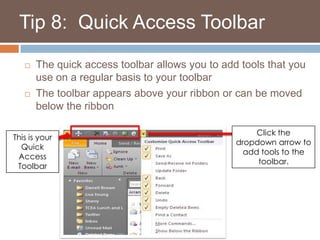

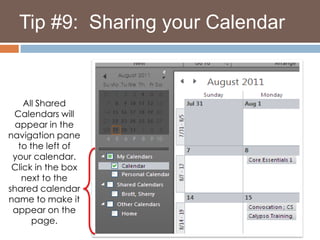
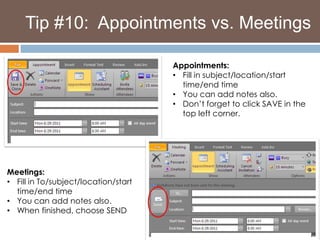

The document provides 10 tips for using Microsoft Outlook 2010. The tips include: 1) permanently adding BCC when composing emails; 2) changing the color scheme; 3) customizing desktop alert settings; 4) adding signatures; 5) adding district groups from the address book; 6) adding Skyward groups by importing an Excel file; 7) adding stationery backgrounds; 8) adding tools to the quick access toolbar; 9) sharing calendars with other users; and 10) distinguishing between appointments and meetings when scheduling events.