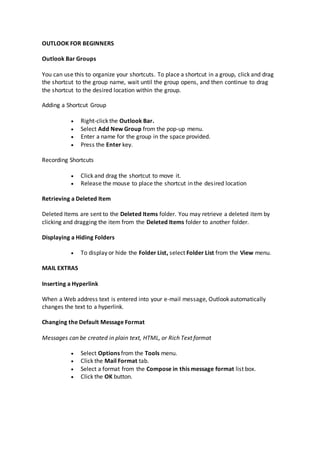
1. Outlook allows users to organize shortcuts into groups and move shortcuts within groups. Deleted items can be retrieved by dragging them from the Deleted Items folder.
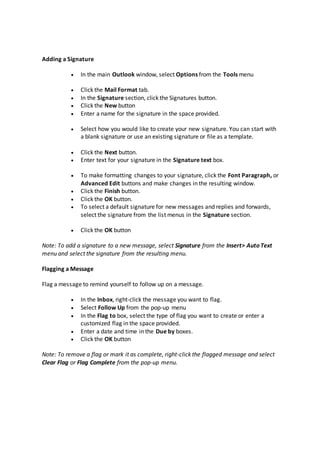
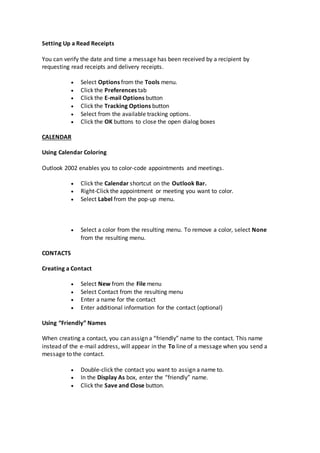
2. Hyperlinks are automatically created from web addresses in emails. Signatures, message formats, and read receipts can be customized in Outlook.
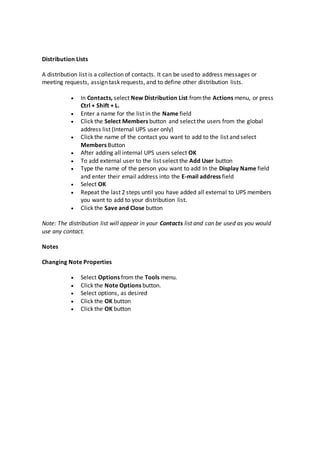
3. Appointments and meetings can be color-coded in the Calendar for organization. Distribution lists allow grouping of multiple contacts. Notes options like font and formatting can be customized.